
The problem with frozen potatoes
Frozen hash browns are usually a letdown. We want the golden, crispy pile from a diner, but we get a pale, mushy mess instead. Most people just accept it as the price of convenience, but you can fix the texture with one extra step.
The USDA actually has standards for frozen hash brown potatoes – they grade them based on things like shape, size, and defects. You can find those standards from the Agricultural Marketing Service (ams.usda.gov), which shows there's a baseline for quality, even in the frozen aisle. But meeting a standard doesn’t guarantee a fantastic final product. We're aiming for better than standard.
This isn’t about blaming the manufacturers. It’s about understanding what happens to potatoes during processing and learning how to counteract it. Frozen hash browns are convenient, but they require a little extra effort to unlock their full potential. I’m going to show you a simple hack that will make a huge difference.
Starch makes them soggy
The biggest culprit behind soggy hash browns is starch. When potatoes are cut and exposed to water – during shredding, washing, and even cooking – starch is released. This released starch then gelatinizes when heated, creating a gluey texture instead of crispy edges. It's basic potato science, really.
The manufacturing process for frozen hash browns exacerbates this issue. Shredding damages potato cells, releasing even more starch. Washing is necessary for cleanliness, but it also contributes to starch loss. And then, freezing locks in all that starch, ready to wreak havoc when you try to cook them.
Different potato varieties naturally contain varying levels of starch, but honestly, with commercially produced frozen hash browns, the processing has a bigger impact than the original potato type. It's less about Russets versus Yukon Golds at this point, and more about managing the starch that’s already been released.
The cold water soak
Soak the frozen shreds in cold water before they hit the pan. It sounds counterintuitive to get them wet, but this draws out the surface starch that causes gumminess. I've found this is the only way to get a true crunch.
I recommend soaking for at least 30 minutes, but feel free to experiment with longer soak times. Changing the water halfway through can help remove even more starch. You’ll notice the water turning cloudy – that’s the starch being released! Don’t skip this step!
I’ve seen some people suggest adding a splash of vinegar to the soaking water, claiming it helps break down the starch further. I’m still testing that one out, and I’m not entirely convinced, but it’s something you could try if you're feeling adventurous. Consider it a kitchen experiment.
Ranking the cooking methods
Okay, you’ve soaked your hash browns – now what? Let’s rank the best cooking methods, from easiest to most effort (and generally, from least crispy to most).
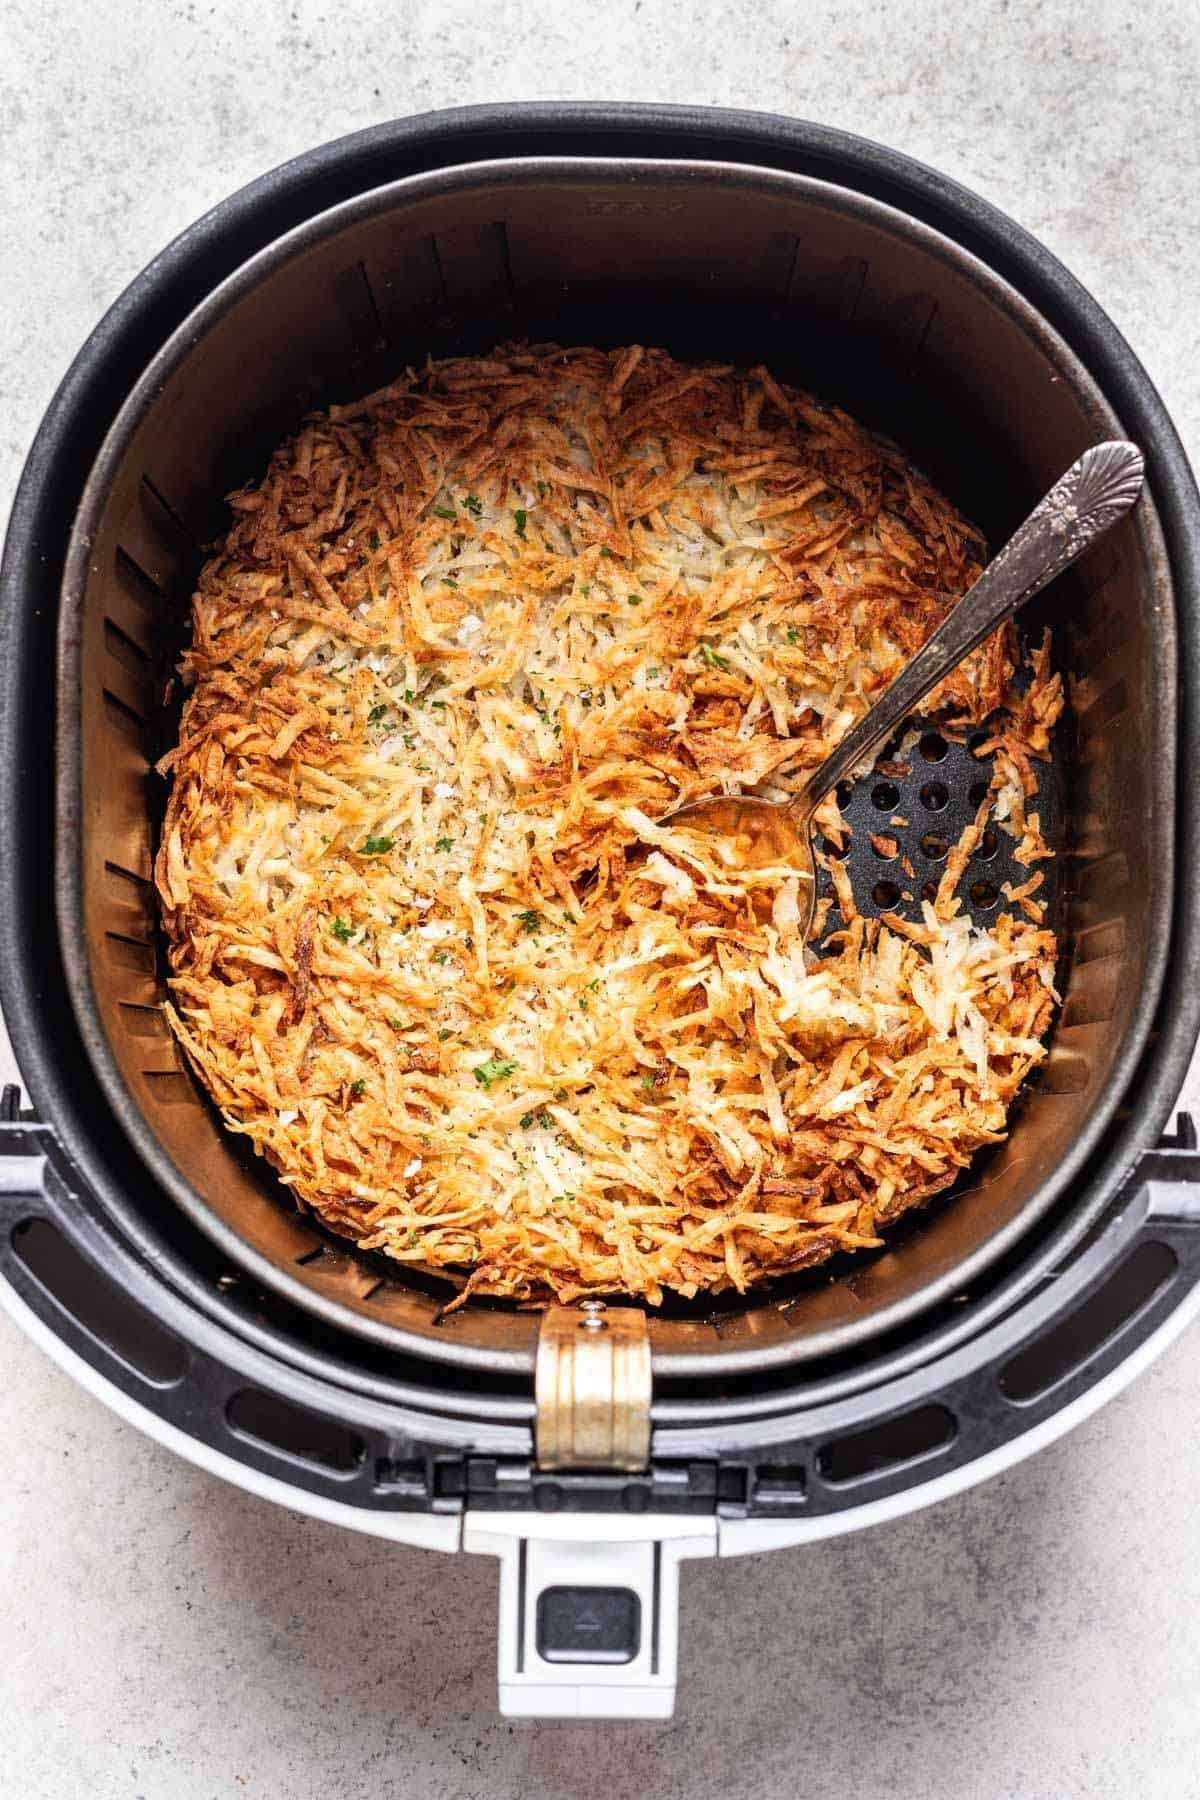
Air Fryer (Easiest): This is the most hands-off method. Toss the soaked and drained hash browns with oil and seasoning, spread them in a single layer in the air fryer basket, and cook at 400°F (200°C) for 15-20 minutes, shaking halfway through. It’s fast and produces decent results, but doesn't quite reach diner-level crispiness.
Oven (Good): Spread the hash browns in a single layer on a baking sheet, drizzle with oil, and season. Bake at 425°F (220°C) for 20-25 minutes, flipping halfway through. It’s pretty hands-off, but takes longer than the air fryer. You need to make sure they are spread out, or they will steam instead of crisp.
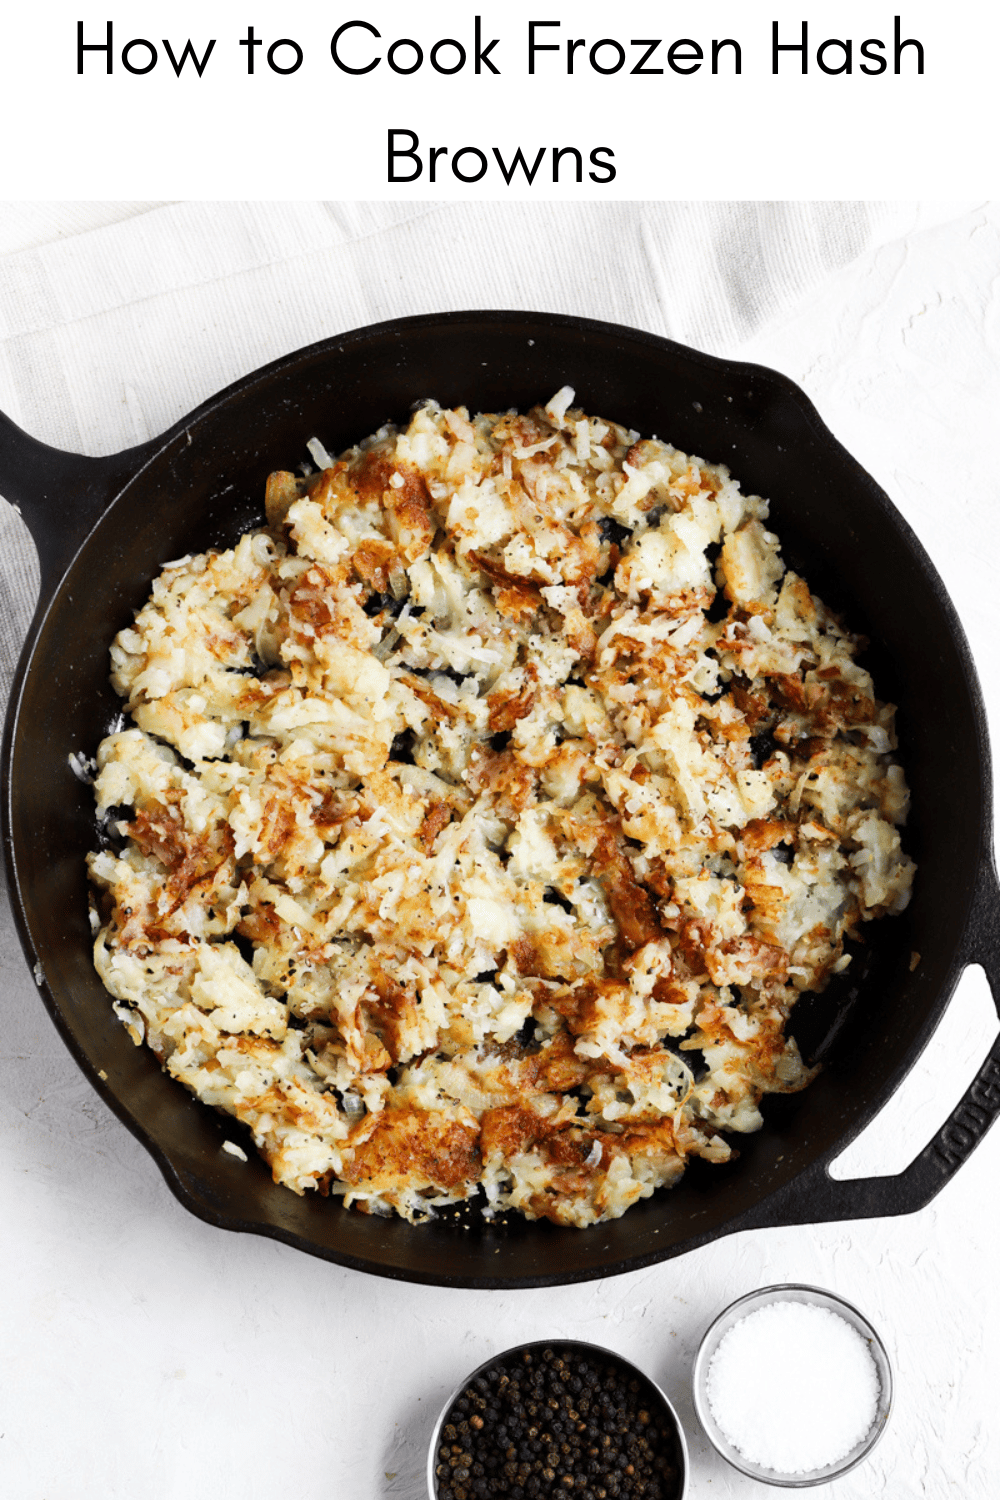
Skillet (Best – especially cast iron!): This requires the most attention, but delivers the best results. Heat a generous amount of oil (and a knob of butter, if you like) in a cast iron skillet over medium-high heat. Add the hash browns and spread them in a single layer. Cook for 8-10 minutes per side, pressing down occasionally to ensure even browning. Cast iron retains heat beautifully, creating a seriously crispy exterior.
Frozen Hash Brown Cooking Method Comparison 🍟
| Cooking Method | Crispiness (1-5) | Ease of Use (1-5) | Evenness of Cooking (1-5) | Time Required (approximate) | Best For |
|---|---|---|---|---|---|
| Skillet | 5/5 | 3/5 | 3/5 | 10-15 minutes | Maximum crispiness, small batches. Requires attentive stirring. |
| Oven | 3/5 | 4/5 | 4/5 | 20-30 minutes | Larger batches, hands-off cooking. Good for breakfast-for-a-crowd. |
| Air Fryer | 4/5 | 4/5 | 4/5 | 12-20 minutes | Fast, crispy results with less oil. Ideal for a quick side dish. |
| Broiler | 3/5 | 2/5 | 2/5 | 8-12 minutes | Quick browning, but requires *very* close monitoring to prevent burning. |
| Microwave (Not Recommended) | 1/5 | 5/5 | 3/5 | 3-5 minutes | Speed is the only benefit. Results are generally soggy and lack flavor. |
Illustrative comparison based on the article research brief. Verify current pricing, limits, and product details in the official docs before relying on it.
Choosing the right fat
Don’t skimp on the fat! Fat is essential for achieving that golden-brown crispiness and adding flavor. Vegetable oil and canola oil are good choices because of their high smoke points – you want something that can withstand the heat without burning. Avocado oil is another solid option.
Butter adds amazing flavor, but it has a lower smoke point, so it can burn more easily. I like to use a combination of oil and butter – the oil provides stability, while the butter delivers that rich, delicious taste. About a tablespoon of oil and a tablespoon of butter is a good starting point for a medium-sized batch of hash browns.
Remember, you really need a generous coating of fat for the hash browns to properly fry and crisp up. Don’t be afraid to add more if the pan looks dry. It's better to have too much than too little.
Seasoning ideas
Salt and pepper are a good start, but don’t be afraid to get creative with your seasoning! Garlic powder, onion powder, and paprika are classic additions. A pinch of cayenne pepper adds a nice kick. For something different, try Old Bay seasoning – it’s fantastic!
I recommend seasoning the hash browns before you start cooking. This allows the flavors to penetrate and develop as they cook. You can also add fresh herbs – chives and parsley are especially good – at the very end for a burst of freshness.
For a Southwestern version, I use chili powder and cumin. If you want heat, a heavy hand of paprika and cayenne works. It's a blank slate for whatever is in your spice cabinet.
Fixing common mistakes
Even with the best techniques, things can go wrong. Hash browns sticking to the pan is a common problem – make sure you’re using enough fat and that the pan is properly heated before adding the hash browns. A well-seasoned cast iron skillet is your best bet for preventing sticking.
If your hash browns aren’t getting crispy enough, it could be because the pan isn’t hot enough, or you’ve overcrowded it. Make sure you’re working in batches, and don't be afraid to turn up the heat slightly. If they're burning, lower the heat immediately!
Don’t get discouraged if your first batch isn’t perfect. Cooking takes practice, and even experienced cooks make mistakes. Just adjust your technique and try again – you’ll get there.


No comments yet. Be the first to share your thoughts!