
The Air Fryer Revelation
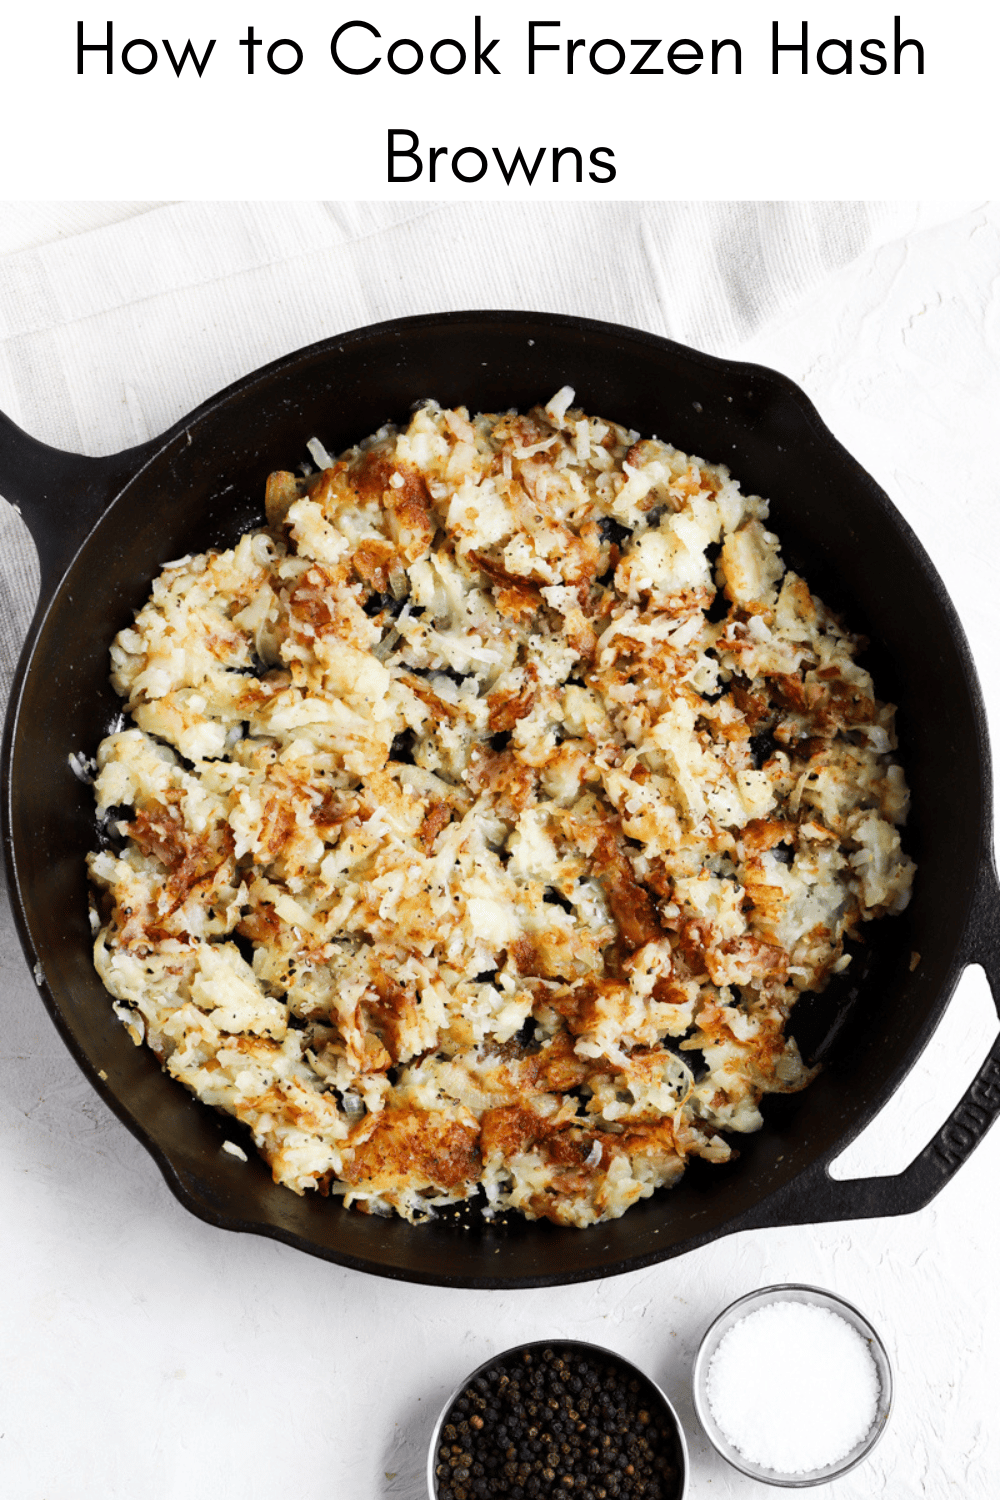
Hash browns. The cornerstone of countless breakfasts, the perfect diner accompaniment, and a surprisingly challenging dish to master at home. For years, achieving that elusive golden-brown crispiness required a cast iron skillet, a lot of butter, and a fair bit of technique. But things have changed. The air fryer isn't just a trend; it's a genuine revolution in the kitchen, and 2026 is the year everyone finally understands its power when it comes to hash browns.
The history of the hash brown is rooted in practicality. Originating with Dutch settlers in New York, it was a clever way to utilize potato scraps. From there, it evolved into a beloved American staple, typically pan-fried. But the traditional method often results in uneven cooking and a greasy finish. Air frying bypasses those problems, circulating hot air around the potatoes for all-over crispness with significantly less oil.
I've spent months experimenting with air fryer hash browns, and I can confidently say the results are consistently better than anything I’ve achieved on the stovetop. This isn’t just about convenience; it’s about a fundamentally superior texture. We’re aiming for restaurant-quality hash browns – perfectly crisp edges, a fluffy interior, and a golden hue – all achieved with minimal effort. This recipe is designed to unlock that potential, and it’s a game-changer.

Potato Choice is Everything
The foundation of any great hash brown is, unsurprisingly, the potato. While you can technically use any potato, some varieties are far better suited to the task than others. Russet potatoes are the classic choice, and for good reason. Their high starch content and low moisture level contribute to a wonderfully fluffy interior and crispy exterior. However, they can sometimes be a bit dry, requiring a bit more oil.
Yukon Gold potatoes offer a compelling alternative. They have a lower starch content and a naturally buttery flavor. This results in a slightly denser hash brown, but one that’s incredibly flavorful and doesn’t require as much oil. I’ve found that a blend of Russet and Yukon Gold – roughly 60/40 – provides the best of both worlds: fluffiness and flavor. Red potatoes, with their waxy texture, are generally not recommended; they don’t crisp up well.
The debate between pre-shredded and freshly grated potatoes is a significant one. Pre-shredded potatoes are convenient, but they often contain a coating of potato starch to prevent sticking, which can hinder crisping. Grating your own potatoes is more work, but it gives you complete control over the texture and prevents the addition of unwanted starch. I strongly recommend grating, even though it takes longer. Use the large holes of a box grater for the best results. You want a coarse shred; fine shreds will become mushy.
- Russet: High starch, low moisture – classic choice for fluffy hash browns.
- Yukon Gold: Lower starch, buttery flavor – results in a denser, flavorful hash brown.
- Red: Waxy texture – not ideal for crisping.
Potato Variety Comparison for Hash Browns
| Potato Variety | Starch Content | Moisture Content | Hash Brown Suitability (1-5 Stars) | Flavor Profile |
|---|---|---|---|---|
| Russet | High | Medium | 5 Stars | Earthy, slightly nutty. Holds shape well when cooked. |
| Yukon Gold | Medium | Medium | 4 Stars | Buttery, slightly sweet. Produces a golden-brown color. |
| Red Potatoes | Low | High | 3 Stars | Waxy, slightly sweet. May require more binding agent to achieve crispness. |
| Fingerling | Low-Medium | Medium | 2 Stars | Firm, nutty, and slightly sweet. Best for smaller, rustic hash browns due to shape. |
| Idaho | High | Medium | 5 Stars | Similar to Russet - excellent for fluffy interiors and crispy exteriors. |
| White Potatoes | Medium | Medium | 4 Stars | Mild flavor, versatile. Good for a classic hash brown texture. |
Illustrative comparison based on the article research brief. Verify current pricing, limits, and product details in the official docs before relying on it.
The Pre-Soak Debate
This is a surprisingly controversial topic. Should you soak the shredded potatoes in cold water before cooking? The argument in favor is that soaking removes excess starch, leading to crispier hash browns. Simply Recipes advocates for this method, suggesting a 10-15 minute soak. Natasha’s Kitchen, however, skips the soaking step altogether, arguing that it dilutes the potato flavor and can result in a less satisfying texture.
The science behind the soak is sound: starch absorbs water, and removing that water does indeed promote crisping. However, it's not a foolproof solution. Soaking can also draw out some of the potato's natural sugars, potentially affecting the overall flavor. It also requires an extra step and adds to the cooking time. I'm not convinced that soaking is always necessary, especially if you're using Yukon Gold potatoes, which have lower starch content to begin with.
My approach is to assess the potatoes. If using Russets, a quick 5-10 minute soak can be beneficial. For Yukon Golds, I often skip it. The key is to thoroughly drain and pat the potatoes dry after soaking – moisture is the enemy of crispiness. Experiment and see what works best for you and your preferred potato variety. Don't be afraid to try it both ways.
Seasoning Beyond Salt & Pepper
While salt and pepper are essential, they’re just the starting point. Hash browns are a blank canvas for flavor, and don’t be shy about experimenting. Garlic powder and onion powder are classic additions, providing a savory base. Paprika adds a subtle smokiness and a beautiful color, while a pinch of cayenne pepper introduces a welcome hint of heat.
I've found that a blend of 1 teaspoon garlic powder, 1 teaspoon onion powder, ½ teaspoon paprika, and ¼ teaspoon cayenne pepper creates a truly exceptional flavor profile. It’s a balance of savory, smoky, and spicy that complements the potatoes perfectly. Don’t be afraid to adjust the ratios to suit your own tastes. Consider adding a dash of smoked paprika for an even more pronounced smoky flavor.
Fresh herbs can also elevate your hash browns to the next level. Chives and parsley are particularly good choices, adding a bright, fresh flavor. However, add these after cooking, as they can burn in the air fryer. A sprinkle of chopped chives just before serving adds a lovely finishing touch.
- Garlic powder
- Onion powder
- Paprika (sweet or smoked)
- Cayenne pepper
- Chives (added after cooking)
- Parsley (added after cooking)
Seasoning Combinations
- Classic Diner - Garlic powder, onion powder, black pepper. Replicates the familiar, savory flavor of a traditional hash brown.
- Spicy Southwestern - Chili powder, cumin, smoked paprika, cayenne pepper. Delivers a warm heat and smoky depth, reminiscent of Tex-Mex cuisine.
- Italian Herb - Oregano, basil, garlic powder, Parmesan cheese. Introduces a fragrant, herbaceous flavor profile with a subtle cheesy note.
- Everything Bagel - Poppy seeds, sesame seeds, dried garlic, dried onion, salt. Mimics the popular bagel topping, providing a complex savory and seedy flavor.
- Cajun Spice - Paprika, cayenne pepper, garlic powder, onion powder, oregano, thyme. Offers a bold, spicy, and aromatic experience characteristic of Cajun cooking.
- Lemon Pepper - Lemon pepper seasoning, garlic powder. Bright and zesty, adding a refreshing citrus note to the potatoes.
- Smoked Paprika & Rosemary - Smoked paprika, dried rosemary, garlic powder. Creates a complex, savory flavor with smoky undertones and a piney aroma.
Air Fryer Technique: The Sweet Spot
Now for the heart of the matter: the air frying process. Begin by thoroughly draining and patting dry the shredded potatoes. This is non-negotiable. Moisture is the enemy of crispiness. In a large bowl, toss the potatoes with 1-2 tablespoons of avocado oil (I prefer avocado oil for its high smoke point) and your seasoning blend. Ensure the potatoes are evenly coated.
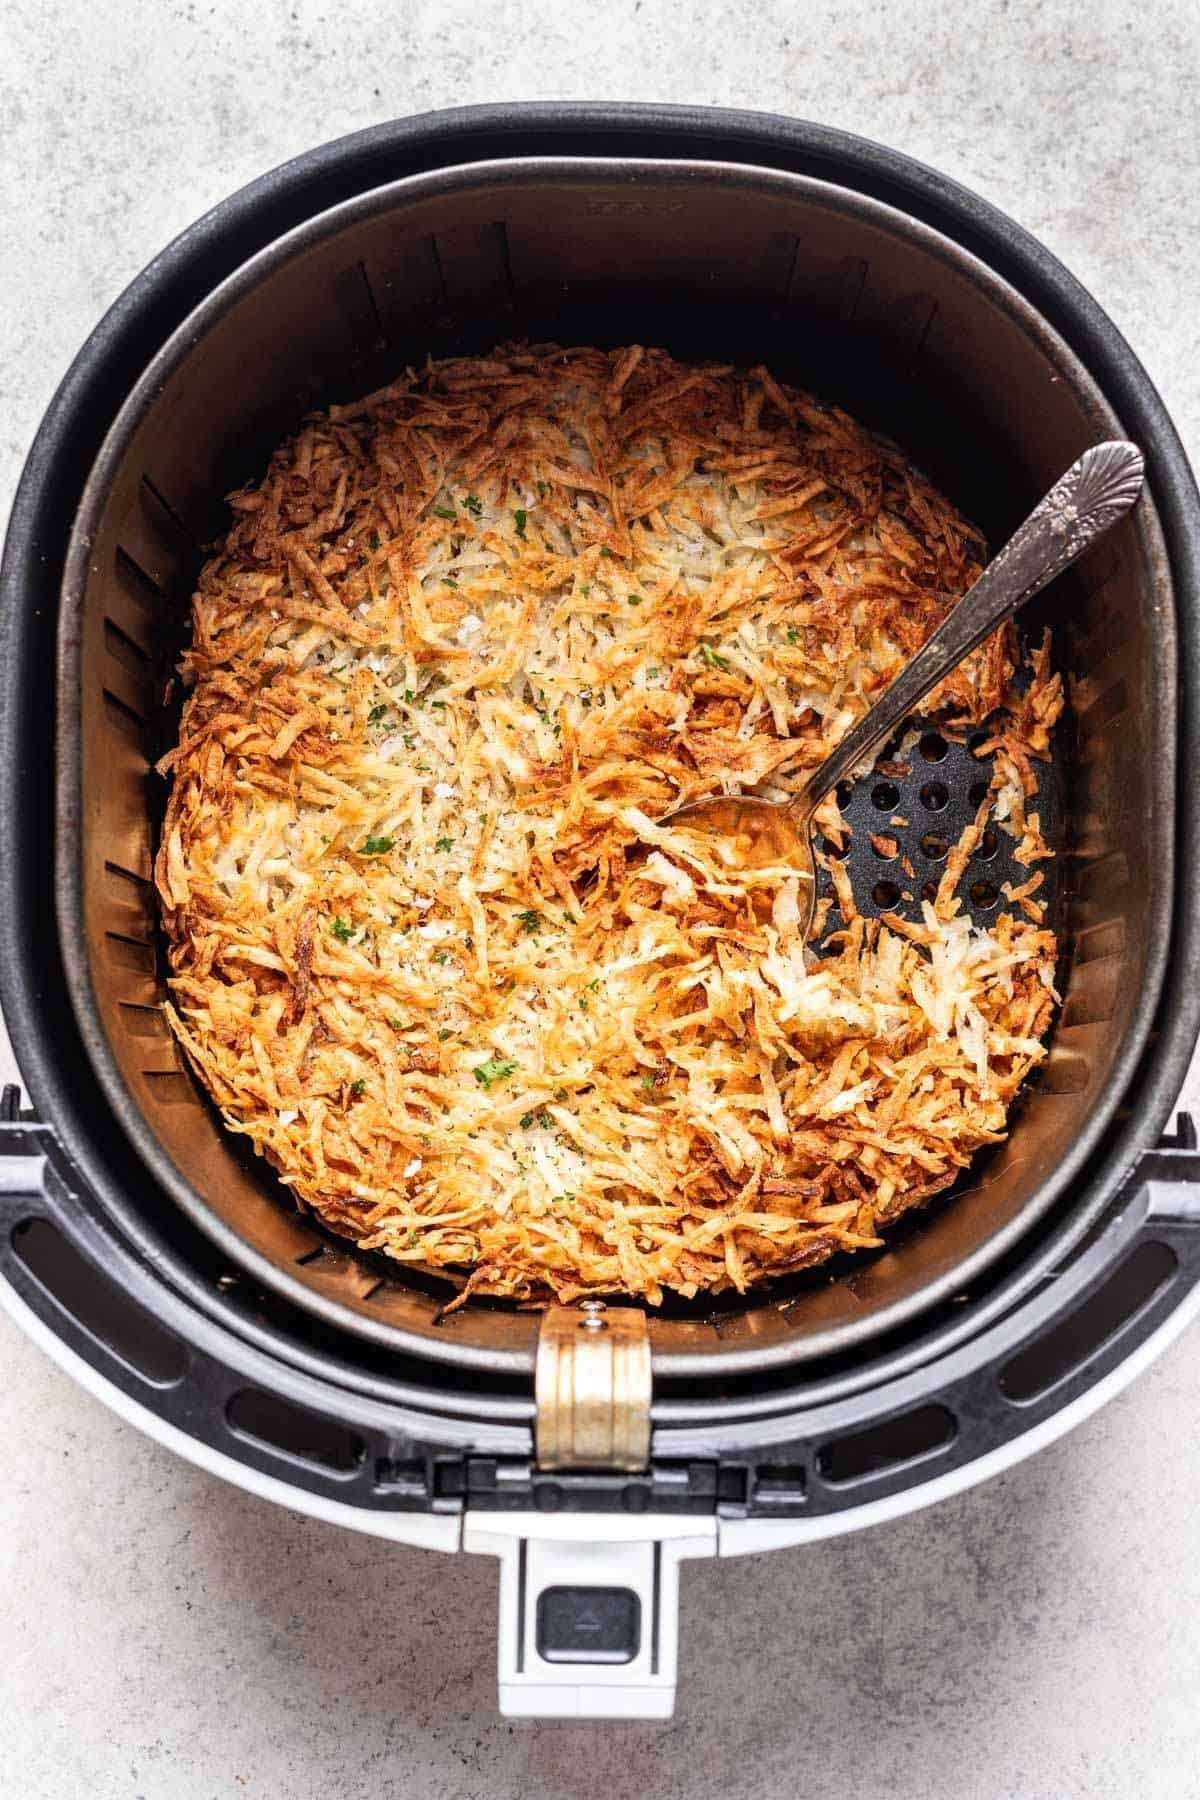
Preheat your air fryer to 400°F (200°C). Arrange the potatoes in the air fryer basket in a single layer. Avoid overcrowding the basket; this will steam the potatoes instead of crisping them. Work in batches if necessary. The key is to allow for sufficient airflow around each potato shred. I’ve found that a lightly greased basket helps prevent sticking, even with non-stick models.
Cook for 15-20 minutes, flipping or shaking the basket halfway through. The exact cooking time will vary depending on your air fryer model and the amount of potatoes. Look for a golden-brown color and a crispy texture. If the potatoes aren't crispy enough after 20 minutes, continue cooking for another 2-3 minutes, checking frequently. Don't be afraid to experiment with the cooking time to find the sweet spot for your air fryer.
A common mistake is using too much oil. While oil is necessary for crisping, too much will result in soggy hash browns. Start with 1 tablespoon and add more if needed. Another issue is uneven cooking. Flipping or shaking the basket regularly ensures that all sides of the potatoes are exposed to the hot air. Finally, don't be tempted to open the air fryer too often during cooking; this will lower the temperature and prolong the cooking time.
Once cooked, immediately transfer the hash browns to a plate lined with paper towels to absorb any excess oil. Serve hot with your favorite toppings – ketchup, sour cream, chives, or a fried egg.
Troubleshooting & Common Mistakes
Even with a detailed recipe, things can sometimes go wrong. If your hash browns aren’t getting crispy, the most likely culprit is moisture. Ensure the potatoes are thoroughly drained and patted dry before cooking. You may also need to increase the cooking time or temperature slightly. If they’re sticking to the basket, try lightly greasing it with avocado oil or using parchment paper specifically designed for air fryers.
Unevenly cooked hash browns are often the result of overcrowding the basket. Work in batches to ensure proper airflow. Bland hash browns usually indicate insufficient seasoning. Don't be afraid to be generous with the spices. If the hash browns are burning on the outside but still raw on the inside, lower the temperature slightly and increase the cooking time. It's a balancing act.
I’ve personally found that letting the shredded potatoes sit for about 10 minutes after seasoning allows the flavors to meld and also helps release a little more moisture, contributing to better crisping. It’s a small step, but it can make a noticeable difference. Don't hesitate to adjust the recipe to your preferences and your air fryer's quirks.
- Problem: Hash browns aren't crispy. Solution: Ensure potatoes are thoroughly drained and patted dry. Increase cooking time or temperature.
- Problem: Hash browns are sticking. Solution: Lightly grease the basket or use parchment paper.
- Problem: Hash browns are bland. Solution: Add more seasoning.
- Problem: Burning outside, raw inside. Solution: Lower temperature, increase cooking time.
Beyond Breakfast: Hash Brown Variations
The beauty of hash browns is their versatility. Once you've mastered the basic technique, the possibilities are endless. Loaded hash browns are a crowd-pleaser – simply top the cooked hash browns with shredded cheese, cooked bacon, sour cream, and chives. Sweet potato hash browns offer a delightful twist, substituting some or all of the russet potatoes with sweet potatoes. The natural sweetness of the sweet potatoes pairs beautifully with spices like cinnamon and nutmeg.
For a spicier kick, try chorizo hash browns, adding cooked and crumbled chorizo to the potato mixture before air frying. Hash brown patties are another fun variation – simply form the cooked hash browns into patties and air fry for a few more minutes to firm them up. These are perfect for serving with eggs or as a side dish.
I’m particularly fond of a version I created using leftover roasted vegetables – diced bell peppers, onions, and zucchini – mixed with the shredded potatoes before air frying. It’s a great way to use up leftovers and add a healthy boost to your breakfast. Don't be afraid to get creative and experiment with different flavors and toppings. The only limit is your imagination.


No comments yet. Be the first to share your thoughts!