
Potato choice and shred style
The type of potato used significantly impacts the final texture of hash browns. Russet potatoes, known for their high starch content, are the most common choice for frozen hash browns. This is because their starch granules break down easily, creating a fluffy interior when cooked. However, high starch can also contribute to mushiness if not managed properly. Yukon Gold potatoes, with their lower starch and buttery flavor, are sometimes used or blended with russets.
The shred style – whether coarse or fine – also plays a role. Coarsely shredded potatoes tend to hold their shape better during cooking and create a slightly chunkier texture. Finer shreds cook more quickly and evenly, but are more prone to becoming mushy. According to the USDA standards (ams.usda.gov), acceptable shred sizes range, but a medium to coarse shred is generally preferred for optimal texture.
I've found, through experimentation, that a blend of potato varieties can yield the best results. A mix of 75% russet and 25% Yukon Gold provides a good balance of fluffiness and structural integrity. Regarding shred size, I prefer a medium-coarse shred for frozen hash browns, as it offers a better chance of achieving crispiness without completely falling apart during cooking. It’s a subtle difference, but one I consistently notice.
- Russets are high in starch and make for a fluffy interior, though they can turn to mush if you aren't careful.
- Yukon Gold Potatoes: Lower starch, buttery flavor, holds shape better.
- Coarse Shred: Chunkier texture, better shape retention.
- Fine Shred: Cooks quickly, more prone to mushiness.

The starch wash dilemma
Many commercially produced frozen hash browns undergo a starch wash – a process designed to remove excess surface starch. The intention is to prevent sticking and promote even cooking. However, I believe this is a significant contributor to the mushy texture that plagues so many frozen hash brown experiences. Starch is essential for achieving a crispy exterior; removing it diminishes the potential for that desirable texture.
The science behind this lies in starch gelatinization. When starch granules are heated in the presence of water, they swell and absorb liquid, creating a viscous gel. This is what gives hash browns their structure. But if too much starch is removed, the granules have less to work with, resulting in a weaker gel and a less-crisp final product. The USDA standards don’t specifically address the extent of starch washing, only that the product should be "reasonably free from foreign material".
Rinsing the hash browns again before cooking is generally not advisable. While it might seem counterintuitive, adding more water will only exacerbate the problem. Instead, I recommend gently patting the frozen hash browns dry with paper towels to remove any excess ice crystals. This helps to concentrate the remaining starch and promote better browning. It's a small step, but one that can make a noticeable difference.
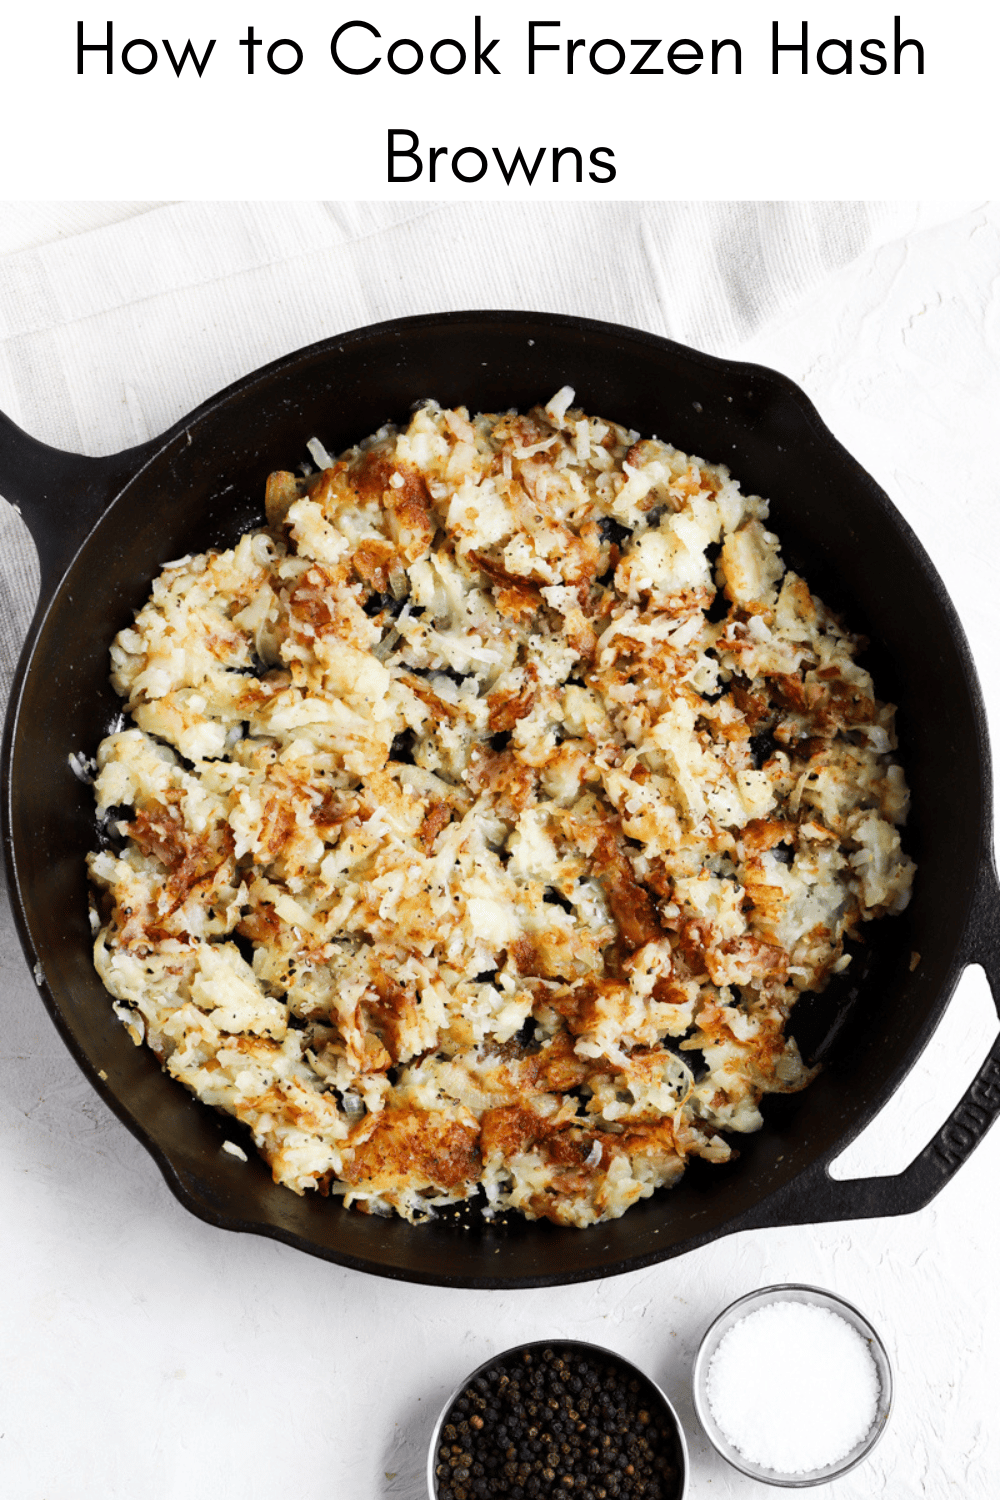
Fat is your friend
You need fat for crispiness. It transfers heat and helps the browning process. Butter tastes best but burns at 302°F. Vegetable oil handles the heat better but tastes like nothing.
Bacon fat is an excellent option, offering both flavor and a high smoke point. However, its smoky flavor might not be desirable in all applications. Avocado oil is another good choice, with a very high smoke point (around 520°F or 271°C) and a neutral flavor. I've found that a blend of butter and a neutral oil, like avocado oil, provides the best of both worlds – flavor and heat stability.
The amount of fat is also crucial. Too little, and the hash browns will stick to the pan and steam instead of fry. Too much, and they'll be greasy. I recommend using about 2-3 tablespoons of fat for a standard 12-inch skillet. Start with less and add more as needed. Monitor the pan closely and adjust the heat to prevent burning. A good test is to drop a small amount of hash brown into the pan; it should sizzle immediately.
Heat control for even browning
Achieving even browning is the cornerstone of crispy hash browns, and that hinges on precise heat control. Starting with medium-high heat is a good baseline, but it requires constant monitoring and adjustment based on your stovetop. The goal is to create a hot surface that encourages rapid evaporation of moisture and the Maillard reaction—the chemical reaction between amino acids and reducing sugars that gives browned food its distinctive flavor.
Overcrowding the pan is a common mistake. When too many hash browns are added at once, the pan temperature drops significantly, leading to steaming instead of frying. Work in batches, ensuring that the hash browns are spread in a single layer with some space between them. Patience is key here; it’s better to cook in multiple batches than to compromise on crispness.
The browning starts around 300°F. Don't stir them. Let them sit for several minutes on each side to build a crust. If you move them too early, they'll tear and stay mushy.
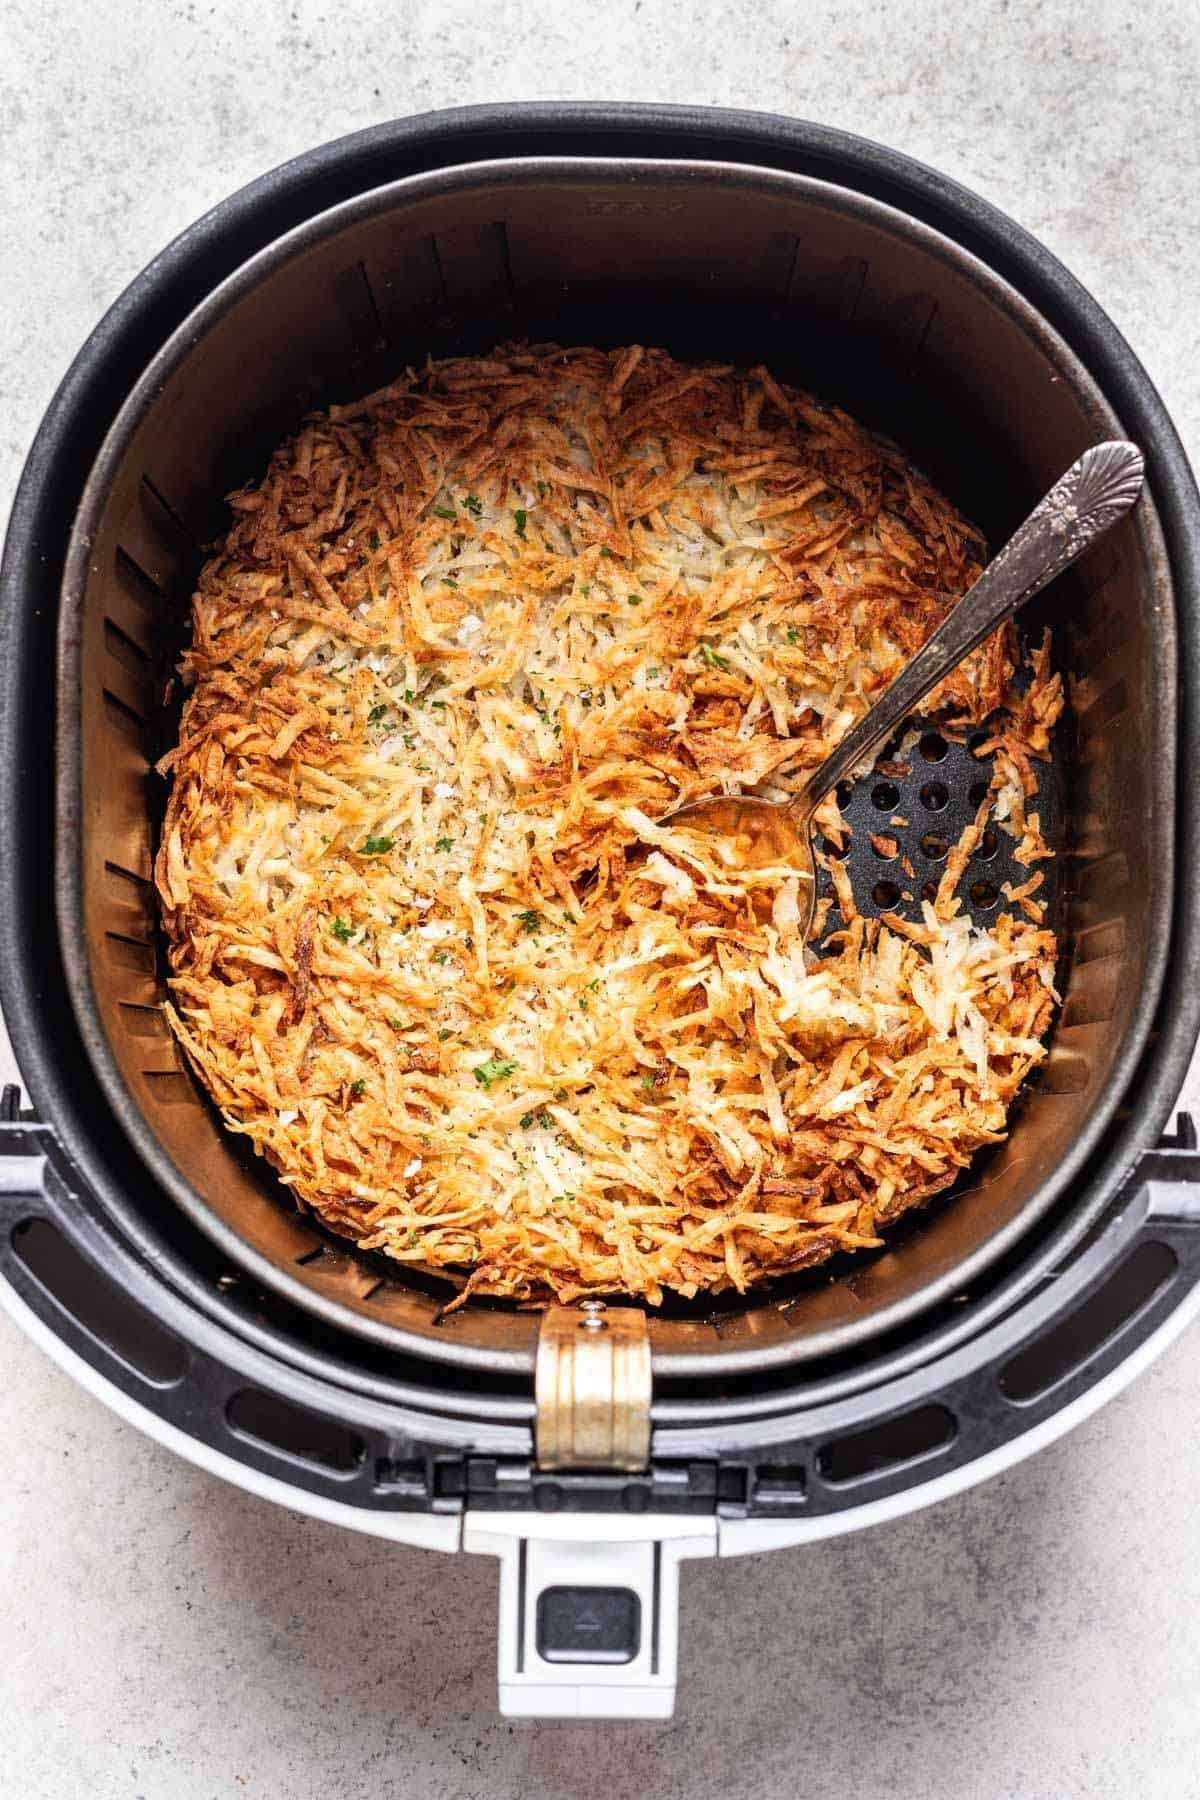
The air fryer revelation
For consistently crispy results, the air fryer is a game-changer. It circulates hot air around the hash browns, mimicking the effect of deep frying but with significantly less oil. This method is particularly effective for frozen hash browns, as it helps to quickly evaporate moisture and achieve a golden-brown crust.
Optimal air fryer settings typically involve a temperature of 380°F (193°C) for 15-20 minutes. Preheating the air fryer is recommended to ensure even cooking. Shaking the basket halfway through is crucial to prevent sticking and promote uniform browning. I’ve found that a light spray of oil before air frying isn’t necessary, but it can enhance crispness further.
The air fryer truly simplifies the process. It eliminates the need for constant monitoring and reduces the risk of burning. It's a convenient and reliable way to achieve perfectly crispy hash browns every time, even for those who are hesitant to fry.
Frozen Hash Brown Cooking Method Comparison
| Method | Crispiness | Convenience | Flavor Notes | Best For |
|---|---|---|---|---|
| Skillet | High | Medium | Develops a browned, slightly caramelized exterior. Flavor is heavily influenced by fat used (butter, oil). | Smaller batches, achieving maximum crispness, controlling browning. |
| Air Fryer | Very High | High | Produces exceptionally crispy results due to circulating hot air. Minimal oil needed. | Quick cooking, very crispy texture, smaller to medium batches. |
| Oven | Medium | High | Results in a more evenly cooked hash brown, but generally less crispy than skillet or air fryer methods. | Large batches, hands-off cooking, when crispness is less critical. |
| Skillet (with lid) | Medium | Medium | Steaming effect from the lid can soften the potatoes, reducing overall crispness, but ensuring even cooking. | Thicker-cut hash browns, ensuring interior is fully cooked before crisping. |
| Air Fryer (with pre-soak) | High | Medium | Soaking hash browns in cold water before air frying can remove excess starch, contributing to increased crispiness. | Achieving restaurant-style crispness with store-bought frozen hash browns. |
| Oven (par-baked then skillet) | High | Low | Par-baking in the oven to cook through, then finishing in a skillet provides a balance of even cooking and crispness. | When needing to cook a large batch, then achieve a crispy finish. |
Illustrative comparison based on the article research brief. Verify current pricing, limits, and product details in the official docs before relying on it.
Flavor boosters
Once you’ve mastered the art of crispy hash browns, it’s time to get creative with flavor. The possibilities are endless. Garlic powder, onion powder, paprika, cayenne pepper, and black pepper are all excellent additions. Adding these seasonings during the last few minutes of cooking allows them to adhere to the hash browns without burning.
Cheese is another fantastic flavor booster. Shredded cheddar, Monterey Jack, or pepper jack can be sprinkled over the hash browns during the last minute of cooking, allowing it to melt and create a gooey, cheesy delight. Fresh herbs, such as chives or parsley, can be added after cooking for a burst of freshness.
I particularly enjoy a combination of smoked paprika, garlic powder, and a pinch of cayenne pepper for a smoky, slightly spicy hash brown. Another favorite is cheddar cheese and chopped green onions. Don’t be afraid to experiment and find your own signature flavor combinations.
- Spices: Garlic powder, onion powder, paprika, cayenne pepper, black pepper.
- Cheeses: Cheddar, Monterey Jack, pepper jack.
- Herbs: Chives, parsley, green onions.
Troubleshooting common problems
Mushy Hash Browns: This is usually caused by too much moisture or insufficient heat. Ensure you pat the hash browns dry before cooking and use a hot pan with enough fat. Avoid overcrowding the pan.
Not Crispy Enough: Increase the heat slightly and cook for a longer period, allowing the hash browns to brown properly. Make sure you’re not stirring them too frequently. The air fryer can be very helpful here.
Burning: Reduce the heat and add a little more fat to the pan. Monitor closely and adjust the heat as needed. Burning often happens when the heat is too high or the pan is too dry.
Sticking to the Pan: Use enough fat and ensure the pan is properly heated before adding the hash browns. A non-stick skillet can also help. Avoid using too low of a heat as well.
- If they are mushy, you likely have too much moisture or the pan isn't hot enough. Pat them dry and don't crowd the skillet.
- Problem: Not crispy enough. Solution: Increase heat, cook longer, use air fryer.
- Problem: Burning. Solution: Reduce heat, add more fat, monitor closely.
- Problem: Sticking to the pan. Solution: Use enough fat, preheat pan, use non-stick skillet.


No comments yet. Be the first to share your thoughts!