
Why the shred matters
Good hash browns depend on the shred. The texture—crisp outside and fluffy inside—comes down to how you cut the potato. Uniform shreds create more surface area. This releases starch and helps the edges crisp up in the pan.
The science is fairly straightforward. Increased surface area means more potato cells are exposed to heat, accelerating the Maillard reaction – the chemical process responsible for browning and flavor development. Starch release acts as a natural binder, but too much starch results in gummy hash browns. Moisture control is also paramount; excess moisture steams the potatoes instead of allowing them to fry. A good shredder assists in all of these areas.
Different shred sizes contribute to different experiences. A coarse shred yields a rustic, chunkier hash brown, while a fine shred produces a more delicate, almost creamy texture. Simply Recipes’ diner-style hash brown recipe, for example, aims for a medium shred to balance crispness and interior fluffiness. While hand-grating potatoes is certainly possible, it's a laborious process that often results in inconsistent shreds and a significant time investment.
A dedicated shredder saves time and keeps the results consistent. I've tested several options to see which ones actually handle a raw potato without jamming or making a mess.

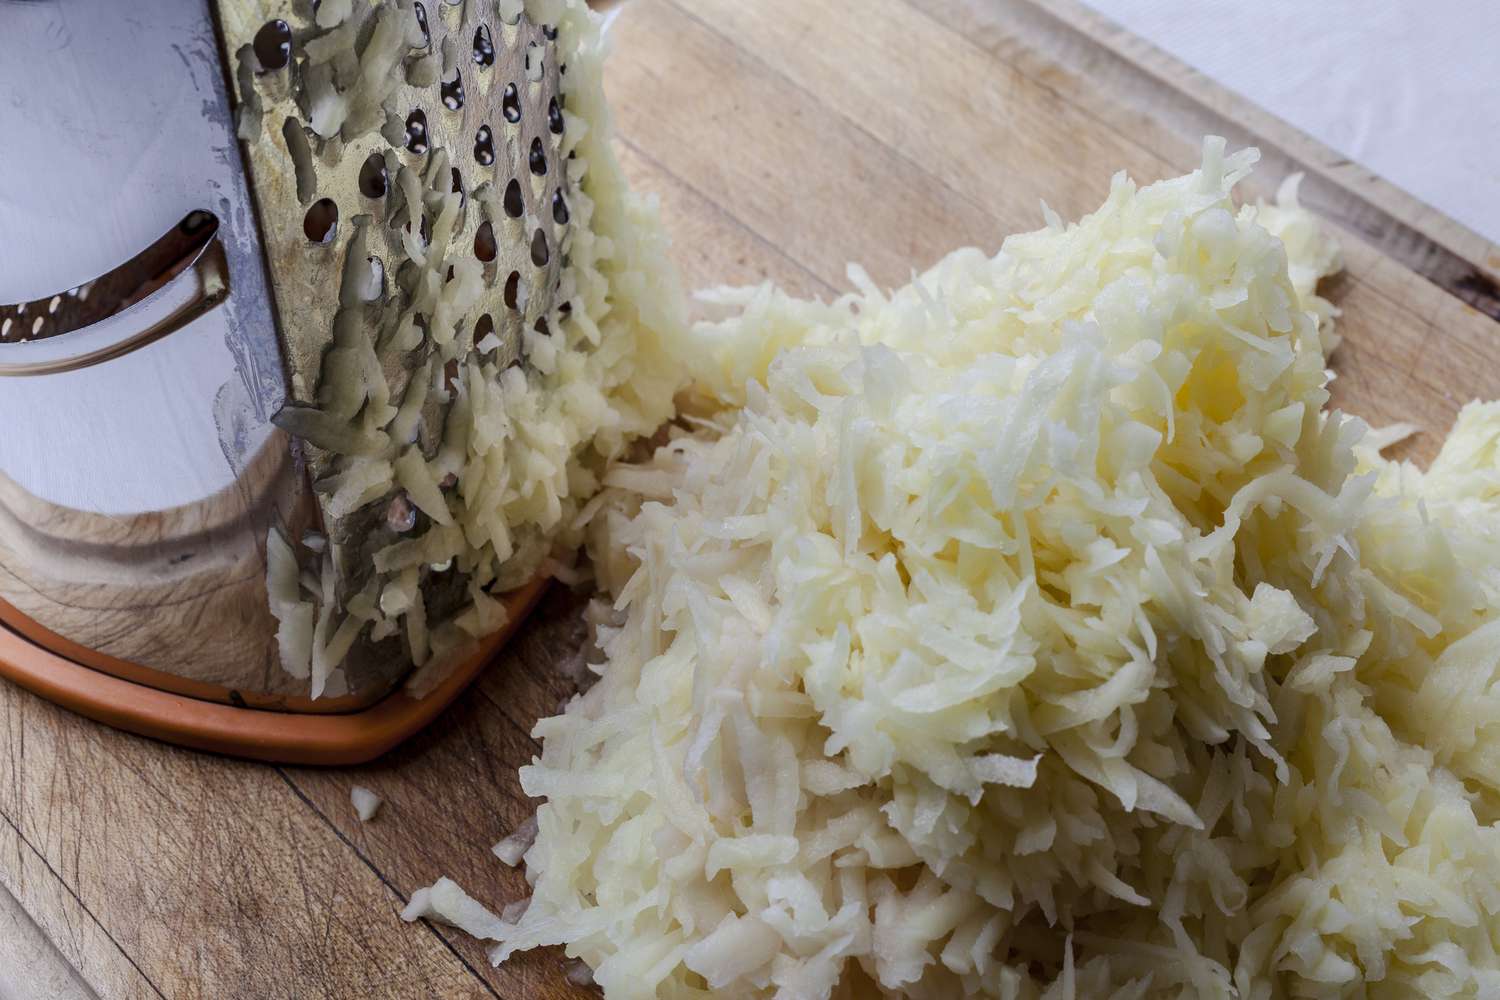
Using a standard box grater
Before investing in a specialized tool, it’s fair to ask: can a standard box grater get the job done? The answer is yes, but with caveats. A box grater is readily available in most kitchens and represents the most affordable option. However, it demands significantly more effort, produces less consistent results, and carries a higher risk of accidental cuts.
As seen in a recent Facebook post discussing easy hash brown preparation, a cheese grater – often a side of a box grater – can be used effectively. The post highlights a simple method: grating the potato, leaving the peel on, pressing out moisture with paper towels, spraying with oil, and cooking at 375°F for 10-12 minutes. This demonstrates the basic feasibility of the approach.
If you use a box grater, stick to the medium holes. Hold the grater still and move the potato with firm pressure. You have to rinse the shreds in cold water afterward to get rid of the starch, or they'll just turn into a gummy pile. It's a workout for your arms, but it works if you only make hash browns once a month.
- Medium-sized grating holes are best.
- Apply firm, even pressure.
- Rotate the potato, not the grater.
- Rinse grated potatoes thoroughly.
The 7 shredders we tested
We put seven different potato shredders through rigorous testing to determine which ones deliver the best performance. Our methodology focused on shred consistency, ease of use, cleaning, and overall build quality. We used Yukon Gold and Russet potatoes, assessing how each shredder handled both varieties. Consistency was judged visually and by frying small batches of hash browns from each test.
Here’s a breakdown of our findings, presented in descending order of overall performance:
- Vollrath Manual Shredder: This is a heavy, professional tool. It's fast and built like a tank, though it's expensive and takes a while to clean.
- OXO Good Grips V-Blade: This mandoline makes very uniform shreds. The handguard is decent, which is good because the blades are sharp enough to be dangerous.
- 3. Swissmar Borner Compact Mandoline Shredder (4.2/5 stars): A more affordable mandoline option, the Swissmar Borner still delivers consistent shreds. It’s less robust than the OXO model and the blade isn’t quite as sharp, but it's a solid performer for the price.
- 4. Prepworks Adjustable Mandoline Shredder (4.0/5 stars): This mandoline offers adjustable shred sizes, allowing for customization. It’s easy to use and clean, but the build quality feels a bit flimsy compared to the higher-end models.
- 5. Moulinex Food Processor with Shredding Disc (3.8/5 stars): A food processor with a shredding disc can work in a pinch, but it doesn’t produce the same texture as a dedicated shredder. It's convenient for multi-tasking, but requires more cleaning.
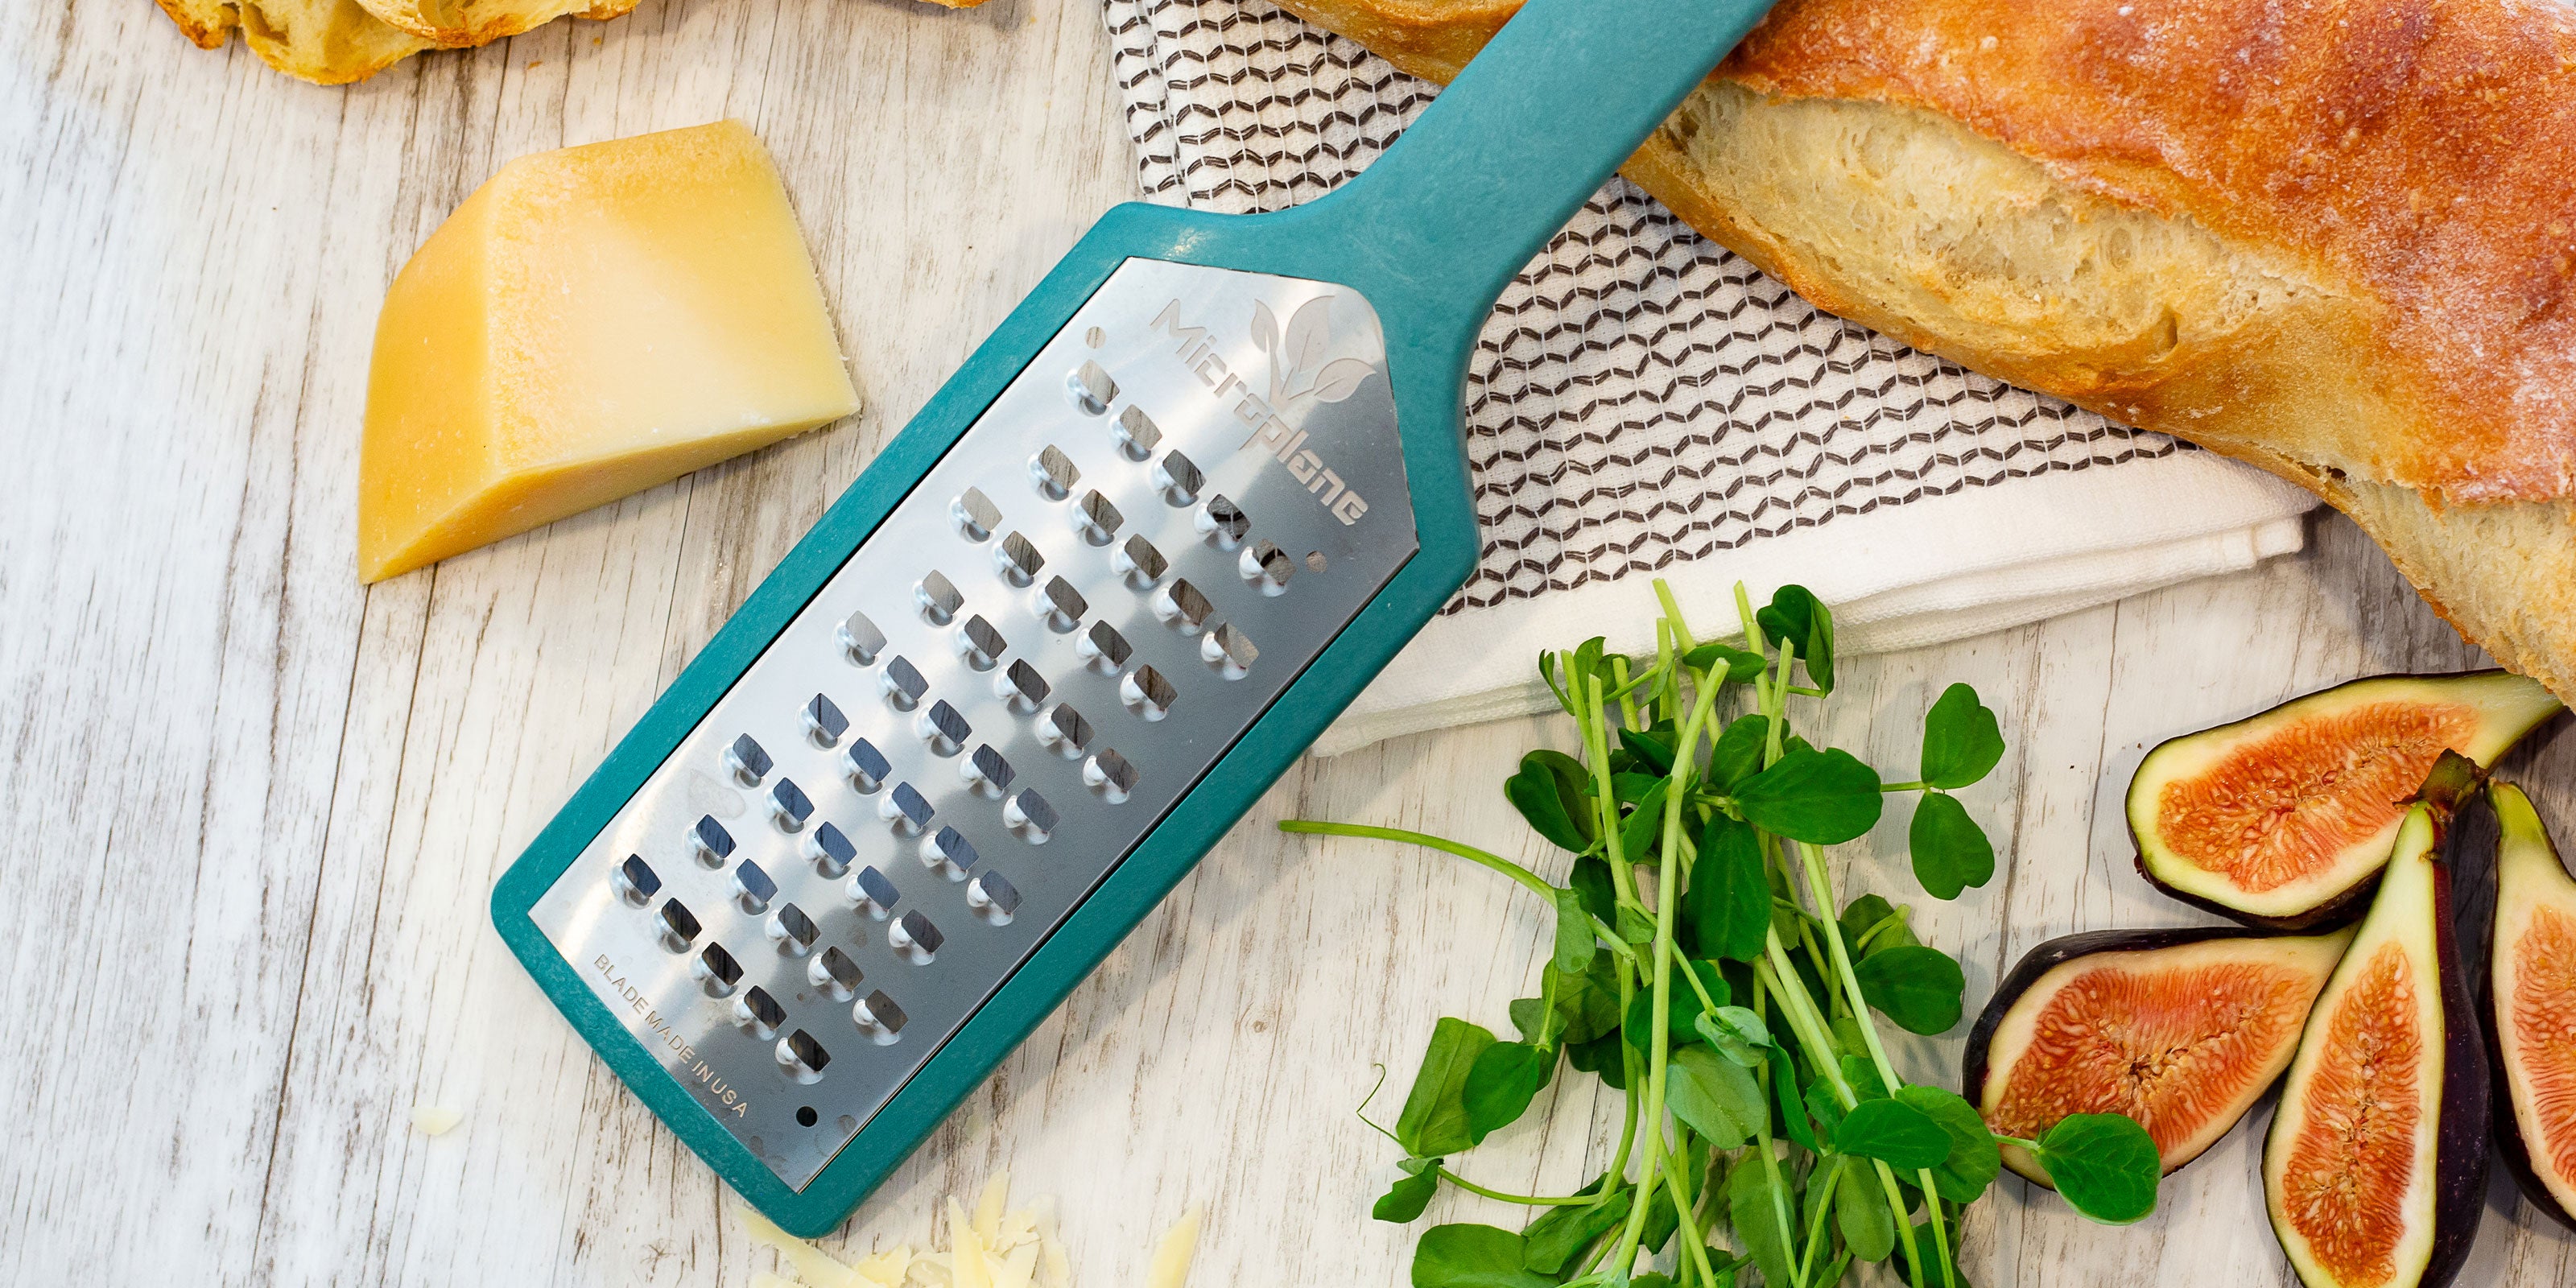
- 6. Cuisinart Kitchen Tools Boxed Grater (3.5/5 stars): A step up from a basic box grater, the Cuisinart model features a more stable base and sharper blades. It's still a manual effort, but it's more efficient than cheaper options.
- 7. Zyliss Classic Rotary Cheese Grater (3.0/5 stars): This rotary grater is compact and easy to store, but it’s slow and requires significant effort. The shred consistency is also less reliable. Best suited for small batches or occasional use.
Potato Shredder Comparison - 2026
| Model | Shred Consistency | Ease of Use | Cleaning Difficulty | Potato Capacity | Durability |
|---|---|---|---|---|---|
| Box Grater (Standard) | Fair | Good | Fair | Small | Good |
| Rotary Cheese Grater | Good | Fair | Fair | Medium | Fair |
| Food Processor (with Shredding Disc) | Excellent | Good | Good | Large | Good |
| Mandoline Slicer (with Shredding Attachment) | Excellent | Fair | Poor | Medium | Fair |
| Microplane Box Grater | Excellent | Fair | Fair | Small | Good |
| KitchenAid Stand Mixer Attachment (Shredder) | Excellent | Good | Good | Large | Excellent |
| Dedicated Electric Potato Shredder | Excellent | Excellent | Fair | Large | Good |
Illustrative comparison based on the article research brief. Verify current pricing, limits, and product details in the official docs before relying on it.
Mandoline Machines: Precision Shredding
Mandolines, particularly those equipped with shredding attachments, offer a significant advantage: consistent shred thickness. This is crucial for achieving evenly cooked and crispy hash browns. The ability to adjust the shred size is also a major benefit, allowing you to tailor the texture to your preference.
However, mandolines come with inherent safety concerns. The blades are extremely sharp and can easily cause serious injury if not handled with care. Always use the handguard and pay close attention to your technique. A learning curve is also involved in mastering the proper angle and pressure.
Cleaning a mandoline can be tedious, especially models with multiple blades. Some models are dishwasher safe, but hand washing is often recommended to maintain blade sharpness. When selecting a mandoline for hash browns, prioritize models with a dedicated shredding blade and robust safety features. Consider the potato type you frequently use, as some mandolines perform better with certain varieties.
Electric Shredders: Speed & Convenience
Electric potato shredders promise speed and convenience, eliminating the manual effort required by other methods. These appliances typically feature a hopper where you feed the potatoes and a rotating blade that produces shredded potatoes. The primary benefit is, undoubtedly, the time savings.
However, electric shredders come with trade-offs. They are generally more expensive and bulky than manual options, requiring dedicated storage space. Cleaning can also be more complex, as many models have multiple parts. The shred consistency may not be as precise as a high-quality mandoline or professional shredder.
Noise is another potential concern. Some electric shredders can be quite loud during operation. Whether the speed and convenience justify the cost and drawbacks depends on your individual needs and how frequently you make hash browns. For occasional use, a manual shredder may be a more practical choice.
Beyond Shredding: Potato Prep Tips
The shredder is just the first step. Proper potato preparation is essential for achieving hash brown perfection. Russet potatoes are generally considered the best choice due to their high starch content, which contributes to crispness. Yukon Golds can also be used, but they tend to produce a slightly less crispy result.
Removing excess starch is critical. After shredding, rinse the potatoes under cold water until the water runs clear. This removes loose starch granules that can cause the hash browns to stick together and become gummy. Thoroughly squeeze out any remaining moisture using a clean kitchen towel or cheesecloth. This step is often overlooked, but it’s arguably the most important.
To prevent discoloration, submerge the shredded potatoes in cold water until ready to cook. This will keep them from oxidizing and turning gray. When frying, use cold oil – this allows the potatoes to cook evenly and develop a crispy exterior. Avoid overcrowding the pan, as this will lower the oil temperature and result in steamed, rather than fried, potatoes. Serious Eats’ crispy shredded hash browns recipe provides a detailed guide to this process.
- Use Russet potatoes for maximum crispness.
- Rinse shredded potatoes until the water runs clear.
- Squeeze out all excess moisture.
- Submerge in cold water to prevent discoloration.
- Use cold oil for frying.
- Avoid overcrowding the pan.
Troubleshooting Common Hash Brown Problems
Even with the right tools and techniques, hash brown mishaps can occur. Here’s how to address some common issues. If your hash browns aren’t crispy enough, ensure you’ve thoroughly removed the starch and moisture. Increase the oil temperature slightly and avoid overcrowding the pan. If they're falling apart, you may not have squeezed out enough moisture or used enough binder (a small amount of flour can help).
If the hash browns are sticking to the pan, the oil may not be hot enough or the pan may not be properly seasoned. Use a well-seasoned cast iron skillet or a non-stick pan. For uneven cooking, ensure the potatoes are shredded uniformly and the oil is evenly distributed. Adjust cooking time and temperature as needed, keeping in mind that different stoves and pans will perform differently.
Don't be afraid to experiment. Hash brown making is a skill that improves with practice. Pay attention to the subtle cues – the sound of the potatoes frying, the color of the edges – and adjust your technique accordingly.
- Not crispy enough: Remove more starch and moisture, increase oil temperature.
- Falling apart: Squeeze out more moisture, add a small amount of flour.
- Sticking to the pan: Use a hot pan with sufficient oil, ensure proper seasoning.
- Uneven cooking: Shred uniformly, distribute oil evenly, adjust cooking time.


No comments yet. Be the first to share your thoughts!