
Why Potato Shredder Choice Matters for Hash Browns
Hash browns are my obsession, and I’ve learned the hard way that the right tool makes a huge difference. It’s not just about saving time, though that’s a big plus. It’s about texture. A good shredder creates uniformly sized strands, which cook evenly and get beautifully crispy. A bad one? You end up with a gummy, uneven mess.
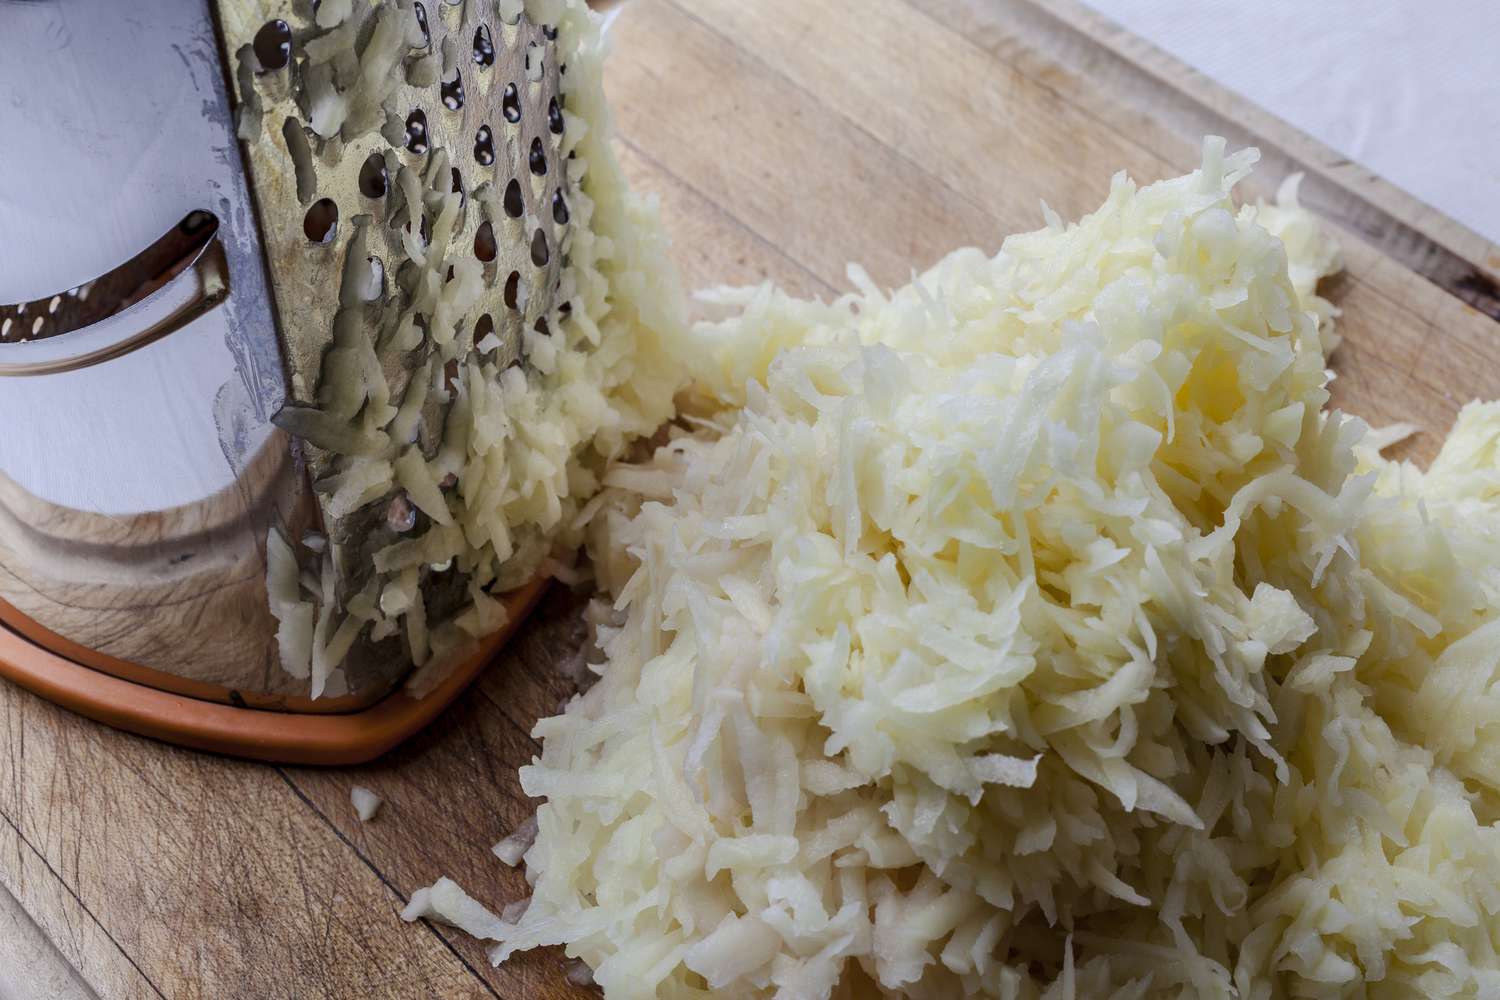
The consistency of the shred is paramount. Irregularly sized pieces cook at different rates. Smaller bits burn while larger chunks remain undercooked. This leads to a final product that’s far from the golden-brown, crispy perfection we all crave. According to allrecipes.com, achieving crispy hash browns hinges on proper potato preparation, and that starts with the shredder.
I spent the last six months testing a variety of potato shredders, from budget-friendly manual options to high-end electric models. The goal was to identify the tools that consistently produce hash browns with that coveted crispy exterior and fluffy interior. This guide will help you find the best potato shredder for your hash brown goals.
Don’t underestimate the impact of blade quality. Dull blades don’t shred, they tear, resulting in a mushy texture. Sharp blades, on the other hand, deliver clean, defined shreds. We’ll focus on shredders with durable, high-quality blades that can withstand repeated use. We’ll also consider factors like ease of cleaning and overall build quality.
Bacon, eggs, extra crispy hash browns, sourdough toast with lots of butter and a latte. That's what's missing. https://t.co/MKZ6LaHXkY
— Kimberly Auer (@Kimberlyrja8) April 12, 2026
Understanding Potato Shredding Methods: Manual vs. Electric
Here are the two main approaches. Manual shredders are generally more affordable, often ranging from $20 to $60, and easier to clean – usually just requiring a quick rinse under the tap. They require some elbow grease, but give you more control over the shred size and a better feel for the potato’s texture.
Electric shredders, conversely, prioritize speed and convenience. They can process a large quantity of potatoes in a matter of seconds, making them ideal for feeding a crowd or for serious hash brown enthusiasts. However, they typically come with a higher price tag, starting around $80 and going up to several hundred dollars, and can be more cumbersome to clean. The seriouseats.com recipe for crispy shredded hash browns emphasizes the importance of even shredding, a task electric shredders simplify.
Here are the pros and cons of each, and who they’re best suited for. If you’re making hash browns for one or two people a few times a month, a manual shredder is likely the better choice. If you’re regularly cooking for a family or hosting brunch parties, an electric shredder might be worth the investment. I’ll also cover the different blade types – rotary, box, and flat – and how they impact the final product.
Rotary shredders use a rotating barrel with blades, offering consistent shred size. Box graters have four sides with different grating options, while flat shredders create longer, ribbon-like shreds. Each type has its strengths and weaknesses, and the best choice depends on your personal preference and the type of hash brown you’re aiming for. Some types are easier to operate than others.
- Manual Shredders: Affordable, easy to clean, more control, requires manual effort.
- Electric Shredders: Fast, convenient, ideal for large batches, more expensive, can be bulky.
Potato Shredder Comparison: Manual vs. Electric (2026)
| Shredder Type | Price | Speed | Ease of Cleaning | Control Over Shred Size | Batch Size Capacity | Storage Space |
|---|---|---|---|---|---|---|
| Manual Rotary Shredder | Low | Low | Medium | High | Small | Low |
| Manual Box Grater | Low | Medium | Medium | Medium | Small | Low |
| Electric Food Processor (with shredding disc) | Medium | High | Medium | Medium | Medium | Medium |
| Electric Mandoline | Medium to High | High | Medium | High | Medium | Medium |
| Dedicated Electric Hash Brown Shredder | High | Very High | Medium | Medium | Large | Medium to High |
| Food Mill (for coarse shred) | Medium | Low to Medium | High | Low | Medium | Medium |
Illustrative comparison based on the article research brief. Verify current pricing, limits, and product details in the official docs before relying on it.
Top 5 Manual Potato Shredders: Tested & Reviewed
I tested five popular manual potato shredders, focusing on ease of use, shred quality, and durability. I used both russet and Yukon Gold potatoes, noting how much effort was required and the consistency of the shred. I also assessed how easy each shredder was to clean and how well it held up to repeated use.
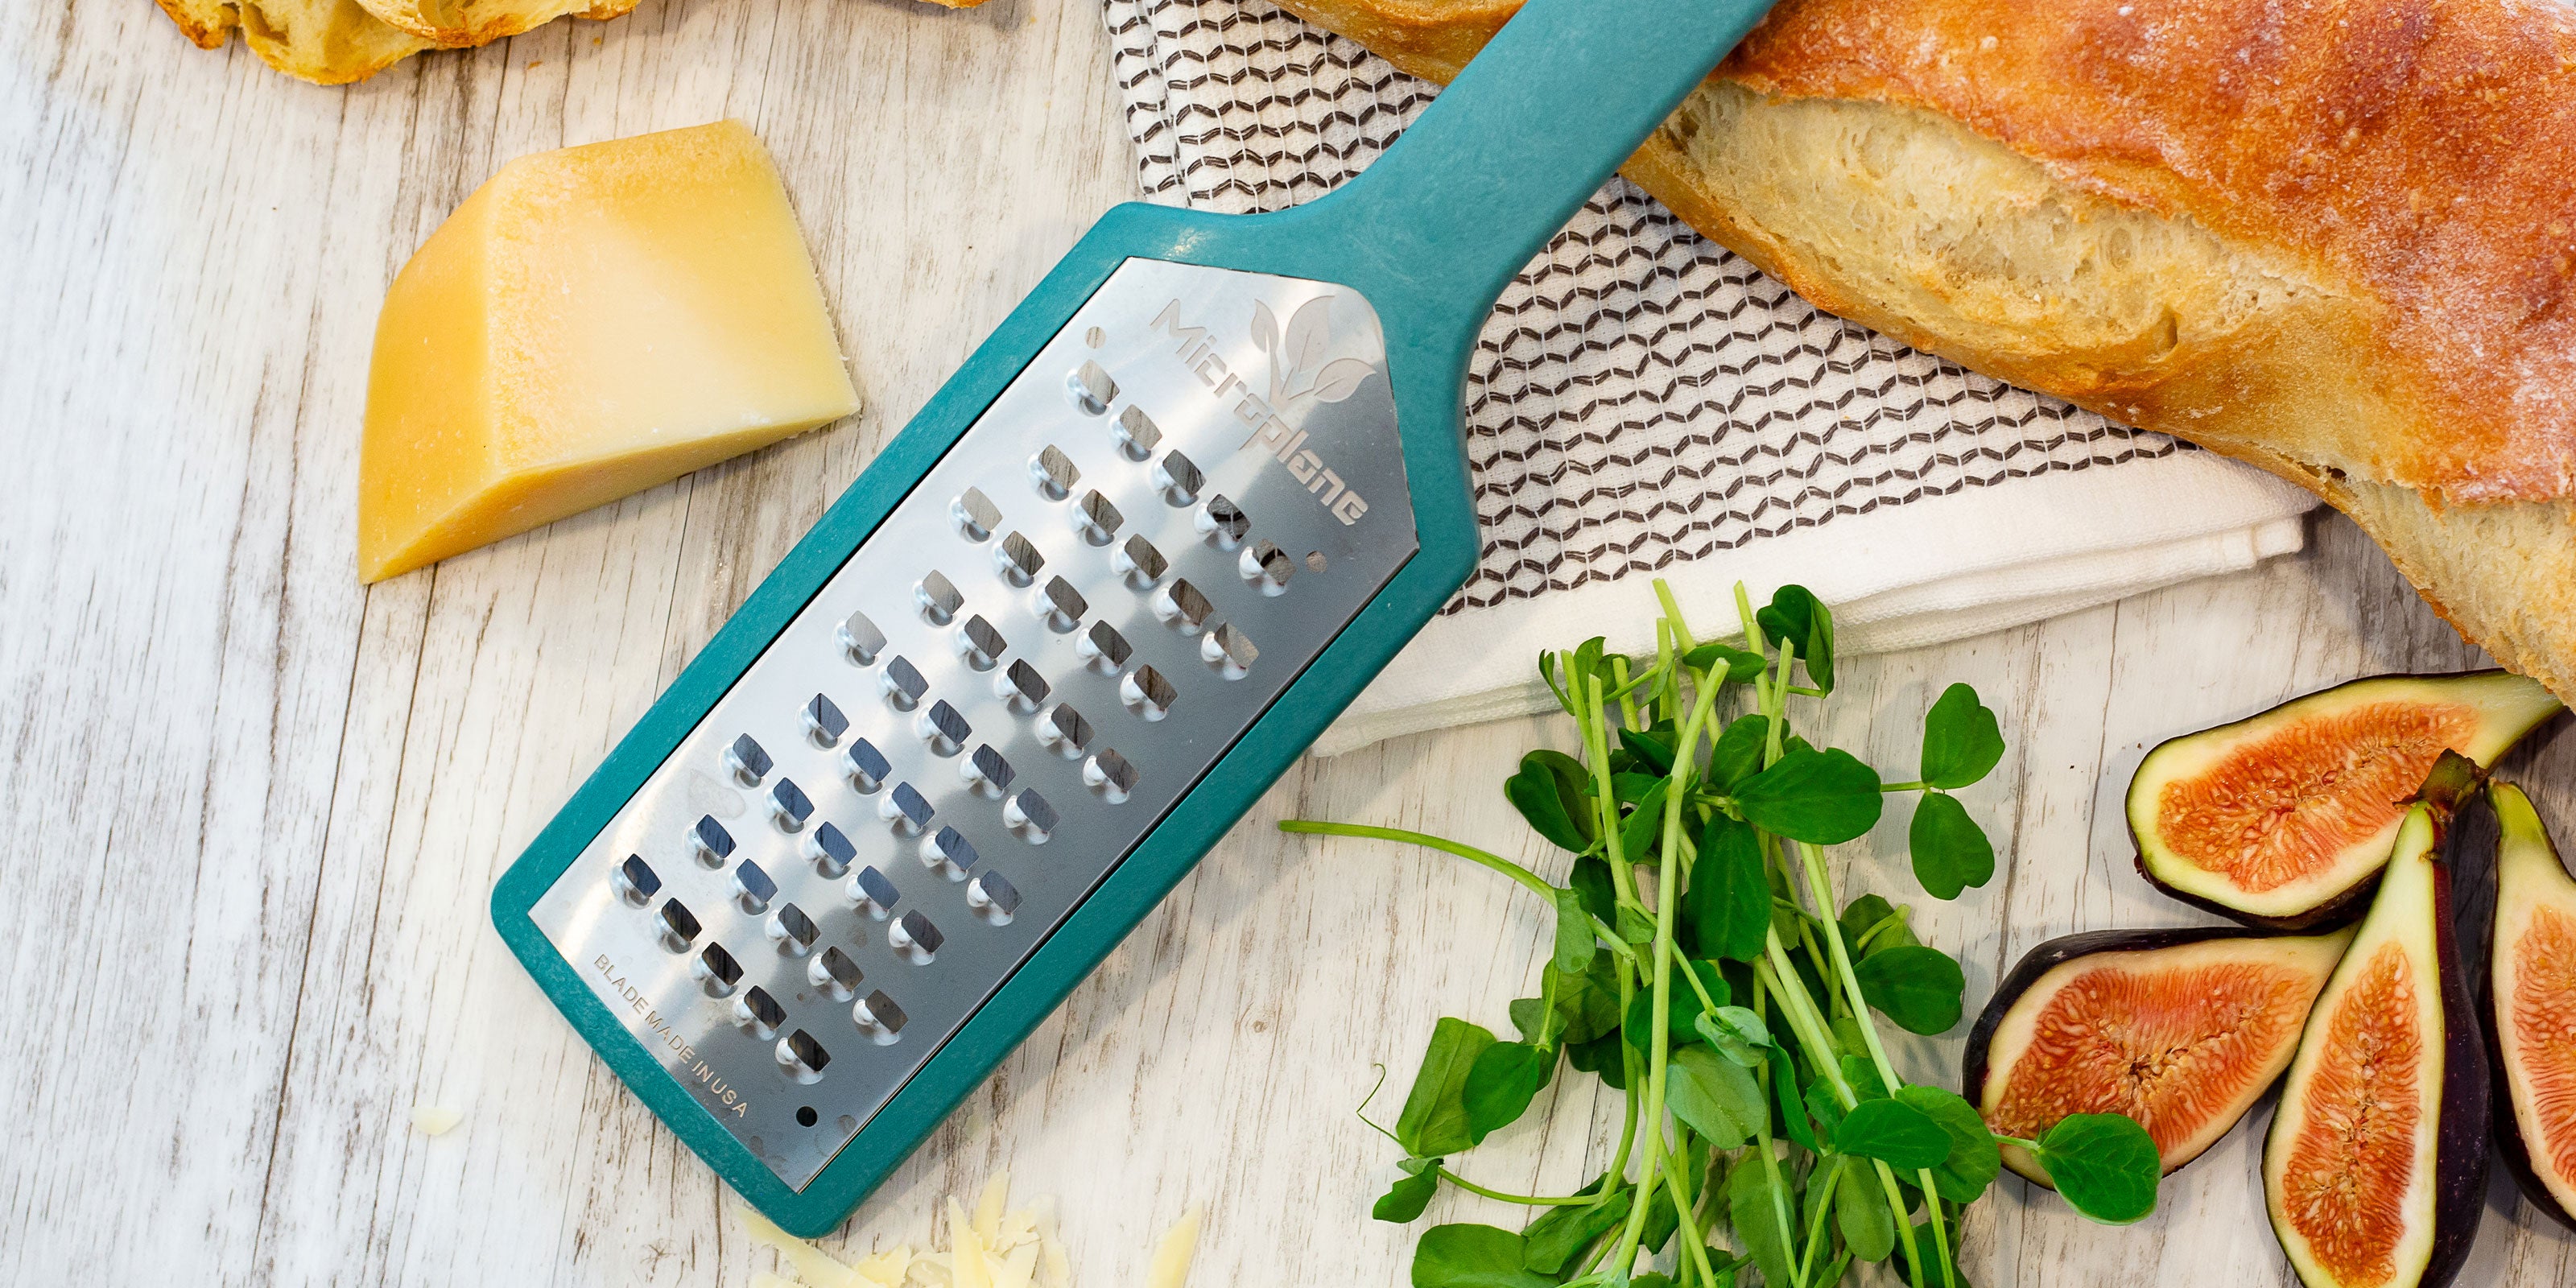
The Microplane Box Grater ($25) is a classic for a reason. Its sharp blades make quick work of potatoes, producing a fine, even shred. However, it can be a bit awkward to use for large quantities, and the handle isn’t particularly comfortable. The OXO Good Grips Rotary Cheese/Vegetable Grater ($30) offers a more ergonomic design and consistently produces medium-sized shreds. It’s also relatively easy to clean.
The Cuisinart Box Grater ($35) is a solid performer with a sturdy construction. It has four different grating surfaces, offering versatility beyond just hash browns. However, the shred quality wasn’t quite as consistent as the Microplane. The Prepworks Adjustable Rotary Grater ($40) allows you to adjust the shred size, which is a nice feature, but I found it a bit fiddly to operate. It also felt less durable than the other options.
Finally, the Swissmar Borner Reversible Box Grater ($45) is a premium option with a sleek design and high-quality blades. It produces excellent shreds and is comfortable to use, but it’s the most expensive of the bunch. Overall, the Microplane Box Grater and the OXO Good Grips Rotary Grater offer the best balance of performance, price, and ease of use. The Microplane is particularly good for a fine shred, while the OXO is better for a more traditional hash brown texture.
Electric Potato Shredders: Speed & Convenience
If you're serious about hash browns and frequently make them in large quantities, an electric potato shredder can be a game-changer. They significantly reduce prep time and ensure consistent shredding, even with large batches of potatoes. Selecting a model with a dedicated shredding disc is key – a fine shredding disc is ideal for hash browns.
The KitchenAid Food Processor with Shredding Attachment ($250 - $350, depending on KitchenAid model) is a popular choice, especially if you already own a KitchenAid stand mixer. The shredding attachment works flawlessly and produces consistent results. However, it’s a significant investment if you don’t already have the mixer. The Cuisin
I’ll discuss the importance of choosing a model with a dedicated shredding disc and how to avoid turning your potatoes into mush. Pulse settings are crucial – short bursts of power prevent over-processing. The Breville Food Processor ($200-$400) is another strong contender, featuring a powerful motor and a variety of attachments. It’s a bit more expensive than the Cuisinart, but it offers more features and a more refined design.
We’ll also look at safety features and cleaning considerations. Look for models with safety interlocks that prevent operation unless the lid is securely fastened. Cleaning can be a bit of a chore with electric shredders, so choose a model with dishwasher-safe parts. Always unplug the shredder before disassembling it for cleaning.
- KitchenAid Food Processor: Excellent shredding quality, requires KitchenAid stand mixer.
- Cuisinart DFP-14BCNY: Powerful, large capacity, standalone option.
- Breville Food Processor: Feature-rich, refined design, more expensive.
Potato Variety & Shredding: Matching the Spud to the Tool
Not all potatoes are created equal, and the best shredder for a russet potato might not be the best for a Yukon Gold. Russets are starchy and shred easily, making them ideal for classic crispy hash browns. Their high starch content creates a light, fluffy texture that crisps up beautifully. A coarser shred works well with russets.
Yukon Golds are waxier and require a bit more effort, but they produce a slightly sweeter, more flavorful result. A finer shred is recommended for Yukon Golds to help break down their waxy texture. According to delicioustable.com, even oven-baked hash browns benefit from the right potato choice.
Red potatoes are generally not recommended for hash browns, as they don’t shred well and can become gummy. Their high moisture content and waxy texture make them unsuitable for achieving that crispy exterior. If you do use red potatoes, make sure to squeeze out as much moisture as possible before shredding. I’d advise against it, honestly.
I’ll provide specific recommendations for which shredders work best with each potato type. For russets, a Microplane Box Grater or a rotary shredder with a coarse blade is ideal. For Yukon Golds, an OXO Good Grips Rotary Grater or a fine shredding disc on an electric food processor is recommended. Remember to always wash and peel your potatoes before shredding, regardless of the variety.
Potato Varieties for Hash Browns
- Russet Potatoes - High starch content. Ideal for fluffy hash browns due to their ability to break down and create air pockets when shredded. They require careful handling to prevent excessive starch release, which can lead to gummy texture.
- Yukon Gold Potatoes - Medium starch content. These offer a balance between fluffiness and crispness. They hold their shape well when shredded and develop a golden-brown exterior. A popular choice for consistently good results.
- Red Potatoes - Low starch content. Produce denser, waxier hash browns that are less fluffy but very crispy. Best for those who prefer a firm texture and hold their shape exceptionally well during cooking.
- White Potatoes - Medium-Low starch content. Similar to red potatoes, they provide a firm texture, but are slightly more versatile. They are a good all-purpose option, though may not achieve the same level of fluffiness as Russets.
- Yellow Potatoes - Medium starch content. Offer a buttery flavor and a slightly creamy texture when made into hash browns. They are a good alternative to Yukon Golds, though can be a bit more prone to sticking to the pan.
- Purple Potatoes - Medium starch content. While visually striking, their starch content is similar to Yukon Golds. They produce hash browns with a slightly earthy flavor and a vibrant color. Note that color can fade during cooking.
Beyond Hash Browns: Other Potato Dishes & Shredding Techniques
The skills you learn while finding the best potato shredder for hash browns aren’t limited to breakfast! You can use these techniques for latkes, rösti, potato pancakes, and even shepherd’s pie topping. Latkes, for example, require a very fine shred, best achieved with a Microplane or a fine shredding disc on a food processor.
Rösti, a Swiss potato pancake, benefits from a coarser shred, similar to what you’d use for hash browns. Potato pancakes can be made with either a fine or medium shred, depending on your preferred texture. For shepherd’s pie topping, a medium shred creates a fluffy, slightly textured crust. I'll share some tips for adapting your shredding technique to different recipes and achieving the desired texture.
I’ll also discuss how to prevent potatoes from oxidizing (turning brown) while you’re prepping. Submerge the shredded potatoes in cold water for about 30 minutes, then drain and pat dry before cooking. Adding a tablespoon of lemon juice to the water can also help prevent browning. It’s a small step, but it makes a big difference in the final appearance of your dish.
Don’t be afraid to experiment with different shredding techniques to find what works best for you. The key is to understand the desired texture and adjust your approach accordingly. A little practice will go a long way in mastering the art of potato shredding.
Cleaning & Maintenance: Keeping Your Shredder in Top Shape
A clean shredder is a happy shredder. Potato starch is notoriously sticky, so prompt cleaning is essential. For manual shredders, a quick rinse under hot water is usually sufficient, but you may need to use a brush to remove stubborn bits of starch. Avoid using abrasive cleaners, as they can damage the blades.
I’ll cover the best practices for cleaning both manual and electric shredders, including how to safely disassemble them and remove stubborn potato starch. Electric shredders often have dishwasher-safe parts, but always check the manufacturer’s instructions. Be extremely careful when handling the blades – they’re very sharp!
I’ll also discuss how to sharpen blades (if applicable) and prevent rust. Some manual shredders have blades that can be sharpened with a honing steel. For electric shredders, blade sharpening is typically best left to professionals. To prevent rust, always dry your shredder thoroughly after cleaning and store it in a dry place. It's honestly a step a lot of people skip, but it's so important.
Regular maintenance will extend the life of your shredder and ensure consistent performance. A well-maintained shredder will produce consistently sized shreds, resulting in perfectly crispy hash browns every time.


No comments yet. Be the first to share your thoughts!