
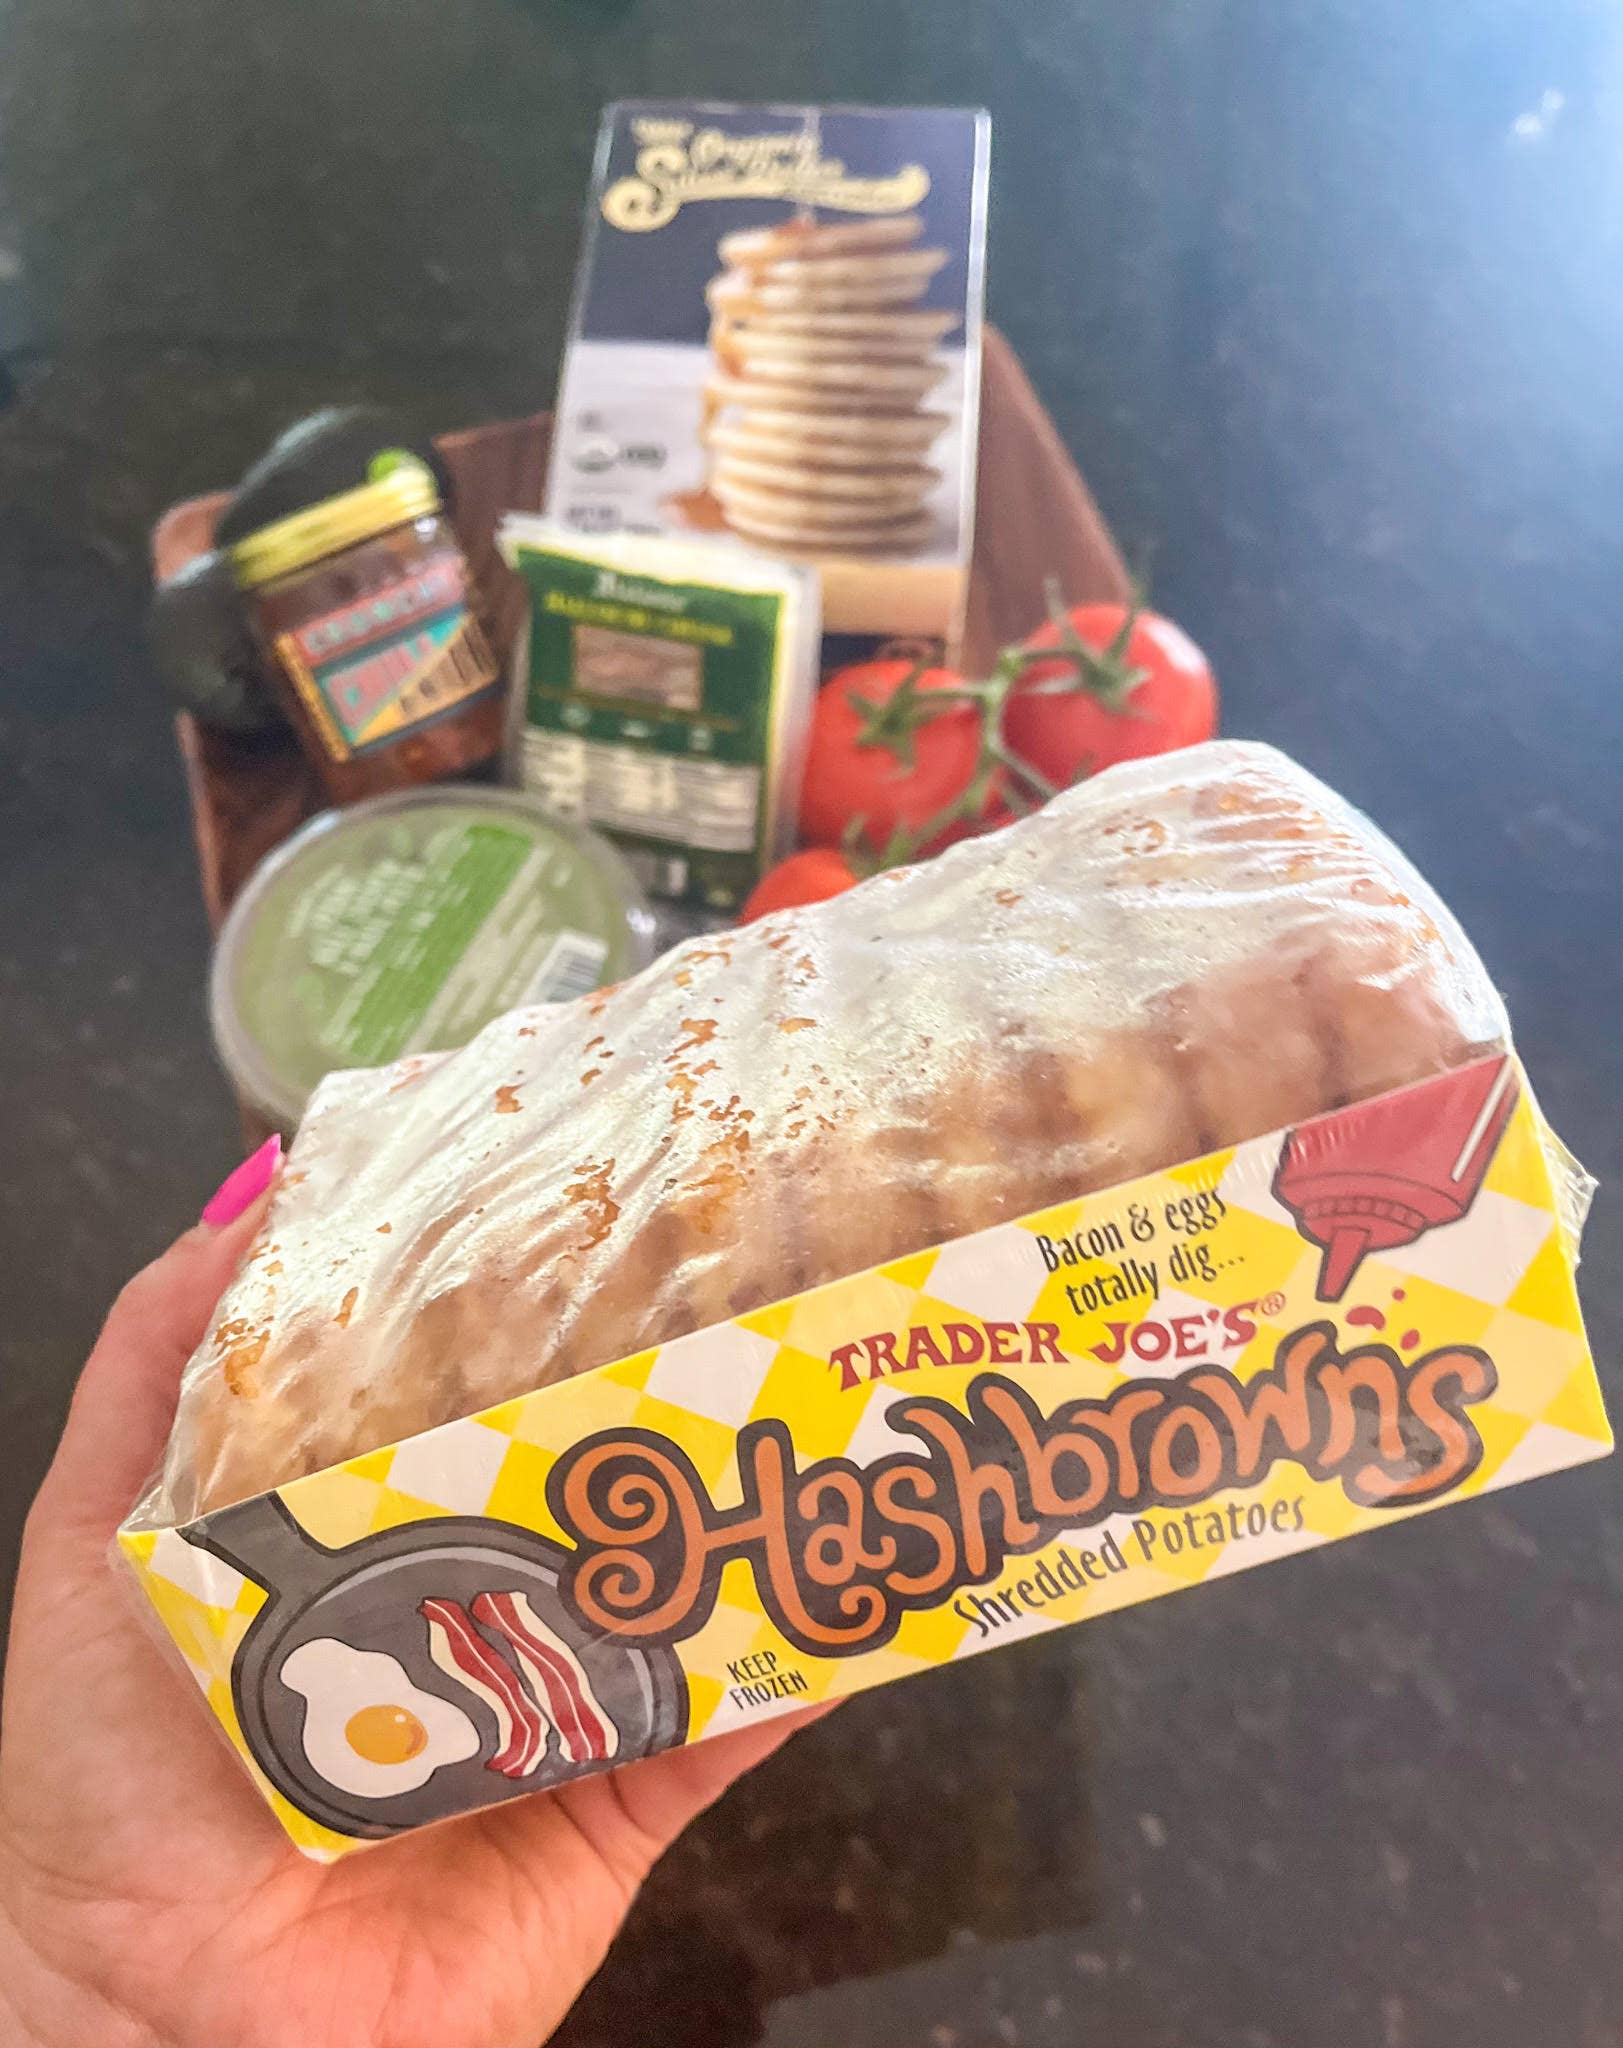
Why homemade hash browns beat the frozen kind
There is a distinct difference between a frozen patty and a skillet full of fresh, shredded potatoes. Frozen hash browns are convenient, but they often arrive with a waxy texture and a coating of preservatives that dull the potato’s natural flavor. When you make them from scratch, you control every ingredient, from the type of potato to the salt level, resulting in a dish that is genuinely superior.
The main advantage of homemade hash browns is texture. Fresh potatoes have a higher moisture content than their frozen counterparts, which requires a bit more effort to manage. You need to squeeze out the excess water to ensure the shreds fry up golden and crunchy rather than steaming into a soggy mess. Once you master that step, the result is a crisp, shattering crust with a tender, fluffy interior.
Beyond the crunch, cooking from scratch allows you to customize the flavor profile. You can add finely chopped onions, peppers, or herbs directly into the mix, or simply season with salt and pepper to let the potato shine. The sizzling sound and the aroma of browning potatoes in butter or oil make the morning routine feel like a special treat rather than just another meal.
Choosing the right potato and shredder
The secret to crispy hash browns starts with the potato. Russets are the gold standard for this recipe. Their high starch content and low moisture mean they crisp up beautifully without turning gummy. Look for firm, smooth-skinned tubers free of green spots or soft bruises. One large Russet potato is usually enough for two people, so plan your shopping accordingly.
You also need the right tool to break down the potato. A box grater or a food processor with a shredding attachment works best. The goal is uniform shreds that cook evenly. If you use a knife, the irregular pieces will brown at different rates, leaving some soggy and others burnt. A food processor is faster, but a box grater gives you more control over the shred size.
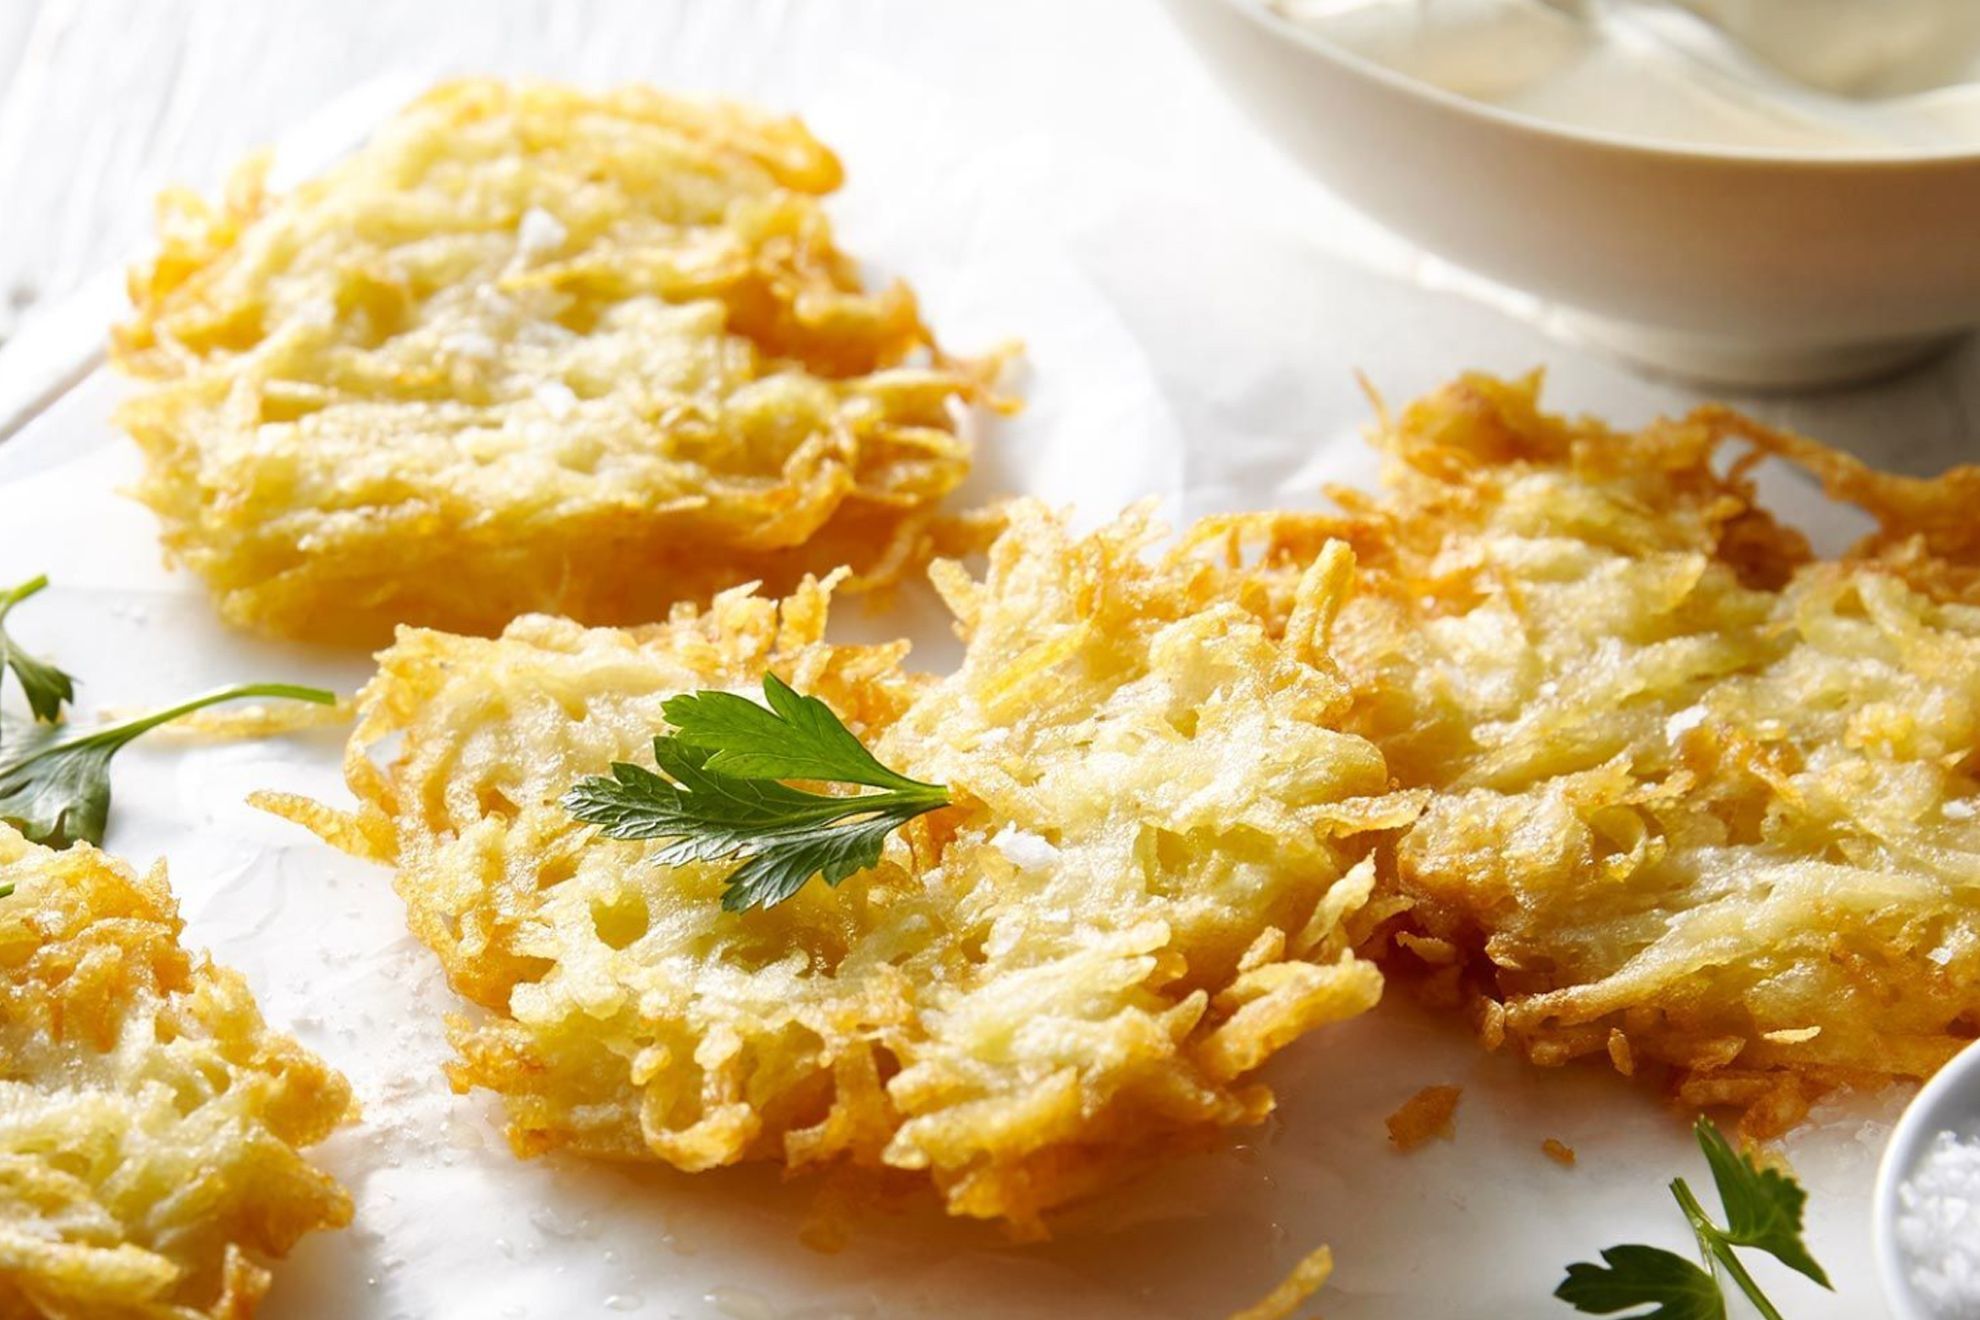
Once shredded, the potatoes will oxidize and turn gray. This is normal, but it affects the final look. To keep them bright and ready for the skillet, rinse the shreds in cold water to remove excess surface starch. Then, squeeze them dry. This step is critical for achieving that rich color and crunchy texture on the exterior.
| Feature | Box Grater | Food Processor |
|---|---|---|
| Speed | Slow, manual effort | Fast, hands-off |
| Shred Size | Consistent, medium | Variable, can be fine |
| Control | High pressure for thin shreds | Easy to over-process |
| Cleanup | Simple, few parts | More parts, harder to clean |
The secret to removing potato moisture
Water is the enemy of crispiness. When wet potatoes hit hot oil, the temperature drops and the surface steams instead of frying. You end up with soggy, pale shreds that stick to the pan. Removing that excess moisture is the single most important step in making crispy hash browns at home.
Start by rinsing your shredded potatoes in cold water. This washes away the surface starch that acts like glue, keeping the shreds separate. Drain the water, then transfer the potatoes to a clean kitchen towel or several layers of cheesecloth. Gather the edges and twist tightly over the sink. Squeeze hard. You want to feel the water push out until the bundle feels dry to the touch.
If you are using a potato shredder, this step is even more critical because the machine releases more starch than a hand grater. Don't skip the squeeze. A dry potato shreds into golden, crunchy edges that sizzle loudly in the pan. Wet shreds just steam. Trust the process: the drier they are, the crispier they get.
Place your shredded potatoes in a large bowl of cold water. Swish them around with your hands for about 30 seconds. You will see the water turn cloudy white; that is the excess starch leaving the potatoes. Drain the cloudy water and repeat with fresh water until it runs clear.
Spread the rinsed potatoes onto a clean, lint-free kitchen towel. Gather the corners and twist the bundle tightly over the sink. Apply firm pressure and twist until no more water drips out. This physical removal of moisture is what allows the oil to contact the potato surface directly, creating that essential crunch.
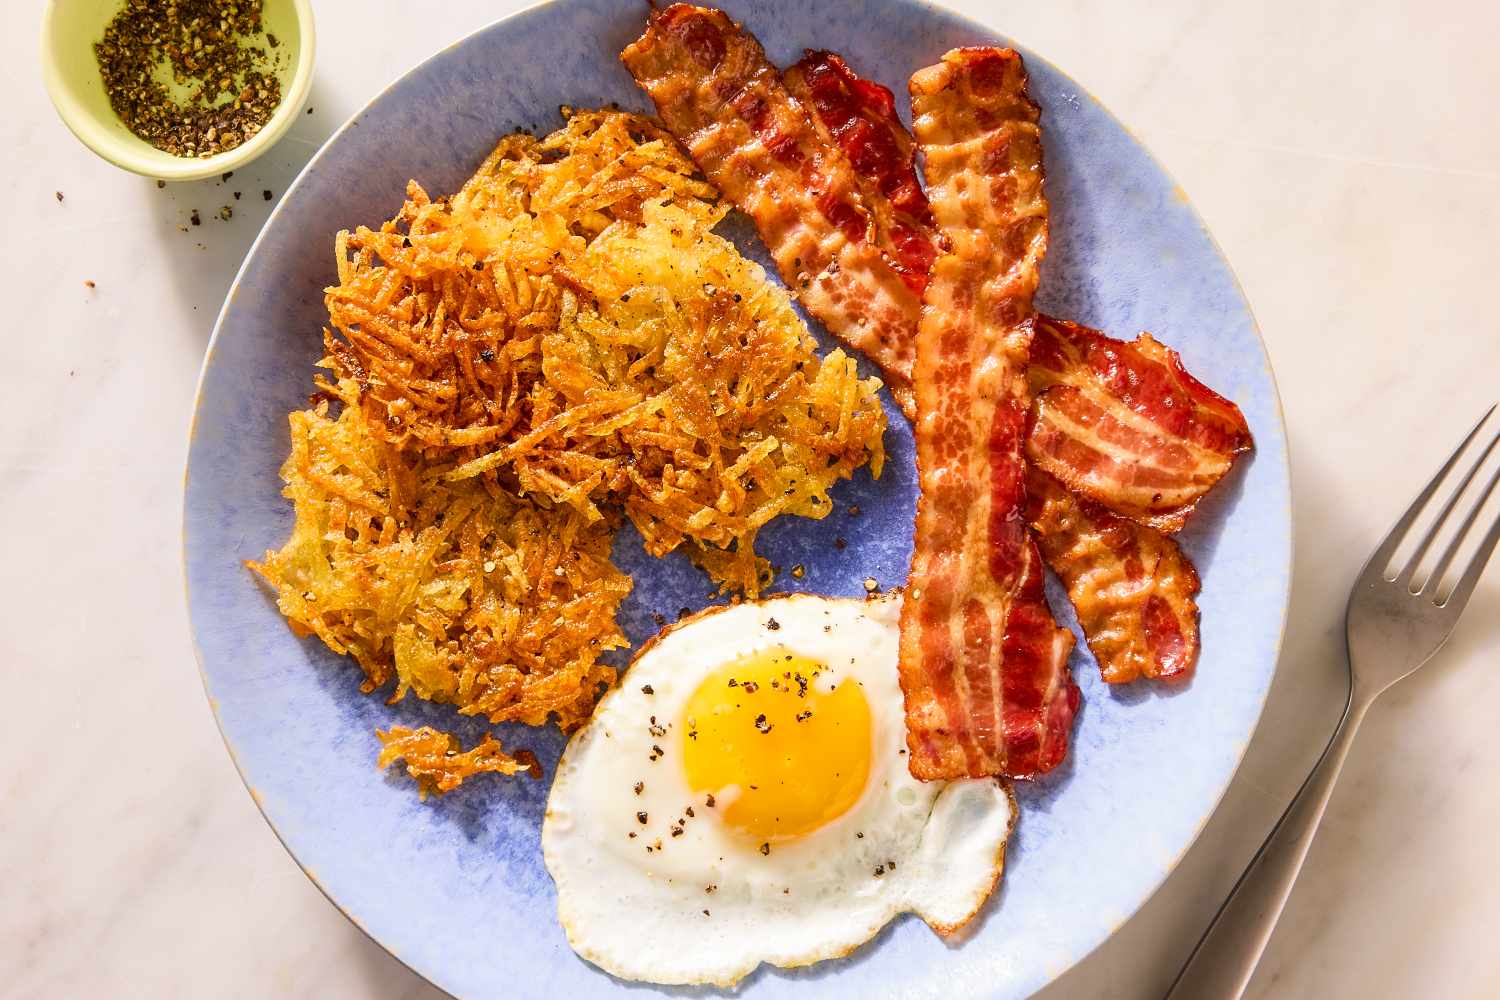
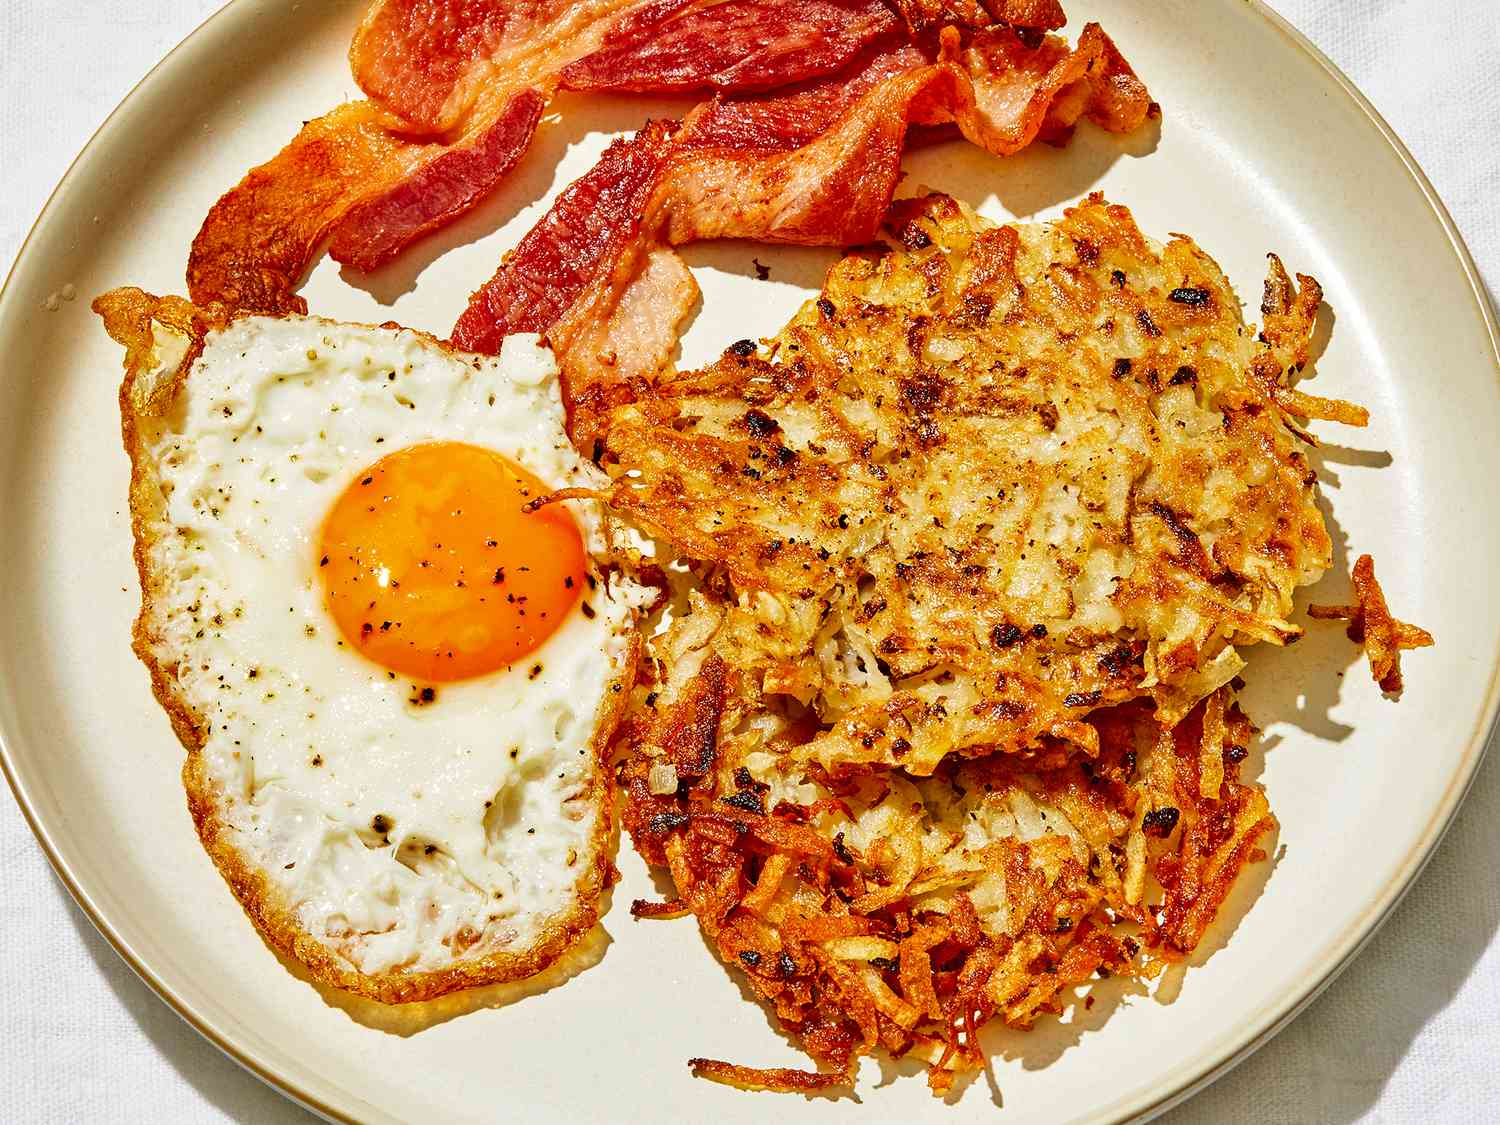
How to cook crispy hash browns in a skillet
The difference between soggy potatoes and a shatteringly crisp crust comes down to heat management and patience. You want the oil hot enough to sizzle the moment the potatoes hit the pan, but not so hot that they burn before they cook through. Start by heating your oil or butter over medium-high heat in a large cast-iron or non-stick skillet. Once the fat is shimmering and hot, add your shredded potatoes.
Spread the potatoes out into an even, compact layer. Press them down gently with a spatula to create a solid cake; this ensures maximum surface area contact with the pan. Now, the hardest part: do not touch them. Let the hash browns cook undisturbed for 5 to 7 minutes. This waiting period allows the starches to caramelize and form that deep golden-brown crust you are after. If you lift the edge too early, you will tear the crust and lose the crunch.
When the bottom is firmly set and deeply golden, it is time to flip. Slide a large spatula under the entire cake, or use the plate-flip method for a perfect round shape. Return the skillet to the heat and cook the second side for another 4 to 5 minutes until equally crisp. Serve immediately while hot and crunchy.
Common mistakes that make hash browns soggy
Even with the best shredder and a sharp knife, a few common kitchen habits can turn your golden, crunchy hash browns into a mushy disappointment. The difference between a diner-style crisp and a steamed mess usually comes down to moisture, heat management, and patience. Avoid these pitfalls to ensure every bite shatters rather than squelches.
Overcrowding the pan
This is the number one enemy of crispiness. When you pile too many shredded potatoes into the skillet, the temperature of the pan drops rapidly. Instead of frying, the potatoes begin to steam in their own released moisture. As Simply Recipes notes, spreading the potatoes in a thin, even layer allows heat to penetrate evenly, creating that essential golden-brown crust. If your skillet feels tight, cook in batches. It takes a few extra minutes, but the result is worth it.
Flipping too early
Patience is the secret ingredient. Many cooks flip their hash browns after just two or three minutes because they want to "check" on them. This breaks the developing crust before it has had time to set. Let the potatoes cook undisturbed for five to seven minutes. You should see the edges turn a deep golden brown and feel the bottom firm up against the spatula. If the hash brown sticks when you try to lift it, it isn't ready. Give it another minute.
Using the wrong fat
The fat you choose affects both flavor and smoke point. Butter burns easily at the high heat required for crispy hash browns, leaving you with bitter, blackened bits. Neutral oils with high smoke points, such as vegetable, canola, or avocado oil, are better suited for this task. They allow the pan to get hot enough to crisp the exterior without burning. A combination of butter for flavor added at the very end can work, but never start with butter alone.
No comments yet. Be the first to share your thoughts!