
Why this skillet method wins
The skillet is the only tool that delivers true diner-style crunch. While oven-baking often leaves potatoes steamed in their own moisture and deep-frying can feel heavy, a hot cast-iron skillet gives you direct control over the Maillard reaction—the chemical process that creates that golden-brown crust and nutty flavor.
Heat transfer is immediate and intense when using a heavy skillet. This allows the exterior of the potato shreds to dehydrate and crisp before the interior becomes mushy. The key is maintaining consistent high heat and resisting the urge to stir. When you spread the potatoes in a thin, even layer, you maximize surface contact with the pan. This ensures every shred gets the opportunity to caramelize rather than steam.
Patience is the secret ingredient. Let the hash browns cook undisturbed for several minutes until the bottom forms a solid, golden-brown shell. If you lift the edge and it releases easily from the pan, it’s ready to flip. Stirring too early breaks up the crust and results in soggy, uneven pieces.
Choosing the right potatoes
The foundation of a perfect skillet hash brown starts with the tuber. Russet potatoes are the gold standard for this dish because their high starch content and low moisture allow them to crisp up properly. When you shred a Russet, the starchy strands bind together naturally, creating a cohesive patty that holds its shape in the pan. Waxy potatoes like red or Yukon Gold hold too much water and lack the structural integrity needed for that signature crunch, often resulting in a soggy or mushy texture.
You have two main paths for preparation: fresh shredded potatoes or frozen hash browns. Each approach offers different trade-offs regarding texture and convenience. Fresh potatoes give you complete control over the starch content and moisture levels, allowing for a more rustic, diner-style result. Frozen options provide speed and consistency, though they often contain additives that can affect the final crispness.
Fresh vs. Frozen Hash Browns
The choice between fresh and frozen comes down to your priorities for texture and effort. Fresh potatoes require an extra step of rinsing to remove excess surface starch, which prevents gumminess but ensures better browning. Frozen hash browns are pre-shredded and blanched, meaning they are ready to hit the pan immediately. However, they often contain preservatives or anti-caking agents that can inhibit browning.
| Attribute | Fresh Shredded | Frozen Shreds |
|---|---|---|
| Prep Time | 10-15 minutes | 0 minutes |
| Texture | Rustic, uneven crunch | Uniform, softer bite |
| Crispiness Potential | High (with proper drying) | Medium to High |
| Convenience | Requires washing/shredding | Ready to cook |
If you choose fresh potatoes, the secret to golden-brown edges is removing as much moisture as possible. After shredding, rinse the potatoes in cold water, then squeeze them dry in a clean kitchen towel or cheesecloth. This step concentrates the starch and ensures the potatoes fry rather than steam in the pan. For frozen hash browns, let them thaw slightly and pat them dry with paper towels before adding them to the skillet to maximize their crispiness potential.
Prep Steps for Maximum Crunch
The difference between a soggy, steamed mess and a golden, shattering crust comes down to moisture control. Potatoes are mostly water and starch; if you leave the starch on the surface, it acts like glue, holding moisture in and preventing browning. If you leave the water in, it turns to steam, which softens the crust. Removing both is the only way to get true crunch.
Use the large holes of a box grater or a food processor with a shredding disc. If you are using frozen hash browns, thaw them completely first so they shred evenly. Shred fresh potatoes directly into a large bowl of ice-cold water. This stops the enzymes from turning the potatoes brown and begins the process of loosening the surface starch.
Swirl the potatoes around in the cold water with your hands. The water will turn cloudy white as the loose starch releases. Drain this cloudy water and repeat the process with fresh cold water. Continue rinsing and swirling until the water stays relatively clear. This step is non-negotiable for crispy results; it removes the gummy coating that prevents browning.
Transfer the rinsed potatoes to a clean kitchen towel or several layers of cheesecloth. Gather the edges and twist tightly over the sink. Squeeze with all your might. You need to remove as much liquid as possible. If the potatoes are still wet, they will steam instead of fry. The Bon Appétit test kitchen emphasizes this step: "Squeeze. Toss them around. Then squeeze again. WITH ALL OF YOUR MIGHT." This is the single biggest factor in avoiding soggy hash browns.

For extra insurance, spread the squeezed potatoes on a clean towel for 10-15 minutes to let any residual surface moisture evaporate. Pat them dry one last time if needed. The drier the potato shreds are before they hit the pan, the faster they will crisp up and the more golden brown they will become.
Once your potatoes are shredded, rinsed, and bone-dry, they are ready for the pan. Keep them in a cool, dry place until you are ready to cook. If you let them sit too long after drying, they can start to oxidize and turn gray, so aim to cook them immediately after preparation.
Cooking the perfect golden crust
The difference between a soggy breakfast side and a restaurant-quality hash brown is almost entirely about heat management and patience. Once your potatoes are in the pan, you are no longer just cooking; you are engineering a crust. This section covers the critical moments where technique determines the final texture.
Choosing the right fat
The oil you use dictates both the flavor profile and the smoke point. For a traditional, rich flavor, use a combination of butter and neutral oil. Butter alone burns too quickly at the high heat required for crispiness, while a neutral oil like avocado or vegetable oil stands up to the temperature without smoking the kitchen.
Start with a heavy-bottomed cast iron or non-stick skillet. Heat it over medium-high heat for two minutes before adding any fat. A properly heated pan prevents sticking and ensures the potatoes sizzle immediately upon contact, which is the first step toward browning. If the oil shimmers but doesn't hiss, the pan is ready.
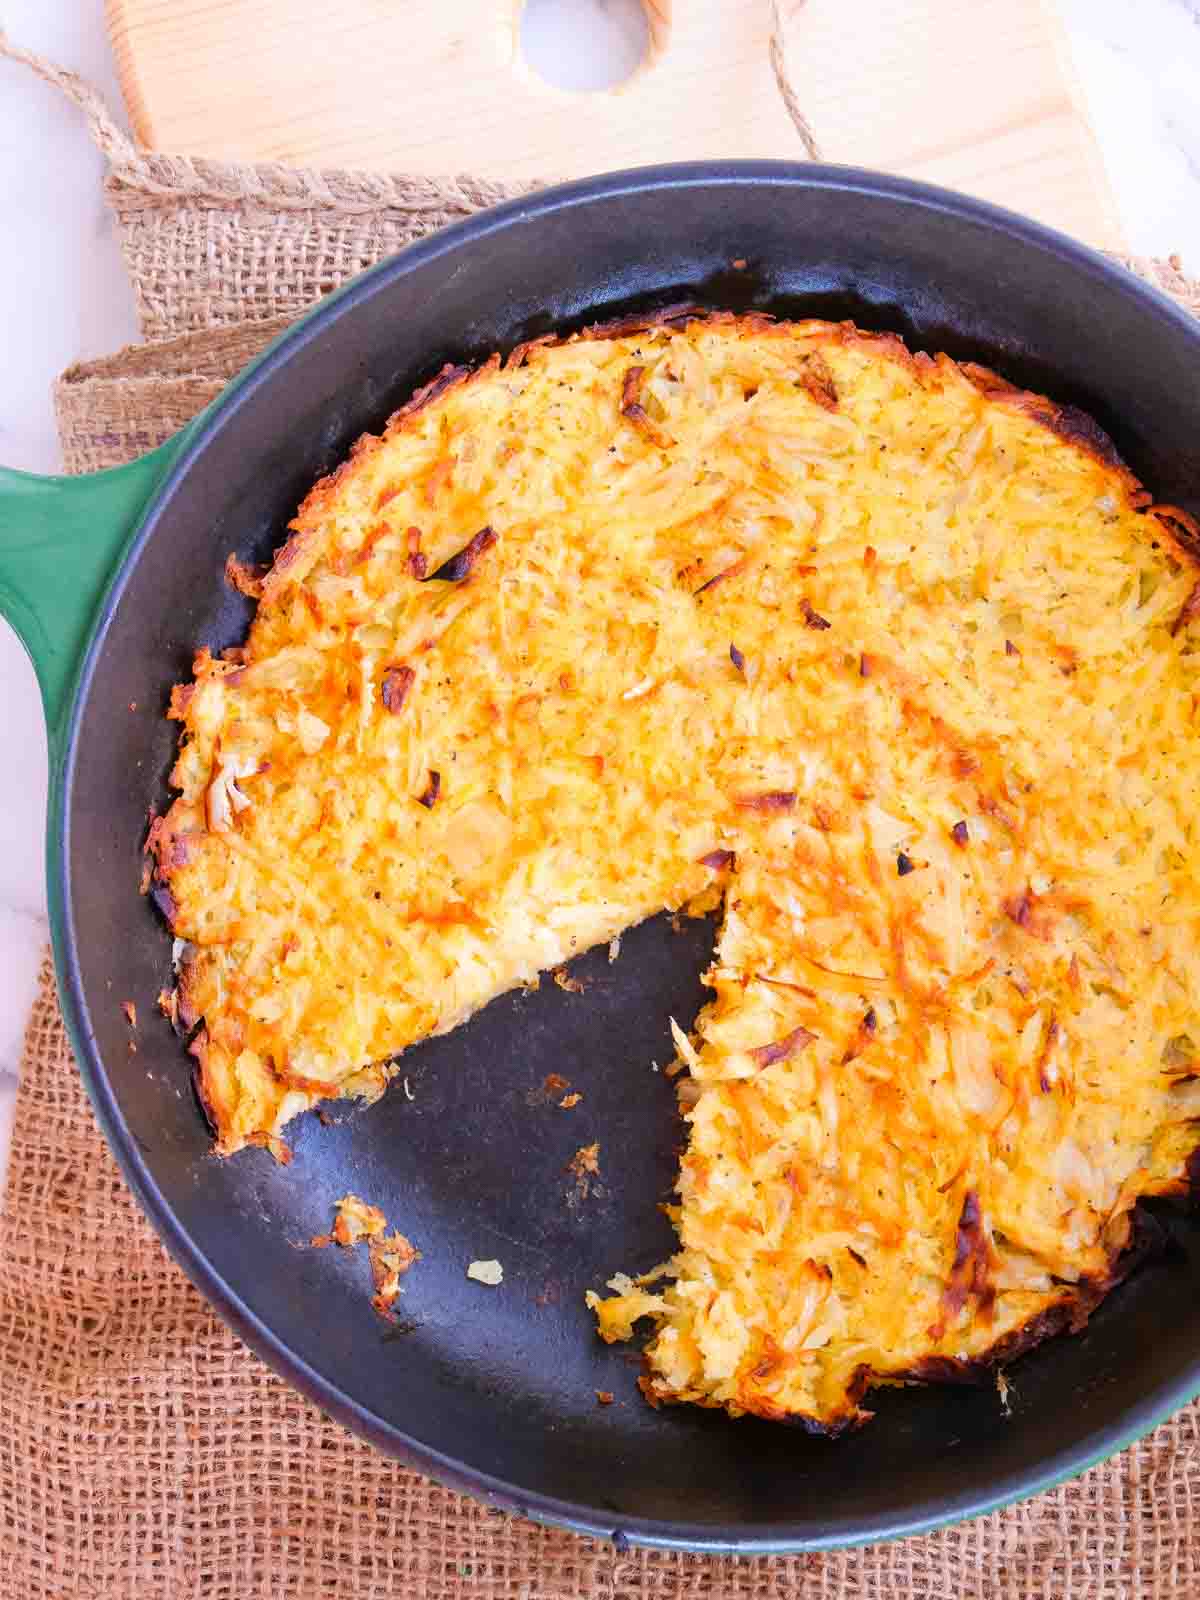
Add your oil or butter mixture and swirl to coat the bottom evenly. Spread the shredded potatoes into a single, compact layer. Press down firmly with a spatula to remove air pockets. A tight patty cooks more evenly and creates a larger surface area for the crust to form. Avoid leaving gaps between shreds.
This is the most critical step. Once the potatoes hit the pan, do not touch them for 5 to 10 minutes. Let the Maillard reaction occur. If you try to lift the edge too early, the crust will tear, and the potatoes will stick to the pan. You can gently shake the pan to check if the bottom is loose, but resist the urge to flip or stir.
After the waiting period, lift the edge slightly to check the color. You are looking for a deep, uniform golden brown. If it is still pale, give it another 2-3 minutes. The crust should be rigid enough to hold its shape when tilted. If it slides around freely, the bottom is fully seared and ready for flipping.
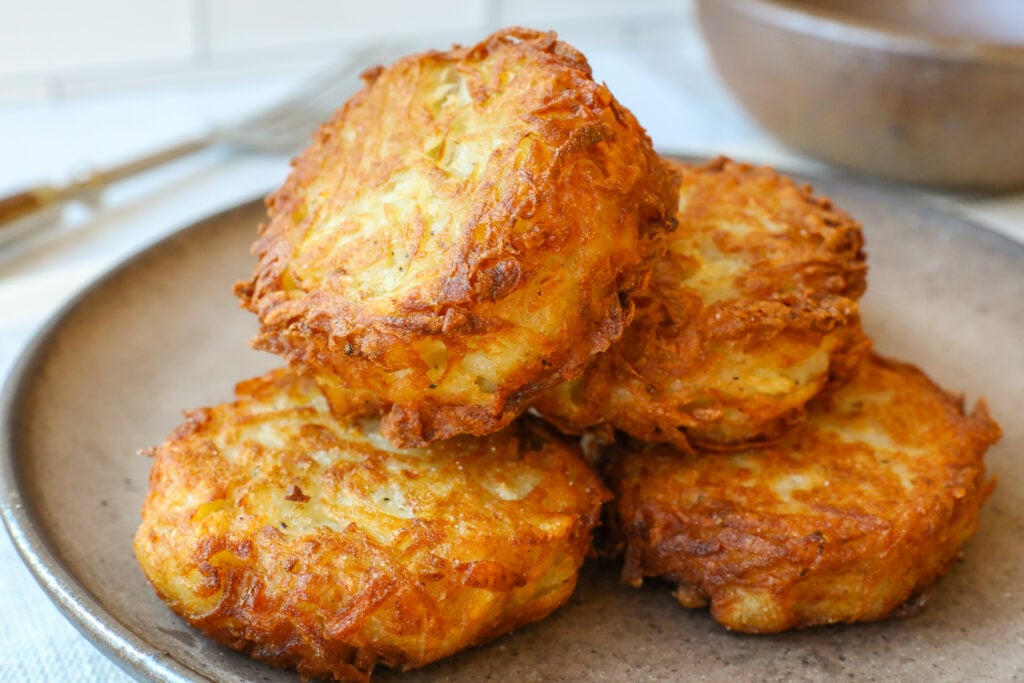
Slide a large spatula under the entire patty and flip it in one confident motion. If the patty breaks, press it back together with the spatula. Cook the second side for another 3-5 minutes until it matches the first side in color and crispiness. The interior should be tender, and the exterior should shatter slightly when bitten.
Troubleshooting common issues
Even with the best technique, hash browns can sometimes fail. If your hash browns are sticking to the pan, your heat was likely too low, causing the potatoes to steam rather than fry. If they are burning before the inside is cooked, the heat is too high; lower it slightly and cover the pan for the last few minutes to steam the interior.
Fixing Common Hash Brown Mistakes
Even experienced cooks run into trouble with hash browns. Sticking pans, uneven browning, and sogginess are the usual suspects. Each issue has a specific technical fix that comes down to moisture control and heat management.
Soggy Hash Browns
Water is the enemy of crispiness. Shredded potatoes release starch and liquid as soon as they hit the pan. If you skip drying, you are essentially steaming your breakfast. Rinse your shredded potatoes in cold water to remove excess starch, then squeeze them dry. Use a clean kitchen towel or cheesecloth and wring them out with force. The potatoes should feel dry to the touch before they ever touch the skillet.
Sticking to the Pan
If your hash browns stick, you likely added them to a cold pan or used too little fat. Start with a heavy skillet—cast iron is ideal—and preheat it over medium heat. Add your oil or butter and wait until it shimmers or foams slightly before adding the potatoes. Do not press down on the patty with your spatula; this breaks the crust and releases moisture back into the pan.
Uneven Browning
Patience is the only cure here. Once the potatoes are in the pan, resist the urge to stir. Let them cook undisturbed for five to ten minutes. This allows a deep, golden-brown crust to form on the bottom. If you lift the edge and see a crisp, dark layer, it is ready to flip. Stirring too early tears apart the structure and leads to pale, soft spots.
- Dry the potatoes thoroughly before cooking.
- Preheat the skillet until the oil shimmers.
- Leave the hash browns untouched for 5-10 minutes.
- Use a heavy skillet for consistent heat distribution.
Serving and storage tips
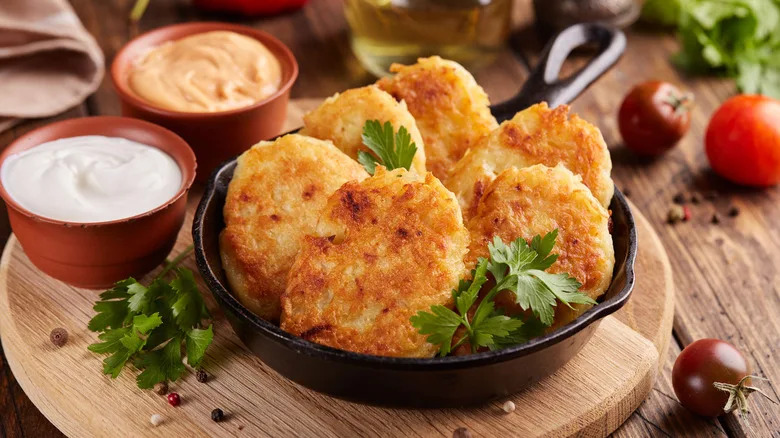
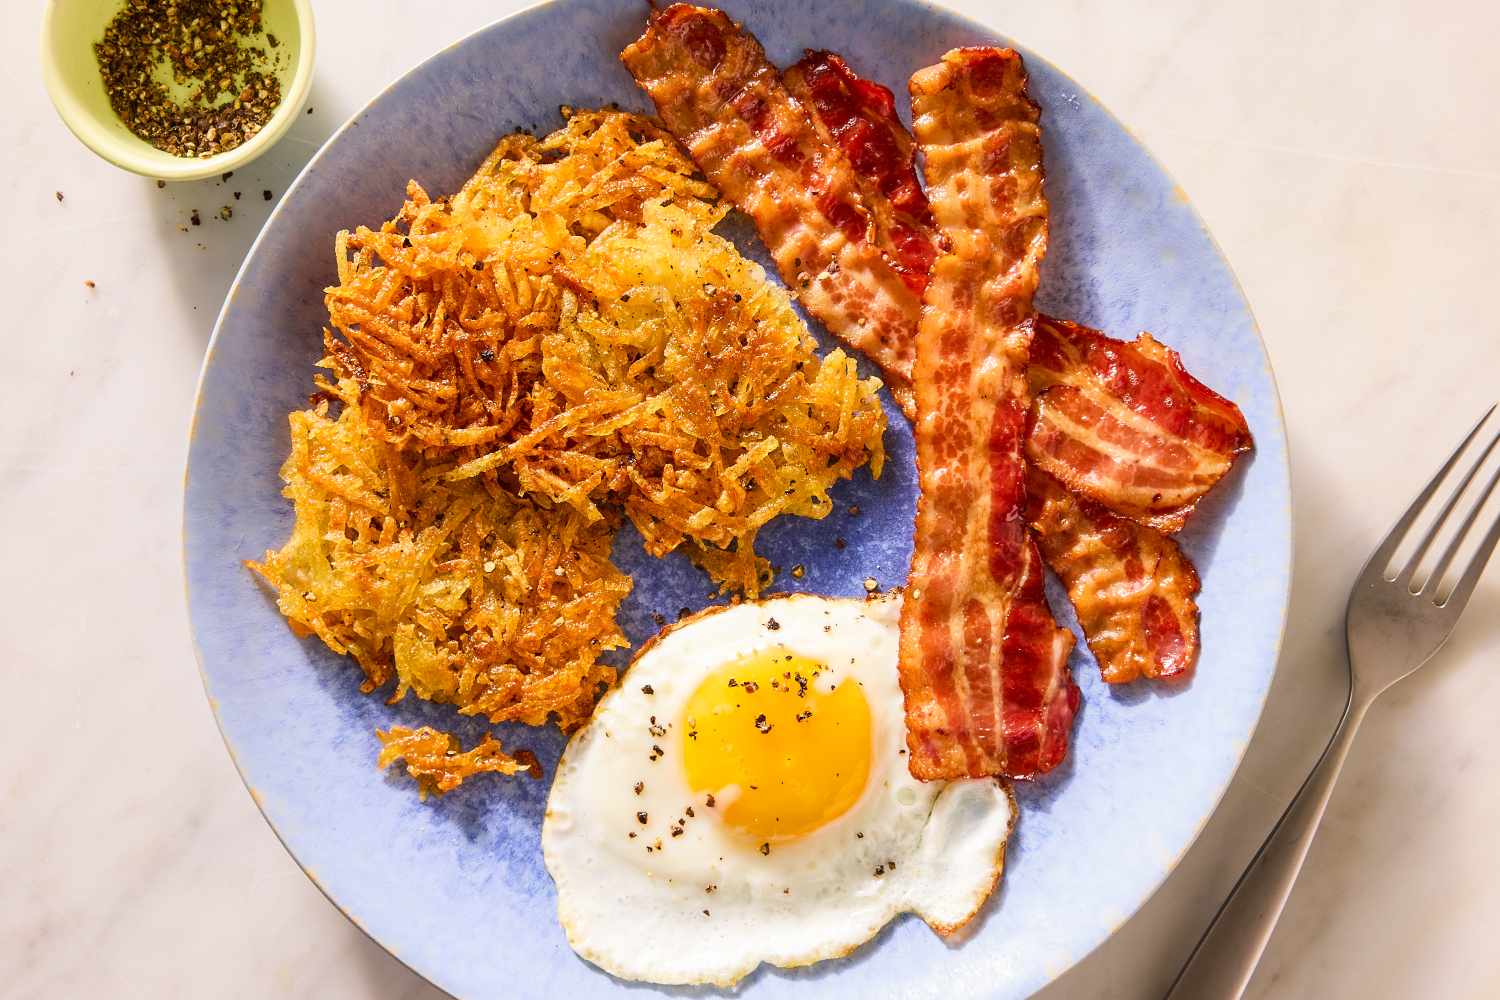
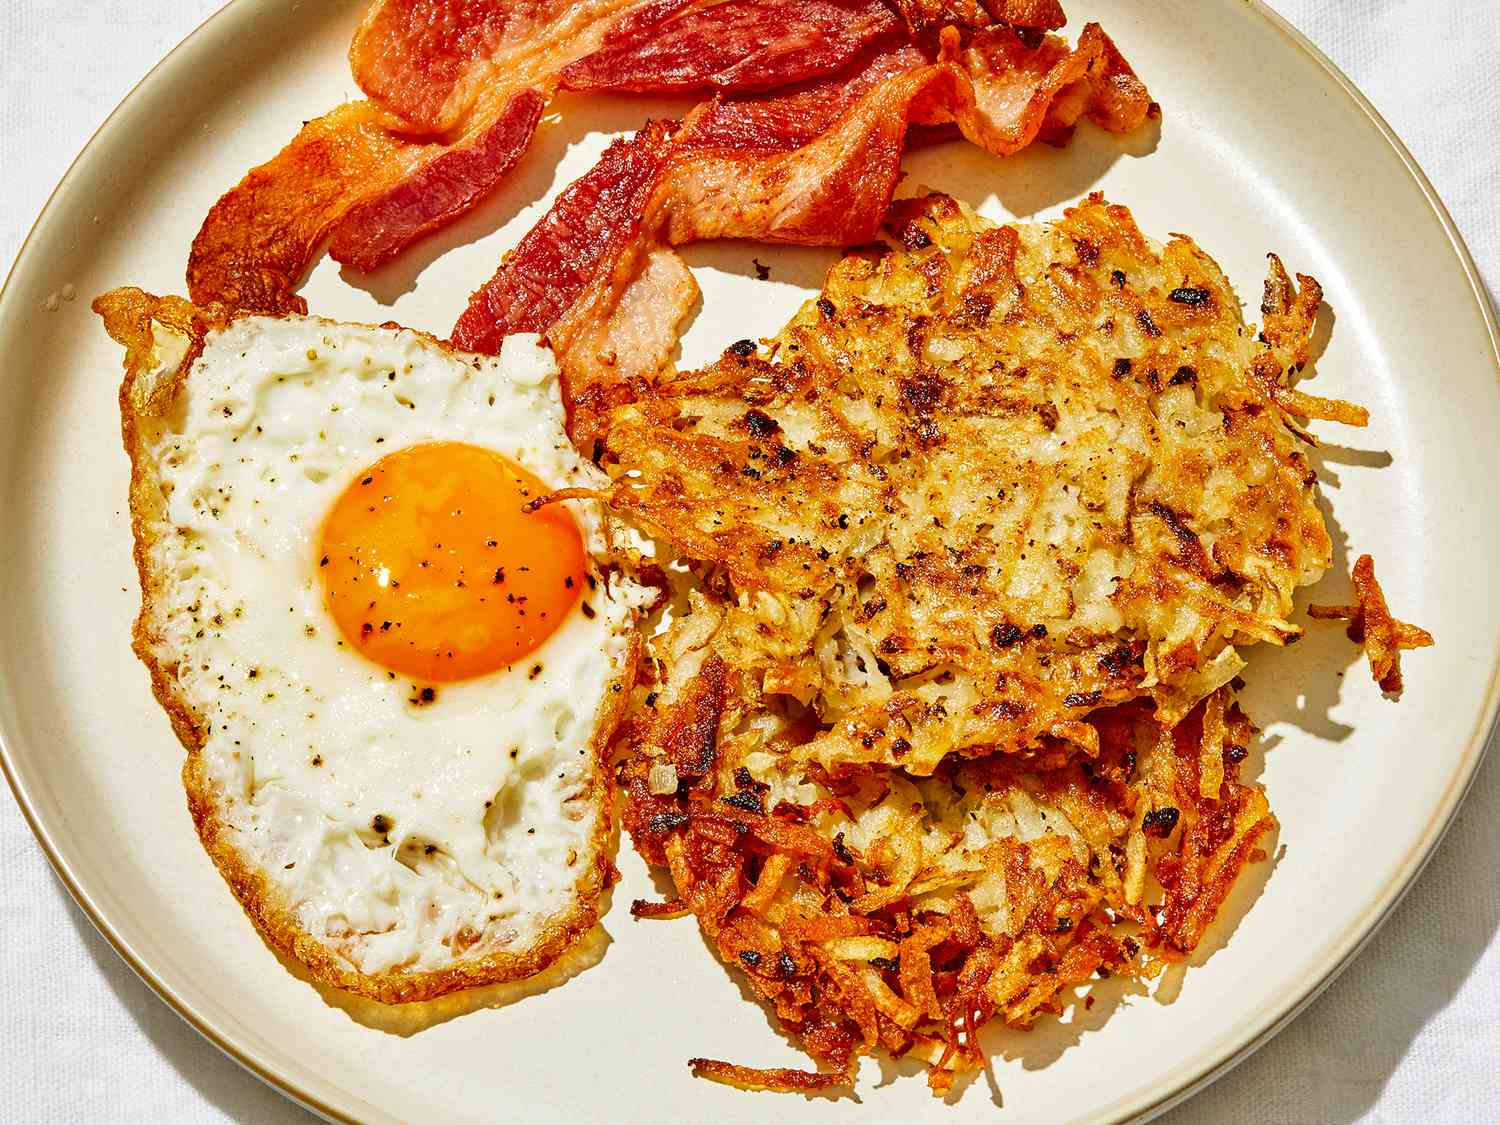
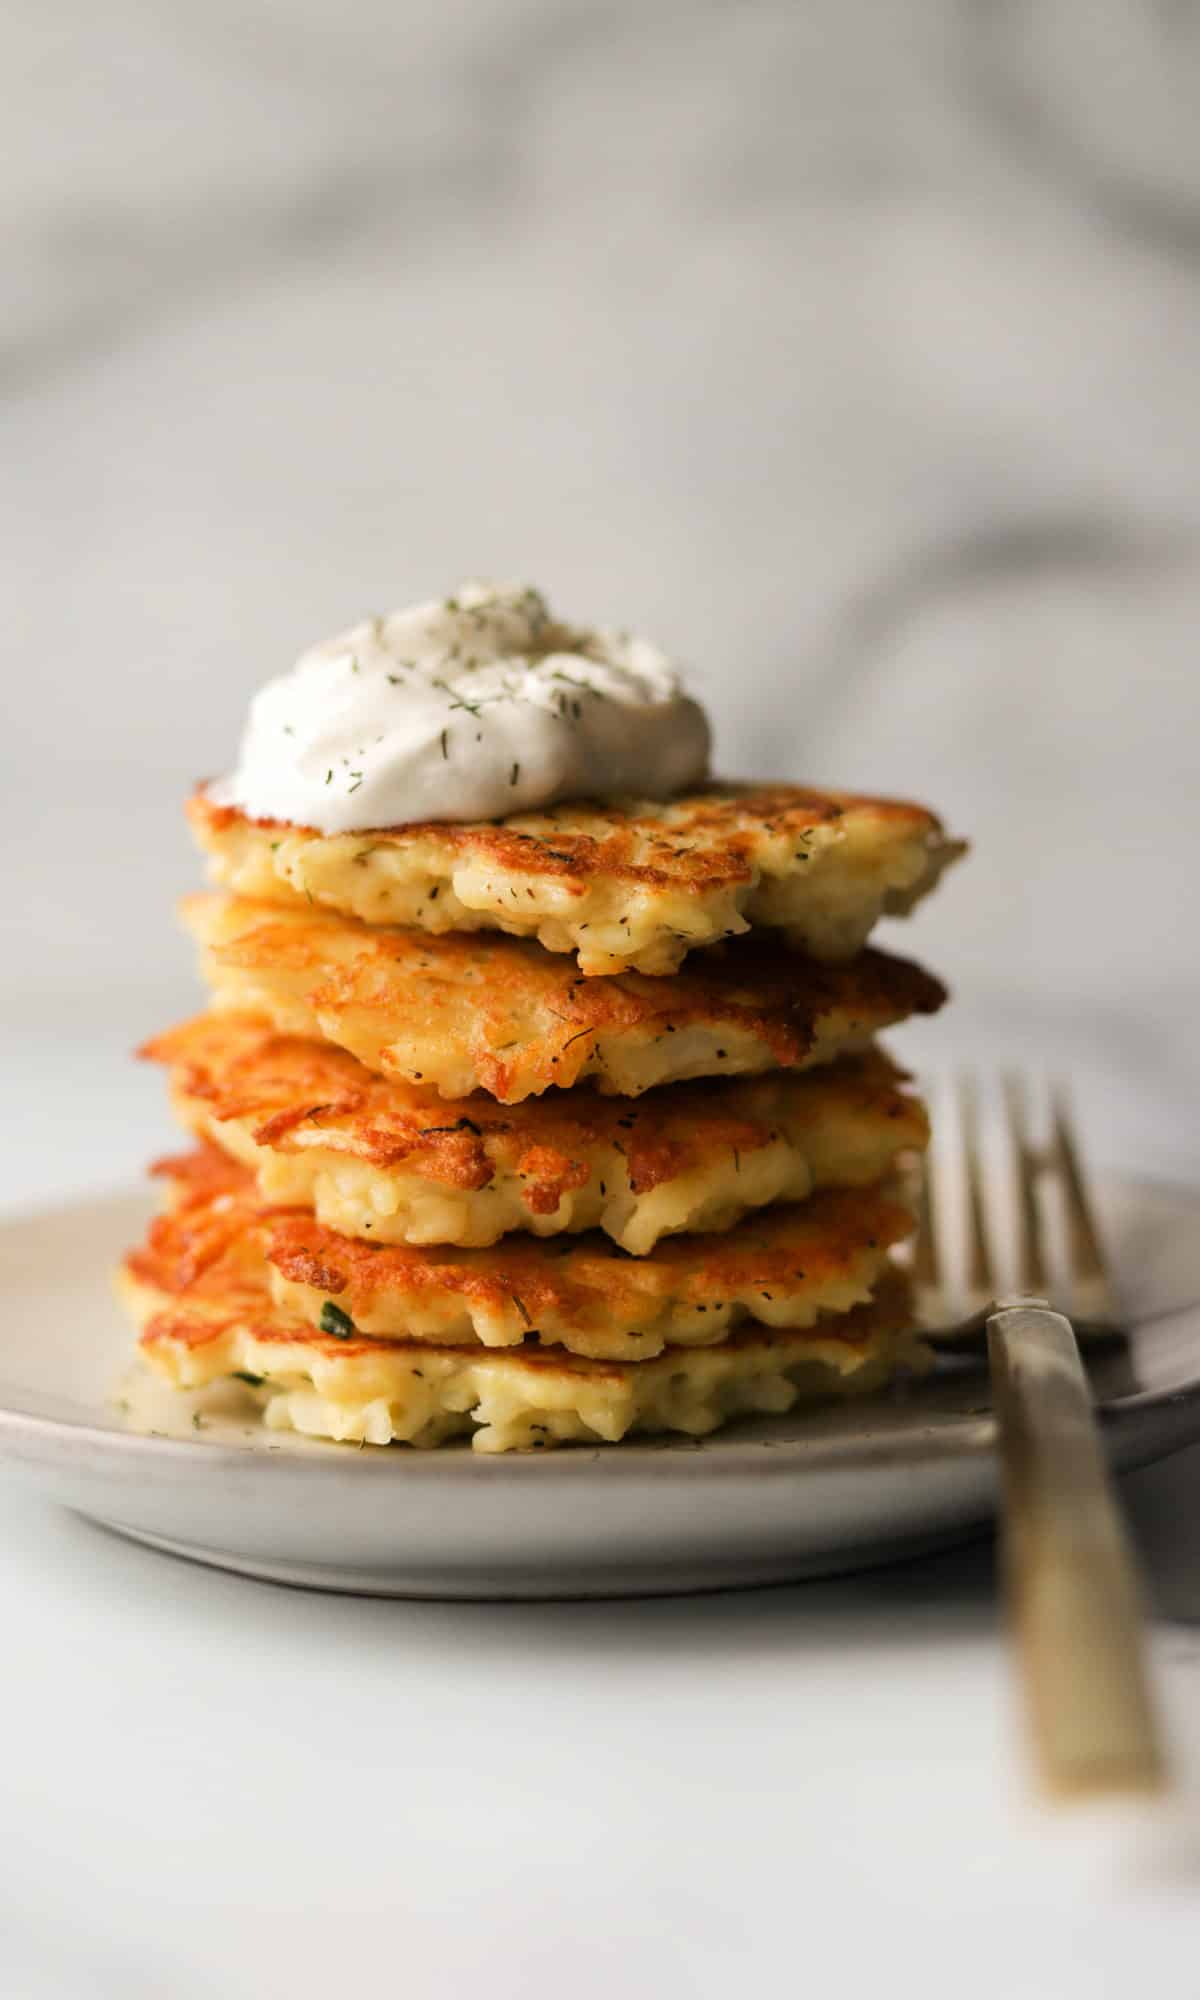
The best time to serve these hash browns is immediately after they hit the plate, straight from the skillet. They pair naturally with breakfast staples like fried eggs, bacon, or sausage, but they also shine with a dollop of sour cream or a sprinkle of fresh chives. The contrast between the hot, crispy exterior and the soft interior is the main event, so keep toppings simple to let the potato flavor stand out.
Leftovers rarely match the fresh batch, but you can salvage them if you avoid the microwave. Microwaving steams the potatoes, turning that prized golden crust into a soggy mess. Instead, let the hash browns cool completely and store them in an airtight container in the refrigerator for up to three days.
To reheat, use a skillet over medium heat or a toaster oven. A skillet gives you the best chance of restoring that crunch. Add a teaspoon of oil and cook for two to three minutes per side until the edges are crisp and the interior is heated through. This method brings back the texture much better than a microwave, though it will never quite replicate the fresh-fried experience.
No comments yet. Be the first to share your thoughts!