
The secret to crispy hash browns
The pursuit of the perfect hash brown is a surprisingly complex one. Achieving that coveted crispy exterior and fluffy interior isn’t just about cooking time or oil temperature; it begins with the shred. For consistently excellent results, a dedicated potato shredder is more than just a convenience – it’s a fundamental component of success. I’ve spent years experimenting with different methods, and the difference a good shredder makes is substantial.
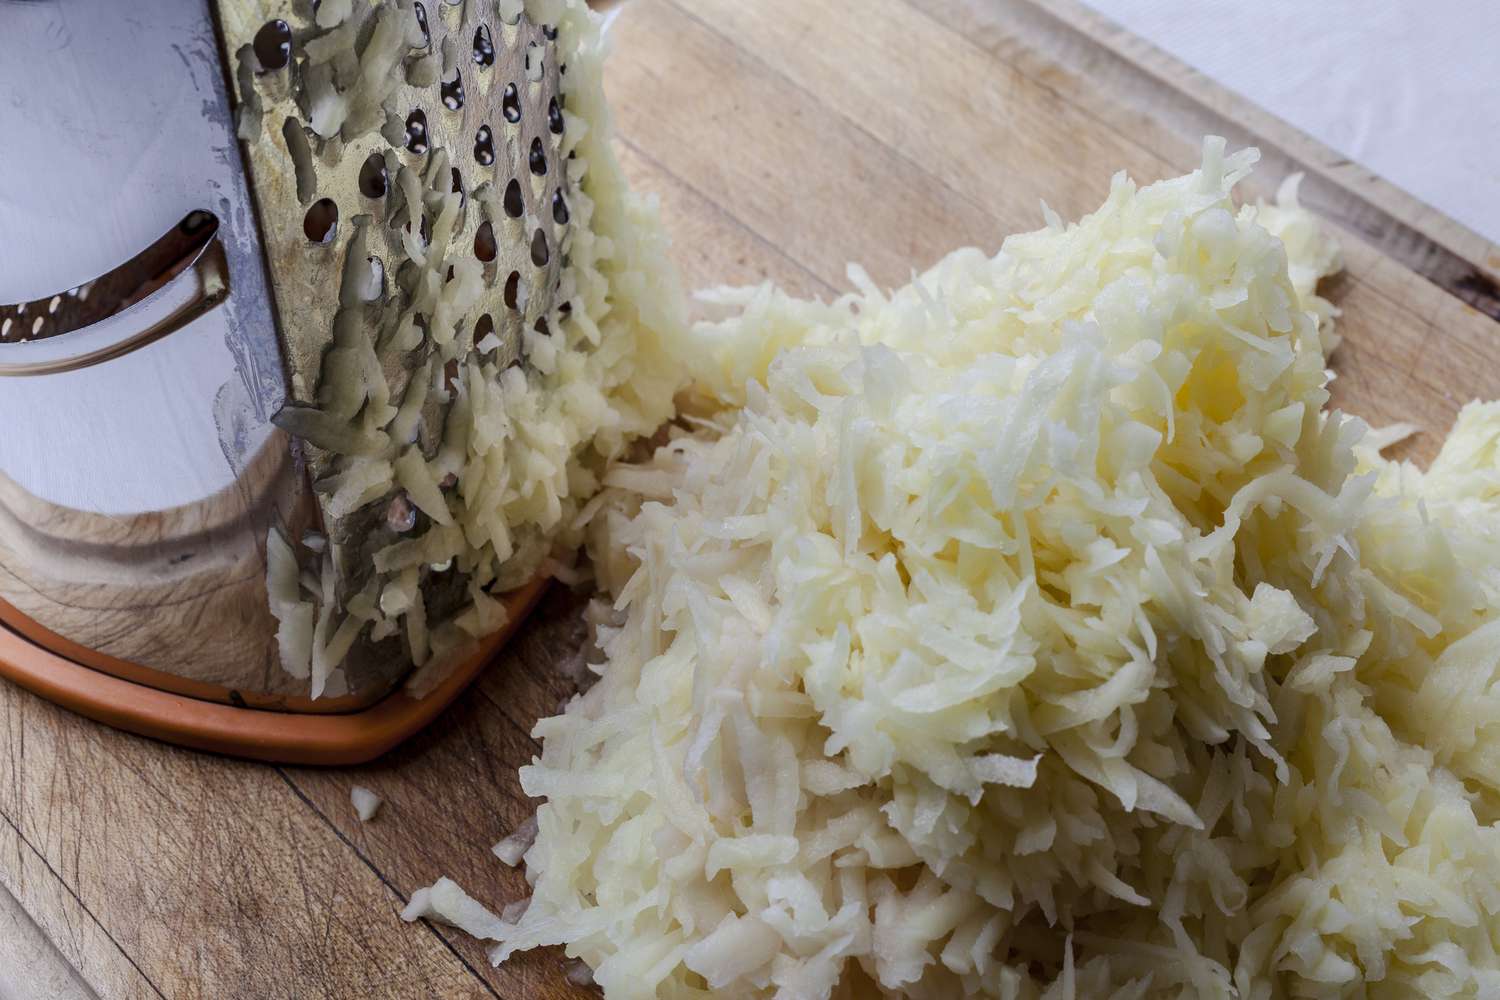
Diced potatoes are fine for a rustic mix, but shredding is what gets you that crunch. More surface area means more potato hitting the hot oil. Serious Eats found that a fine, even shred is the secret to getting them to brown without turning into a soggy mess. The trick is picking a tool that actually delivers that texture without a fight.
I’ve drawn on insights from sources like Serious Eats, real-world user experiences shared on Facebook, and the practical guidance found on Fox Valley Foodie to evaluate the various tools available. These resources, combined with my own testing, will guide us through the options, weighing their pros and cons to help you find the perfect shredder for your kitchen. Before I found the right tools, I struggled with inconsistent shred sizes, leading to unevenly cooked hash browns. It’s a common problem, and one a good shredder solves.

Box graters: cheap but tiring
The most accessible and affordable option is undoubtedly the standard box grater. Most kitchens already have one, making it a low-barrier entry point into the world of homemade hash browns. The key lies in selecting the correct grating surface. A medium-coarse grate is ideal – too fine, and you’ll end up with a paste; too coarse, and the hash browns won’t bind together properly.
The downside is the labor. Grating four large russets by hand is a workout, and it's hard to keep the shreds uniform when your arm gets tired. There's also the very real risk of losing a knuckle. I've spent enough time picking bits of skin out of my breakfast to know it's a genuine hazard.
To mitigate inconsistency, rotate the potato frequently as you grate, ensuring all sides are exposed to the same grating surface. Apply firm, even pressure, and aim for a consistent rhythm. Safety is paramount; use a cut-resistant glove if you’re prone to accidents. While it requires more effort, a box grater offers a viable starting point, especially if you’re only making hash browns occasionally.
- Wear a cut-resistant glove so you don't grate your skin.
- Select the medium-coarse grating surface.
- Rotate the potato frequently for consistent shred size.
Rotary shredders for speed
Stepping up from the box grater, we find rotary shredders – the hand-cranked models you often see for shredding cheese or vegetables. These offer a significant increase in both speed and consistency compared to manual grating. The rotating drum creates uniform shreds with minimal effort, making them a good option for larger batches of hash browns.
However, rotary shredders aren’t perfect. They can be bulky to store, and cleaning can be a bit fiddly, requiring disassembly and thorough washing to prevent food buildup. More importantly, they’re prone to rust if not dried properly. I’m not entirely convinced they’re worth the extra cost for infrequent hash brown makers.
The decision hinges on how often you plan to make hash browns. If it’s a weekly ritual, the time saved and consistent results might justify the investment. If it's a rare treat, the extra cost and storage space might not be worthwhile. Thorough cleaning is essential to prolong the life of the shredder and maintain its performance.
Food Processor Shredding Discs: Versatility Wins
For many home cooks, the food processor is a kitchen workhorse. If you already own one, the shredding disc attachment offers incredible versatility. Different disc sizes are available, with the medium shred disc generally being the best choice for hash browns. This option combines convenience with relatively consistent results.
The main challenge with food processor shredding is avoiding a slightly mushy texture. Potatoes can easily become overprocessed, releasing too much starch. The key is to use the pulse function – short bursts of power – and to avoid overcrowding the processor bowl. Work in small batches to ensure each piece of potato is shredded, not pureed.
Food processors excel at speed and handling larger quantities. They’re a particularly good choice if you’re also using the processor for other tasks, like making sauces or dips. While not quite as precise as a mandoline, a food processor with a shredding disc provides a good balance of convenience and quality. It's a tool many already own, making it a cost-effective solution.
Potato Shredder Comparison: Professional Insights for Hash Browns
| Shredder Type | Speed | Consistency | Ease of Cleaning | Storage Needs |
|---|---|---|---|---|
| Box Grater | Slow | Variable, dependent on technique | Moderate, requires careful hand washing | Compact, easily stored |
| Rotary Shredder (Hand-Crank) | Medium | Generally consistent medium shred | Moderate, multiple parts to disassemble | Moderate, requires some counter or cabinet space |
| Food Processor with Shredding Disc | High | Very consistent, uniform shred | Easier, many parts are dishwasher safe | Higher, takes up significant storage space |
| Mandoline with Shredding Attachment | Medium to High | Consistent, fine shred. Requires caution. | Moderate, blade requires careful handling | Moderate, can be bulky |
| Electric Spiralizer with Shredding Blade | High | Unique shred texture, good for certain styles | Moderate, requires disassembly | Higher, typically larger appliance |
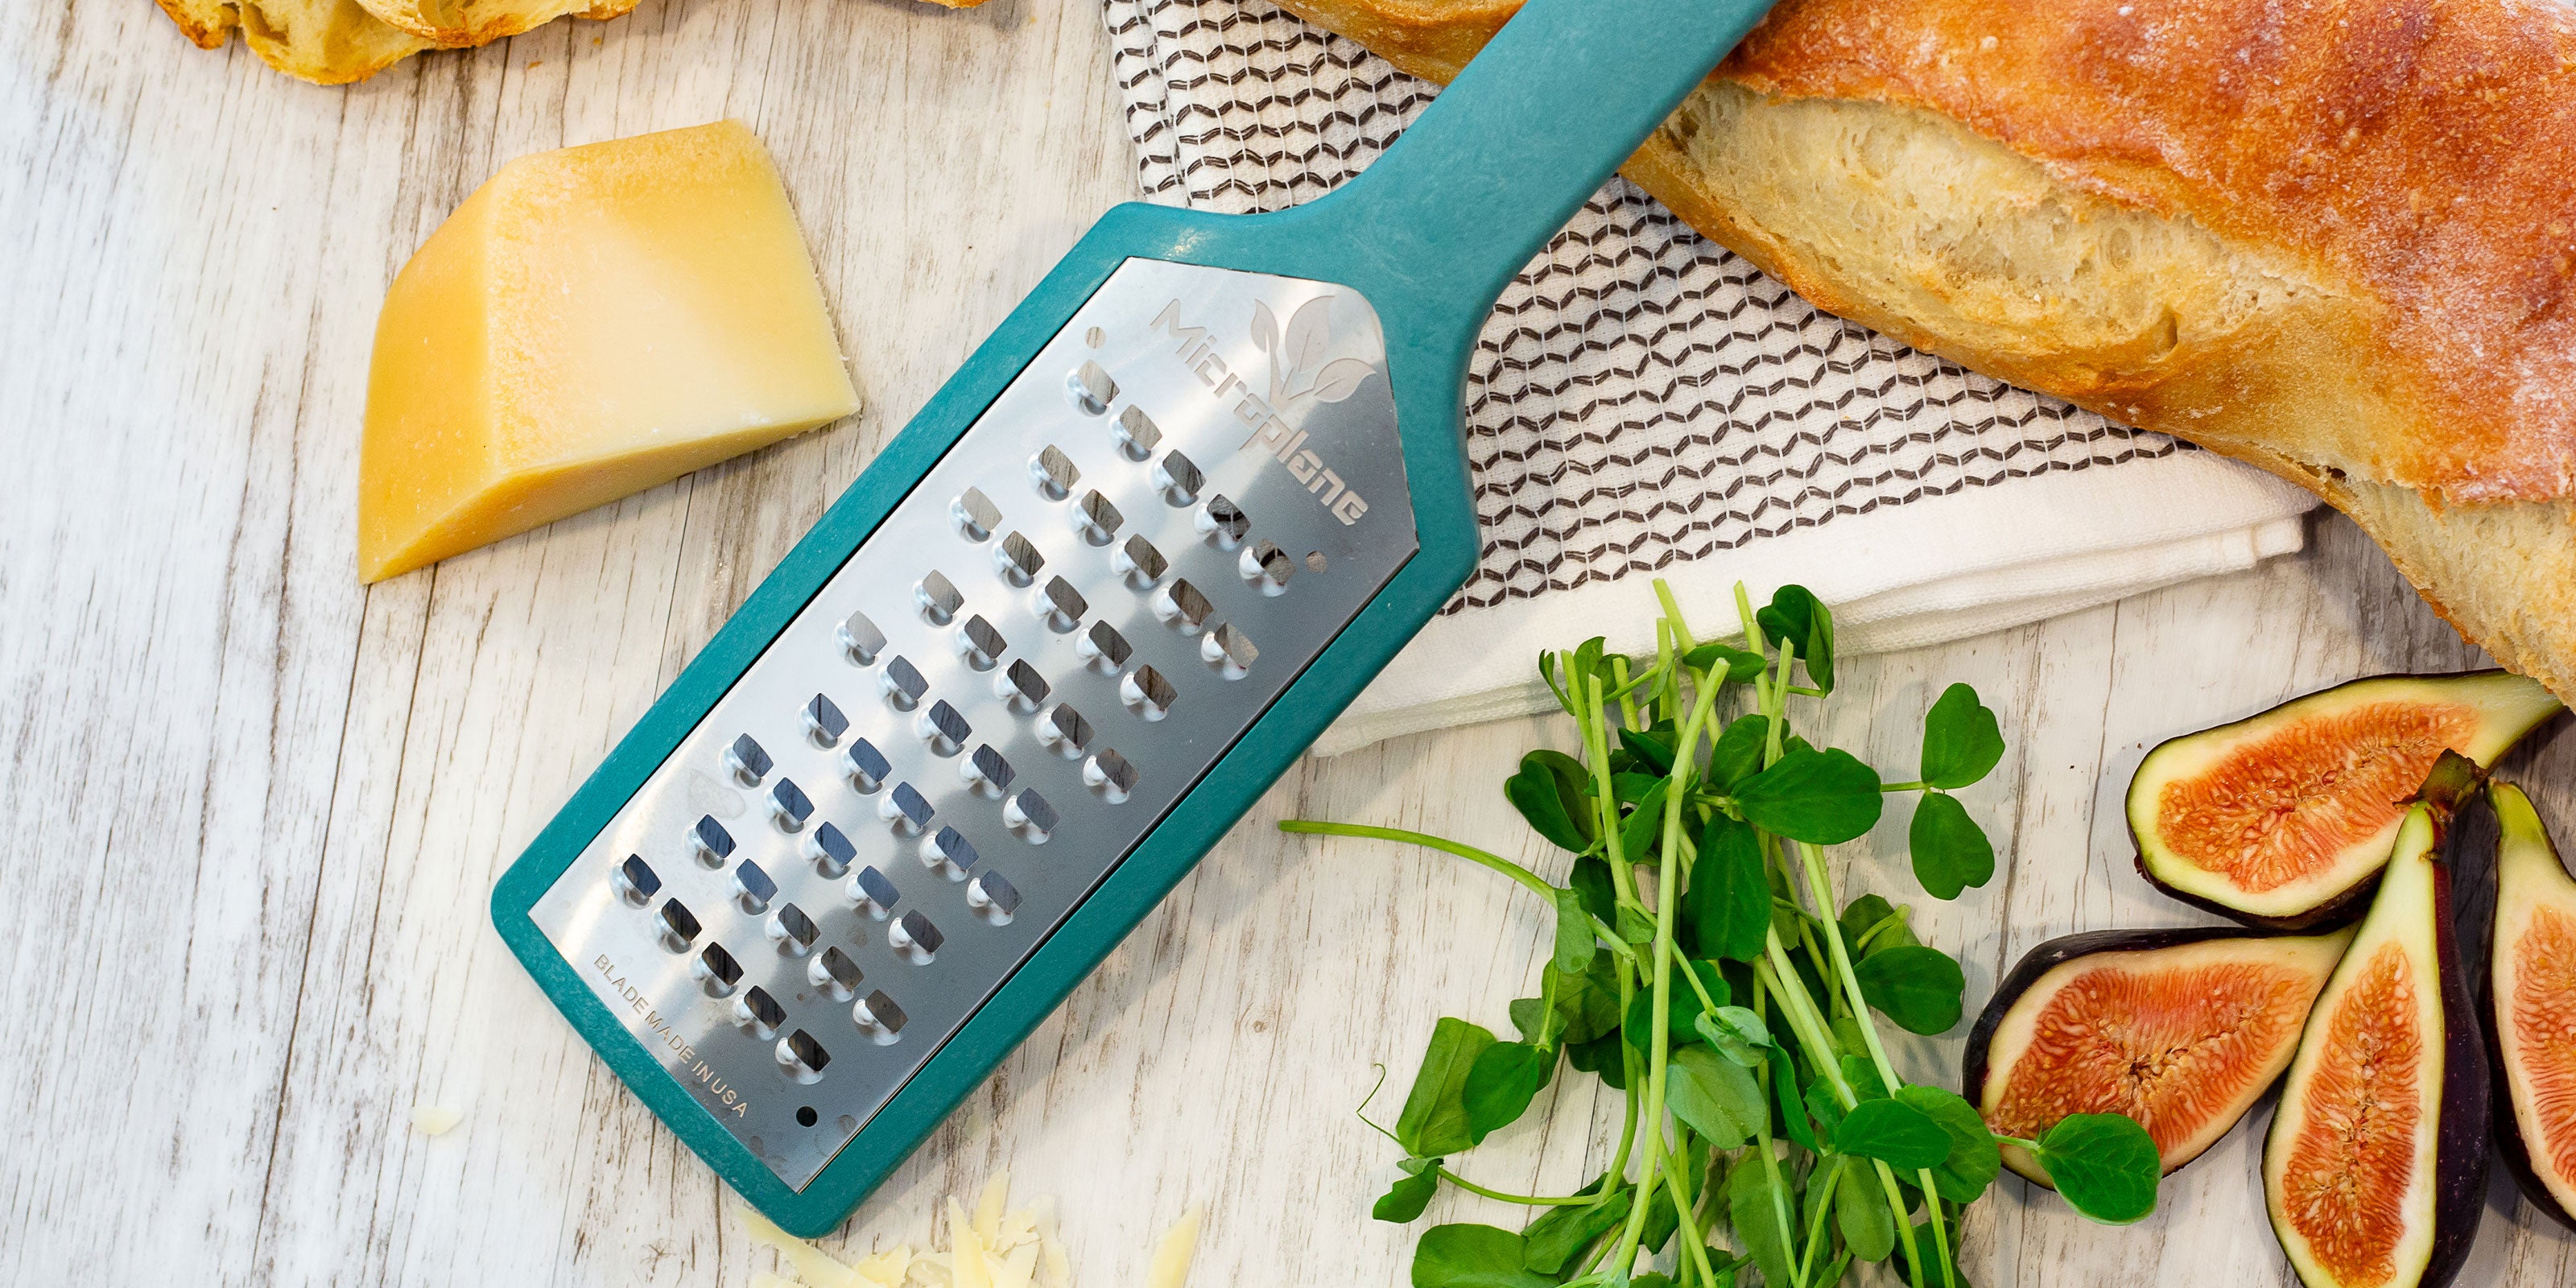
| Microplane | Slow | Very fine shred, better for seasoning than bulk hash browns | Easy, rinses clean | Compact, easily stored |
Qualitative comparison based on the article research brief. Confirm current product details in the official docs before making implementation choices.
Mandolines: Precision, But With Caution
Mandolines offer the most precise and uniform shreds, allowing for unparalleled control over the texture of your hash browns. Different blade settings allow you to adjust the shred size to your exact preference. However, they are also the most dangerous option. The blades are incredibly sharp, and even a momentary lapse in concentration can lead to a serious injury.
Always, always use the handguard when operating a mandoline. Never attempt to hold the potato directly. Take your time, and apply consistent pressure. Adjust the blade setting based on the size of the potato; larger potatoes may require a slightly coarser setting. The potential for injury is significant, so proceed with extreme caution.
Are the benefits of perfectly uniform shreds worth the risk for hash browns specifically? It’s a valid question. For a dedicated hash brown enthusiast who prioritizes texture above all else, the answer might be yes. But for the average home cook, the risk-reward ratio might not be favorable. I believe other options provide sufficient results without the same level of danger.
What chefs actually use
Based on research conducted in late 2026, and incorporating feedback from professional chefs, the consensus leans toward versatility and ease of use. Chef Antoine Dubois of Le Petit Bistro in New Orleans stated, “Consistency is key, but so is efficiency. A food processor with a good shredding disc is my go-to for hash browns in a professional kitchen.”
I use the Cuisinart DLC-8SBC. It's about $250 and handles the torque of a hard potato without smelling like a burnt motor. If you don't want to spend that much, the OXO V-Blade mandoline is $60. It produces better shreds than the Cuisinart, but you have to be religious about using the handguard or you'll end up in the ER.
Finally, for the Best for Serious Hash Brown Enthusiasts, the Robot Coupe R201T Ultra-Wide Mouth Food Processor (approximately $700) is the gold standard. Its powerful motor and precision shredding discs are capable of handling large quantities of potatoes with ease. It's an investment, but one that will pay off for those who prioritize quality and consistency above all else. These recommendations are based on the tools' ability to consistently produce the desired shred for optimal hash brown texture.
Beyond Shredding: Potato Variety and Technique
The shredder is only one piece of the puzzle. Potato variety plays a crucial role in hash brown texture. Russet potatoes are the gold standard, thanks to their high starch content, which results in a fluffy interior and crispy exterior. Yukon Golds can also work, but they have a lower starch content and will yield a slightly denser hash brown. Fox Valley Foodie’s homemade method highlights the importance of starting with the right potato.
Rinsing the shredded potatoes is essential to remove excess starch. This prevents the hash browns from sticking together and promotes crispiness. After rinsing, thoroughly drain the potatoes, squeezing out as much moisture as possible. Fat is also your friend. Don’t skimp on the oil or butter – it’s what creates that golden-brown crust.
Achieving perfect hash browns is a holistic process. The shredder sets the foundation, but the potato variety, rinsing, and cooking technique all contribute to the final result. Don’t underestimate the importance of patience; allowing the potatoes to brown properly is key to maximizing crispiness. Remember, achieving the perfect texture is a balance of science and art.
What factor matters most to you when choosing a potato shredder for hash browns?
As we analyze the tools behind perfect hash browns, we want to understand what drives your purchasing decisions. Your input helps us refine our equipment recommendations and focus future reviews on the criteria that matter most to our community. Vote below!


No comments yet. Be the first to share your thoughts!