
The 5-Minute Hash Brown Revelation
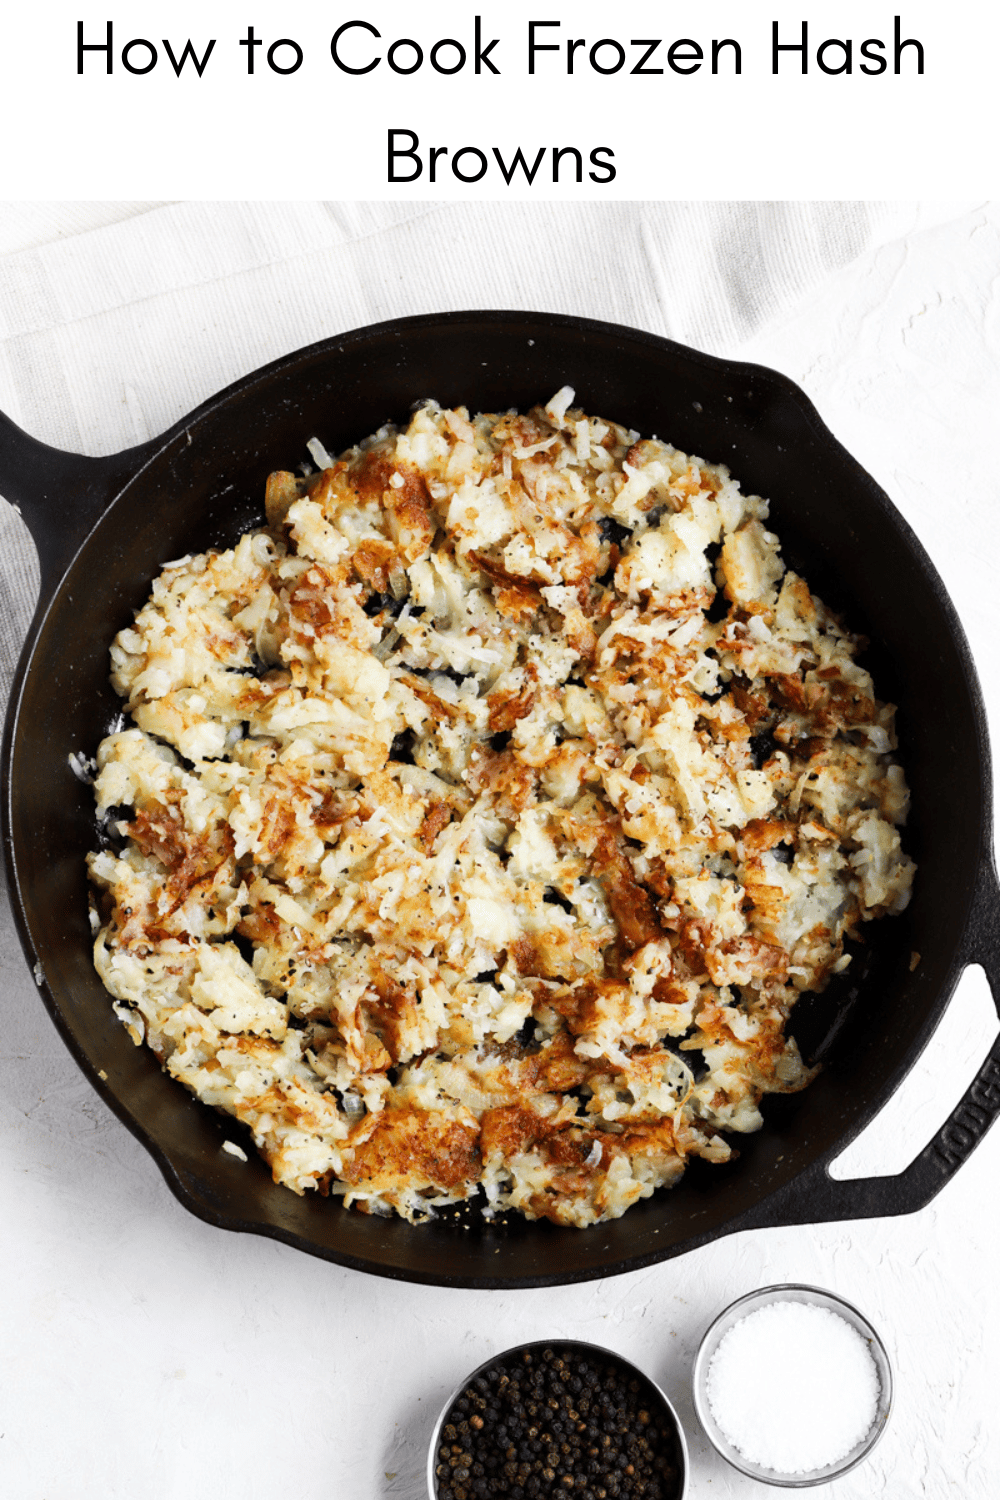
Frozen hash browns often have a reputation for being soggy. Many have experienced eagerly anticipating a crispy breakfast side only to be met with a pale, limp pile of potatoes. Restaurant-quality, golden-brown hash browns are achievable in just 5 minutes, using a skillet and a few simple techniques.
This method focuses on how to cook frozen hash browns, rather than finding a specific brand. Most recipes suggest long cook times at moderate heat, which leads to steaming instead of frying. The key is high heat and plenty of space, moving away from a low-and-slow approach to a quick, high-temperature sear.
Overcrowding the pan and lowering the heat to avoid burning often results in a disappointing mess. This method, however, produces a superior result: a satisfyingly crispy exterior and a fluffy interior.
Decoding Frozen Hash Brown Grades
Frozen hash browns are graded by the USDA. The standards, documented on ams.usda.gov, dictate what qualifies as Grade A, Grade B, or unclassified. Understanding these grades can provide insight into the quality of the potatoes being purchased.
Grade A hash browns are the highest quality. According to the U.S. Standards for Grades of Frozen Hash Brown Potatoes (corrected March 27, 2026), they must be made from sound potatoes, relatively free from defects like bruising or greening. They’ll have a consistent size and shape, and a good overall appearance. Grade B hash browns can have slightly more defects, and may include smaller or irregularly shaped pieces.
Unclassified hash browns do not meet the requirements for either Grade A or Grade B. This does not necessarily mean they are bad; they might simply be a mix of different potato varieties or cuts. While a direct correlation between grade and price at most grocery stores is not always apparent, brands emphasizing quality and consistency often fall into the higher price range. Even lower-grade hash browns can be transformed with the right cooking technique.
- Grade A: High quality, minimal defects, consistent size.
- Grade B: Some defects allowed, may have irregular shapes.
- Unclassified: Does not meet A or B standards, not necessarily lower quality.
USDA Grades for Frozen Hash Browns 🥔
| Grade | Potato Content | Size Consistency | Defects |
|---|---|---|---|
| A | Minimum 95% Potato | High | Acceptable |
| B | Minimum 90% Potato | Medium | Acceptable |
| Unclassified | Potato content not specified | Variable | May contain unacceptable defects |
| A | Minimum 95% Potato | High | Slightly discolored areas permitted |
| B | Minimum 90% Potato | Medium | Minor blemishes allowed |
| Unclassified | Potato content not specified | Variable | Significant defects may be present |
| A | Minimum 95% Potato | High | Foreign material limited |
| B | Minimum 90% Potato | Medium | Some foreign material allowed |
Illustrative comparison based on the article research brief. Verify current pricing, limits, and product details in the official docs before relying on it.
The Secret: High Heat & Space
The core principle behind crispy hash browns is rapid moisture evaporation, achieved through high heat. Cranking up the heat forces the water in the potatoes to quickly turn to steam, leaving behind a browned, crispy exterior. Low heat, conversely, steams the potatoes, resulting in sogginess.
Heat alone is not enough; overcrowding the pan must be avoided. Piling too many hash browns into a skillet lowers the overall temperature, causing them to steam each other instead of frying. Cooking in batches ensures consistently perfect results.
Cast iron pans are ideal due to their excellent heat retention, but any heavy-bottomed skillet will work. Non-stick is helpful but not essential. Use an oil with a high smoke point, such as canola, vegetable, or avocado oil. About 1-2 tablespoons is sufficient. The oil conducts heat and prevents sticking.
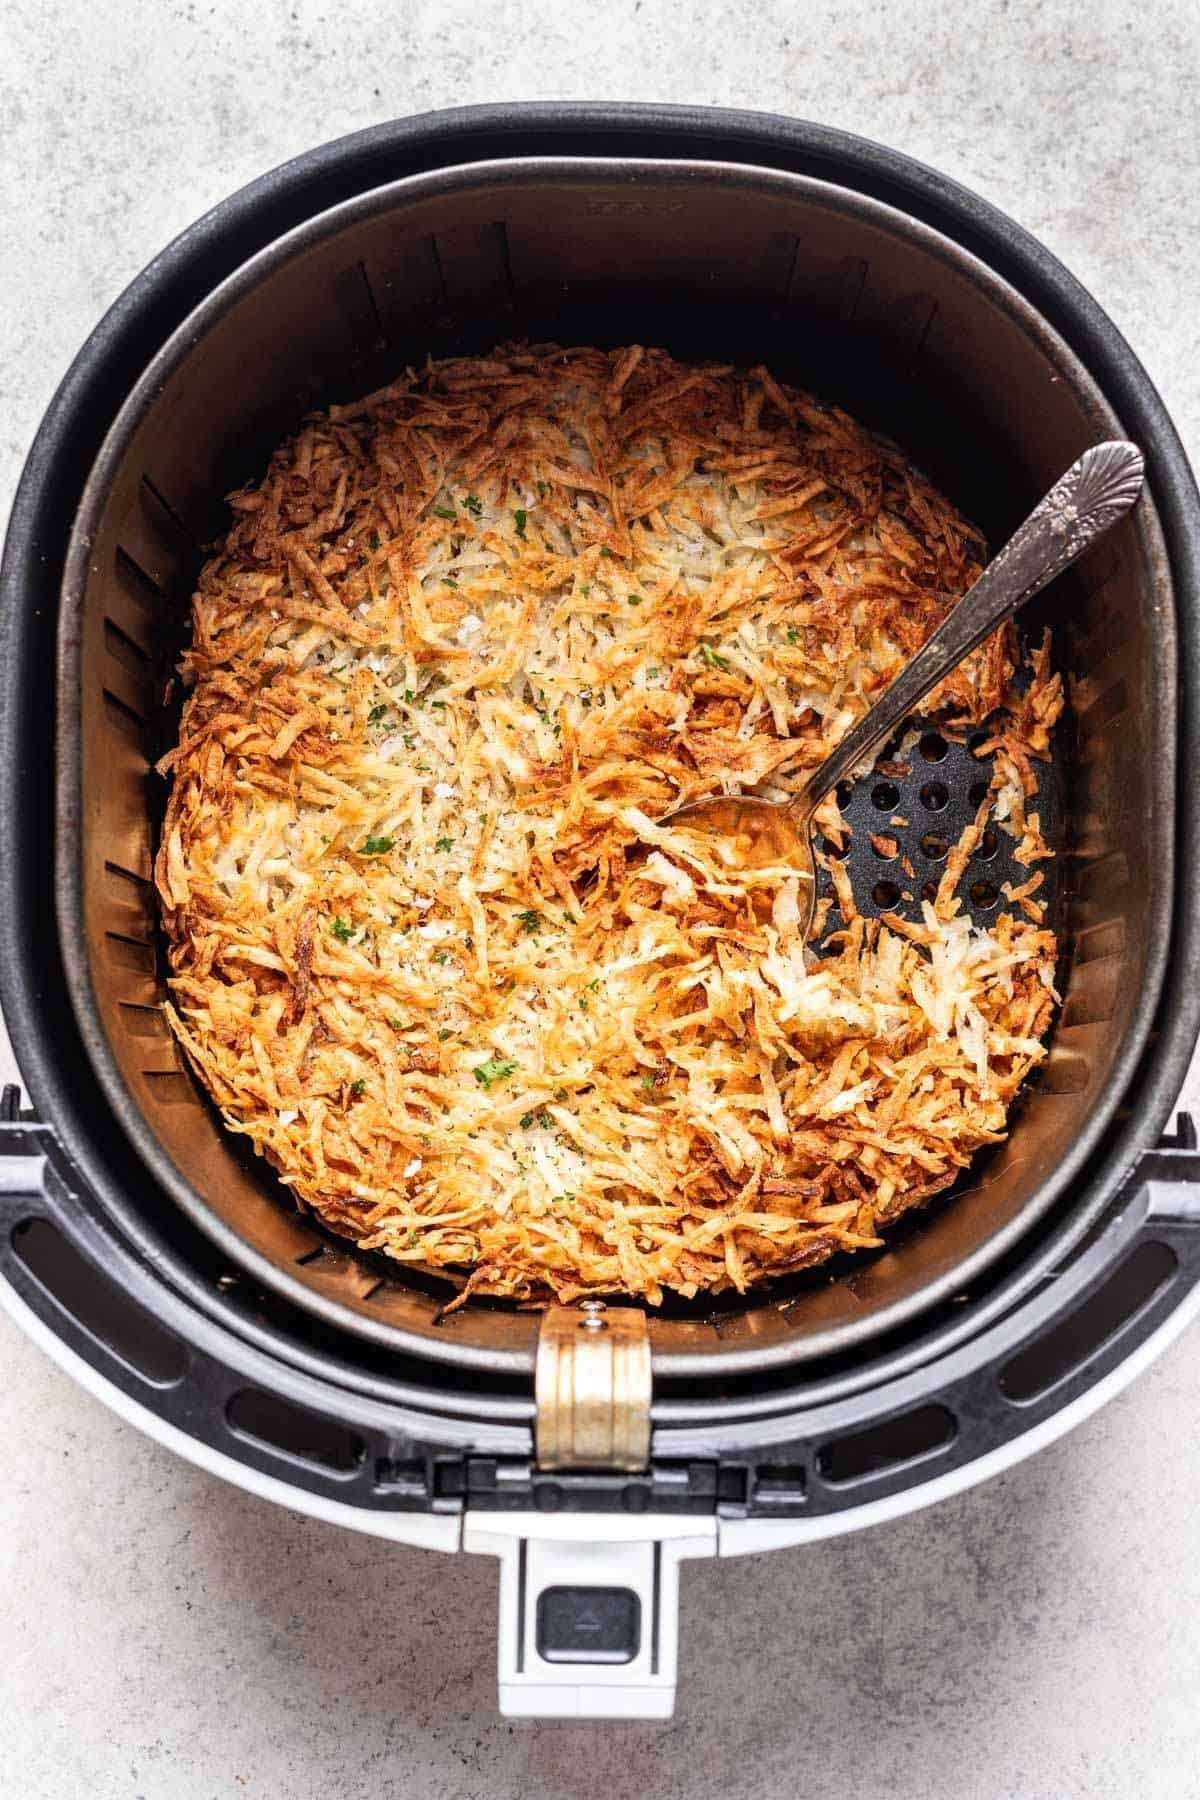
Step-by-Step: 5-Minute Crispy Hash Browns
Here is a foolproof method for 5-minute crispy hash browns. Following these steps is key.
Step 1: Heat 1-2 tablespoons of oil in a large skillet over medium-high heat (about 7/10 on most stoves). Allow the oil to get shimmering hot – this is important! If you add the hash browns to cold oil, they'll absorb too much grease and become soggy.
Step 2: Add a single layer of frozen hash browns to the hot skillet. Don’t overlap them! If you need to, cook in batches. This is non-negotiable. Overcrowding is the enemy of crispiness.
Step 3: Let the hash browns cook undisturbed for 2-3 minutes. Resist the urge to poke or stir! You want them to develop a golden-brown crust. If the oil starts smoking, reduce the heat slightly.
Step 4: Carefully flip the hash browns using a wide spatula. Don’t try to flip the whole batch at once; work in sections. Cook for another 2-3 minutes, or until golden brown and crispy on the second side.
Step 5: Remove the hash browns from the skillet and place them on a paper towel-lined plate to drain any excess oil. Season immediately with salt and pepper. And that’s it! Restaurant-quality hash browns in just 5 minutes.
- Heat oil in a skillet over medium-high heat.
- Add a single layer of frozen hash browns.
- Cook undisturbed for 2-3 minutes.
- Flip and cook for another 2-3 minutes.
- Drain on paper towels and season.
Beyond Basic: Flavor Boosters
After mastering the basic technique, consider adding flavor. Seasonings can be added directly to the pan while the hash browns are cooking, such as garlic powder, onion powder, paprika, or a pinch of cayenne pepper.
Experiment with blends like smoked paprika, cumin, and chili powder, or a dash of Old Bay seasoning. Add seasonings early in the cooking process so they have time to toast and meld with the potatoes.
Toppings can enhance hash browns. A dollop of sour cream or Greek yogurt adds a cool, tangy contrast. Chopped chives, everything bagel seasoning, or a drizzle of hot sauce can elevate the dish. Smoked paprika adds a wonderful depth of flavor.
Troubleshooting Common Issues
Even with a foolproof method, problems can arise. Here are solutions for common issues.
Soggy Hash Browns: If your hash browns are still soggy after cooking, it’s likely one of two things: the heat wasn’t high enough, or the pan was overcrowded. Increase the heat and make sure you’re cooking in single layers. You might also need to cook them for a minute or two longer.
Burning Hash Browns: If the hash browns are burning before they get crispy, reduce the heat slightly. You can also try using a little less oil. Keep a close eye on them and adjust the heat as needed.
Sticking Hash Browns: If the hash browns are sticking to the pan, you need more oil! Also, a non-stick skillet can be helpful. Make sure the oil is fully heated before adding the hash browns.
- Soggy: Increase heat, cook in single layers, cook longer.
- Burning: Reduce heat, use less oil.
- Sticking: Use more oil, use a non-stick pan.
Hash Brown Pairings: Breakfast & Beyond
Hash browns are a classic breakfast side, pairing well with eggs and typical breakfast items like bacon, sausage, pancakes, and waffles. They are also versatile beyond breakfast.
Hash browns are versatile and make a good side for steak or burgers. They also complement pulled pork sandwiches and fried chicken due to their crispy texture and savory flavor.
Consider topping hash browns with chili and cheese for a quick dinner or using them as a base for a breakfast burrito. They are a simple side that elevates any meal.
Reader Hash Brown Creations
Share hash brown creations and recipes on social media using a relevant hashtag. Building a community of crispy hash brown enthusiasts is encouraged.


No comments yet. Be the first to share your thoughts!