
Why moisture kills crispiness
The single most important factor in making crispy hash browns has nothing to do with heat or fat. It is entirely about water. Potatoes are roughly 80% water by weight. When you shred a raw potato, you rupture thousands of starch cells, releasing that liquid onto the surface of your shreds.
If you cook those wet shreds directly into a pan, you are essentially steaming them. The water must boil away before the surface temperature can rise high enough to trigger the Maillard reaction—the chemical process that creates that deep, golden-brown crust. This phase change absorbs massive amounts of energy, keeping the potato temperature stuck at 212°F (100°C) until every drop of moisture evaporates. The result is a pale, gummy, and soggy mess rather than a crisp edge.
To fix this, you must aggressively remove that internal water before the pan ever heats up. Think of your shredded potatoes like a wet sponge; you need to wring it out completely.
The most effective method is manual squeezing. Place your shredded potatoes in a clean, thin kitchen towel or a nut milk bag. Gather the corners and twist with significant force. You will see a steady stream of cloudy liquid pour out. Keep squeezing until the towel feels dry to the touch and the potato mass looks loose and separated, not clumped together.
Some cooks prefer a food processor with a shredding blade, which releases even more liquid than a box grater. If you use a machine, you may need to squeeze even harder. The goal is to leave as little water behind as possible. This extra step is the difference between a diner-style crisp and a breakfast casserole texture.
Choosing the Right Potato and Tool
The foundation of crispy hash browns lies in starch content and moisture control. Russet potatoes are the standard choice because their high starch and low moisture content allow the shreds to crisp up without turning gummy or soggy. Waxy potatoes lack the structural integrity needed for a golden crust and tend to hold too much water, which steams the potato rather than frying it.
Once you have the right potato, the tool determines the texture of your shreds. A box grater or food processor shredding disk produces uniform, wispy strands that cook evenly. Avoid dicing or mashing, as these methods increase surface area for steam retention and result in a dense, soft interior rather than a crunchy exterior.
Grater vs. Food Processor
| Feature | Box Grater | Food Processor Shredding Disk |
|---|---|---|
| Speed | Slow, manual effort | Fast, consistent results |
| Shred Type | Variable, can be coarse or fine | Uniform, consistent thickness |
| Control | High; you feel the texture | Low; relies on machine settings |
| Best For | Small batches, precise control | Large batches, even cooking |
A food processor with a shredding disk is the most efficient way to prepare hash browns for a crowd. It ensures every shred is the same thickness, which promotes even browning. If you are making a small batch, a box grater gives you more tactile control over the shred size, allowing you to keep some shreds longer for extra crunch and others shorter for tenderness.
Prep steps for maximum crunch
The difference between a golden, shattering crust and a soggy, steamed mess comes down to water. Potatoes are roughly 80% water by weight. When you shred them, you release that water along with surface starch. If you drop wet shreds into hot oil, the water turns to steam, trapping heat inside the potato rather than allowing the exterior to dehydrate and crisp. To get the best crispy hash browns, you must aggressively remove that moisture before the pan ever heats up.
Start by rinsing your shredded potatoes under cold water. This washes away the excess free starch that can cause the shreds to clump together into a dense, gummy block. Agitate the shreds with your hands in the colander, letting the water run through until it runs mostly clear. This step ensures that when the shreds hit the oil, they remain distinct and separate, maximizing surface area for even browning.
Place the shredded potatoes in a fine-mesh colander. Run cold water over them while tossing with your hands. Continue until the water runs clear, indicating that the excess surface starch has been washed away. This prevents the hash browns from sticking together in a solid brick.

Transfer the rinsed shreds to a clean, lint-free kitchen towel or a set of cheesecloth bundles. Gather the edges and twist tightly. Apply significant pressure, squeezing out every drop of visible liquid. This is the most critical step; the drier the potato, the faster the Maillard reaction occurs, creating that deep golden crust.

Unfold the towel and inspect the shreds. They should look matte, not wet or glossy. If they still feel damp, repeat the squeezing process with a fresh dry section of the towel. Only once the shreds are completely dry should you proceed to seasoning and cooking.
Once the potatoes are dry, toss them with your chosen seasonings—salt, pepper, and a touch of cornstarch if desired—before adding them to the skillet. The cornstarch acts as an additional moisture absorber and helps create a micro-crust on the exterior. With the moisture removed and the starch managed, your hash browns will fry rather than steam, delivering the crunch you are after.
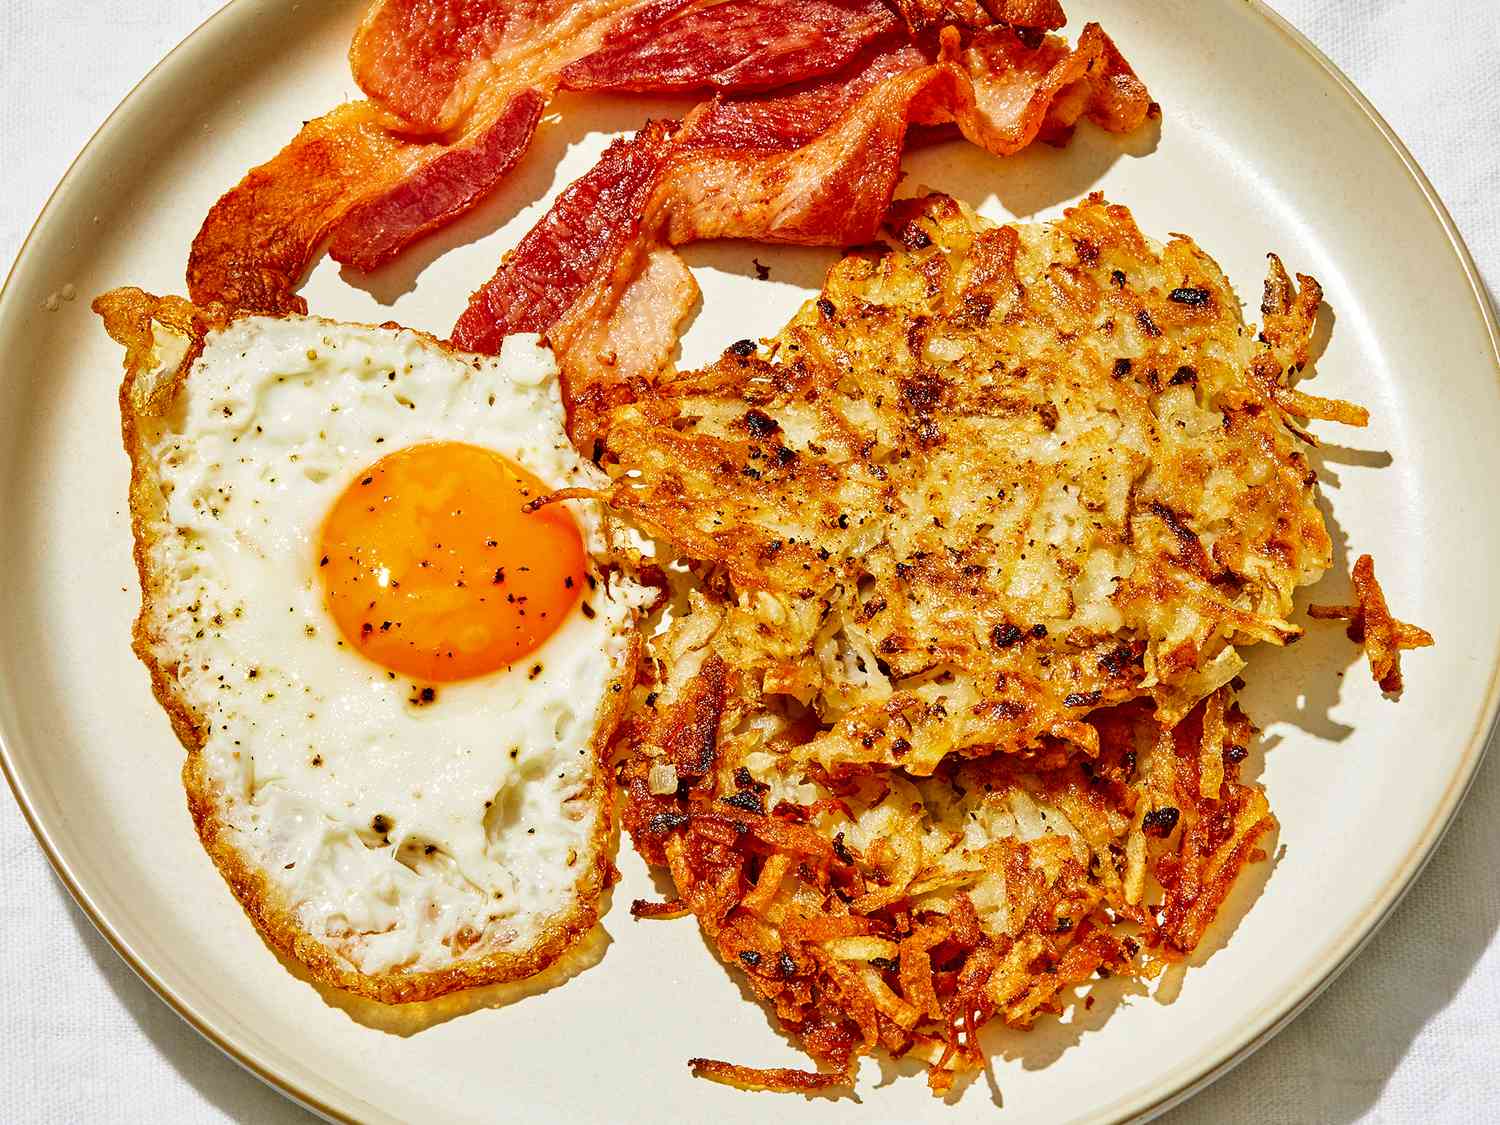
Cooking the Skillet for Crispy Hash Browns
The transition from shredded potato to golden, crunchy hash browns happens in the skillet. This stage is where moisture control and heat management dictate the final texture. The goal is to drive off water rapidly without burning the starches, creating a rigid, crisp crust that holds together.
Start by preheating your skillet over medium-high heat. This temperature is critical: it is hot enough to sear the potato surface immediately, sealing in the structure, but not so hot that the oil smokes or the potatoes burn before the interior dries. Add your oil or butter and let it shimmer. If the oil is too cool, the potatoes will absorb it like a sponge, resulting in a greasy, soggy texture rather than a crisp exterior.
Spread the shredded potatoes into an even layer. Press them down firmly with a spatula to create a compact mat. This density ensures that the heat transfers evenly through the layer, promoting uniform browning. Do not stir. Let the bottom layer cook undisturbed for 5 to 7 minutes. You are waiting for the Maillard reaction to occur, which turns the surface golden brown and develops that signature savory crunch.
The Flip
The most challenging part of making crispy hash browns is the flip. You need to turn the entire mass over in one piece to maintain the crust. Use a large, flat spatula or invert the skillet onto a plate and slide it back in. If you break the hash browns into small pieces during this step, you lose the structural integrity needed for a crispy exterior.
Once flipped, reduce the heat slightly to medium. This prevents the new bottom layer from burning while the interior finishes drying out. Cook for another 5 to 7 minutes until the second side is equally golden and crisp. Serve immediately while the texture is at its peak.
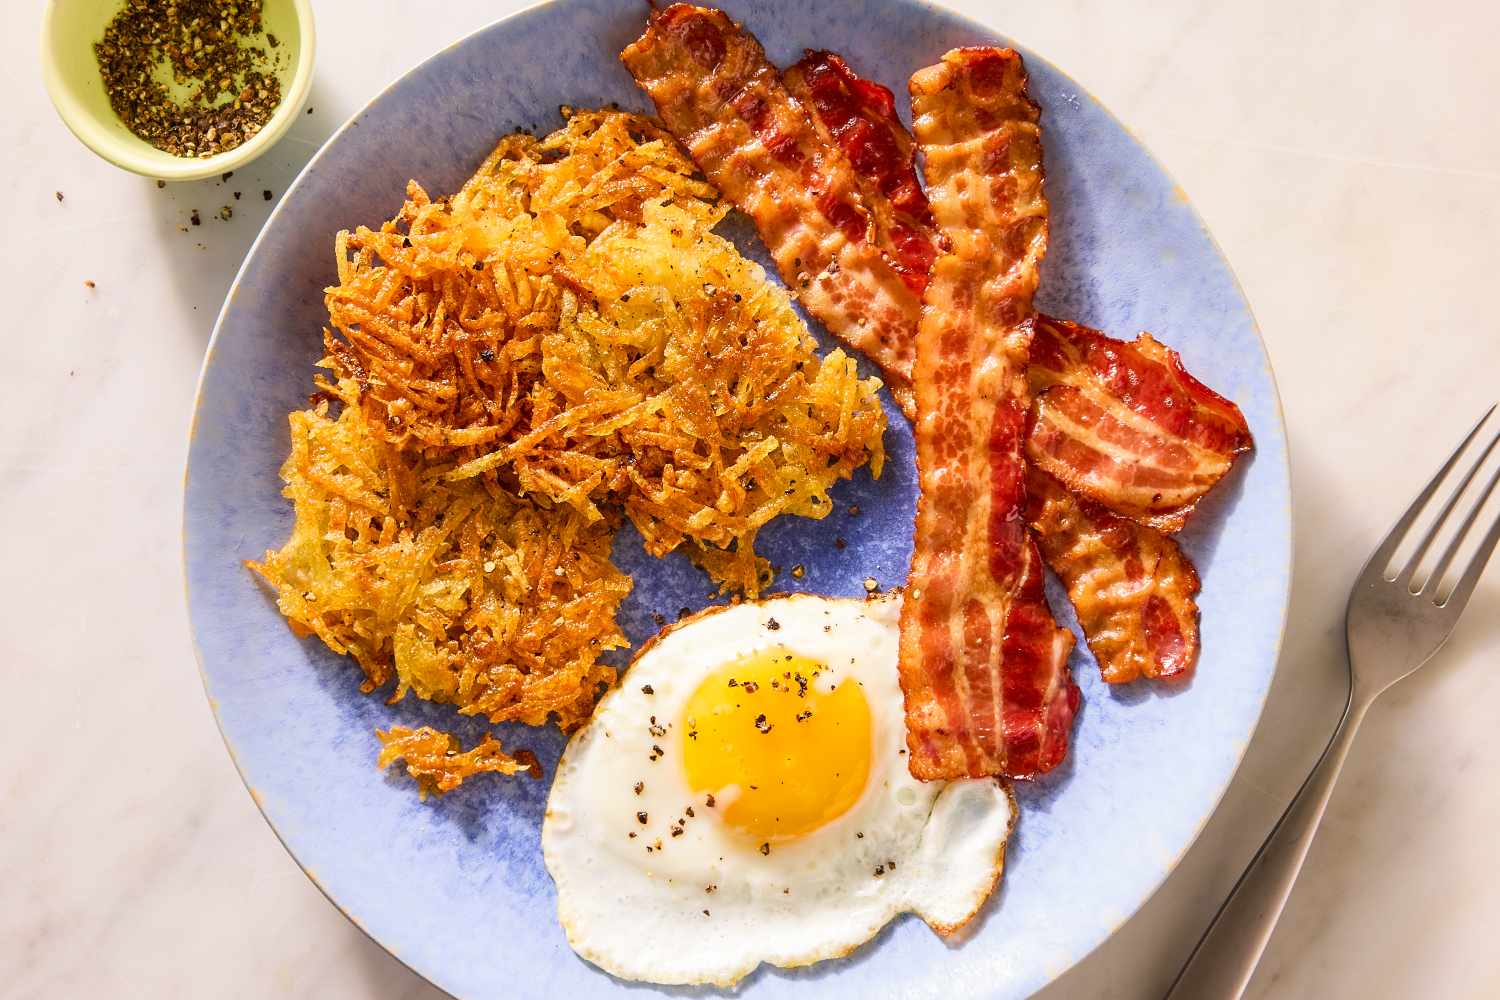
Complete Crispy Hash Browns Recipe
The difference between soggy and crispy hash browns comes down to moisture management. This skillet method uses a potato shredder to create uniform strands, then applies high heat to evaporate surface water quickly. The result is a golden crust that stays crunchy while the interior remains tender.
Common Mistakes That Ruin Crispy Hash Browns
Even with the right potatoes, small errors during prep and cooking can turn crispy hash browns into a soggy, steamed mess. The biggest culprit is usually excess moisture. If you don’t squeeze your shredded potatoes dry, the water turns to steam in the pan, preventing the Maillard reaction that creates that golden crust. Always use a clean kitchen towel or cheesecloth to wring out every bit of liquid before adding oil to the skillet.
Heat management is equally critical. Many cooks start with a cold pan or use low heat, which just fries the potatoes in their own juices. For truly crispy hash browns, preheat your cast iron or stainless steel skillet over medium-high heat. The oil should shimmer before the potatoes hit the surface. This ensures immediate searing rather than slow steaming.
Overcrowding the pan is another frequent error. If you pile too many potatoes into the skillet, the temperature drops, and the shreds steam instead of fry. Cook in batches if necessary, leaving space between the mounds. Press them down lightly with a spatula to maximize surface contact with the hot pan, then resist the urge to stir. Let them sit undisturbed for 4-5 minutes until a deep golden crust forms on the bottom before flipping.
No comments yet. Be the first to share your thoughts!