

Make the recipe
The secret to crispy hash browns is simple: remove as much moisture as possible before they hit the pan. Russet potatoes are the classic choice because their high starch content creates a sturdy crust that stays crunchy, while waxy potatoes tend to turn mushy. Once you drain the water, the rest is about patience. Rushing the cook time is the main reason hash browns fail; they need 10 to 15 minutes of steady contact with the hot pan to turn golden and firm.
This recipe yields a diner-style skillet that is crispy on the outside and tender inside. It uses basic pantry staples and requires no cornstarch, relying instead on proper drying and high heat to achieve that viral crunch. You can cook this entirely in one skillet, making cleanup quick for a busy morning.
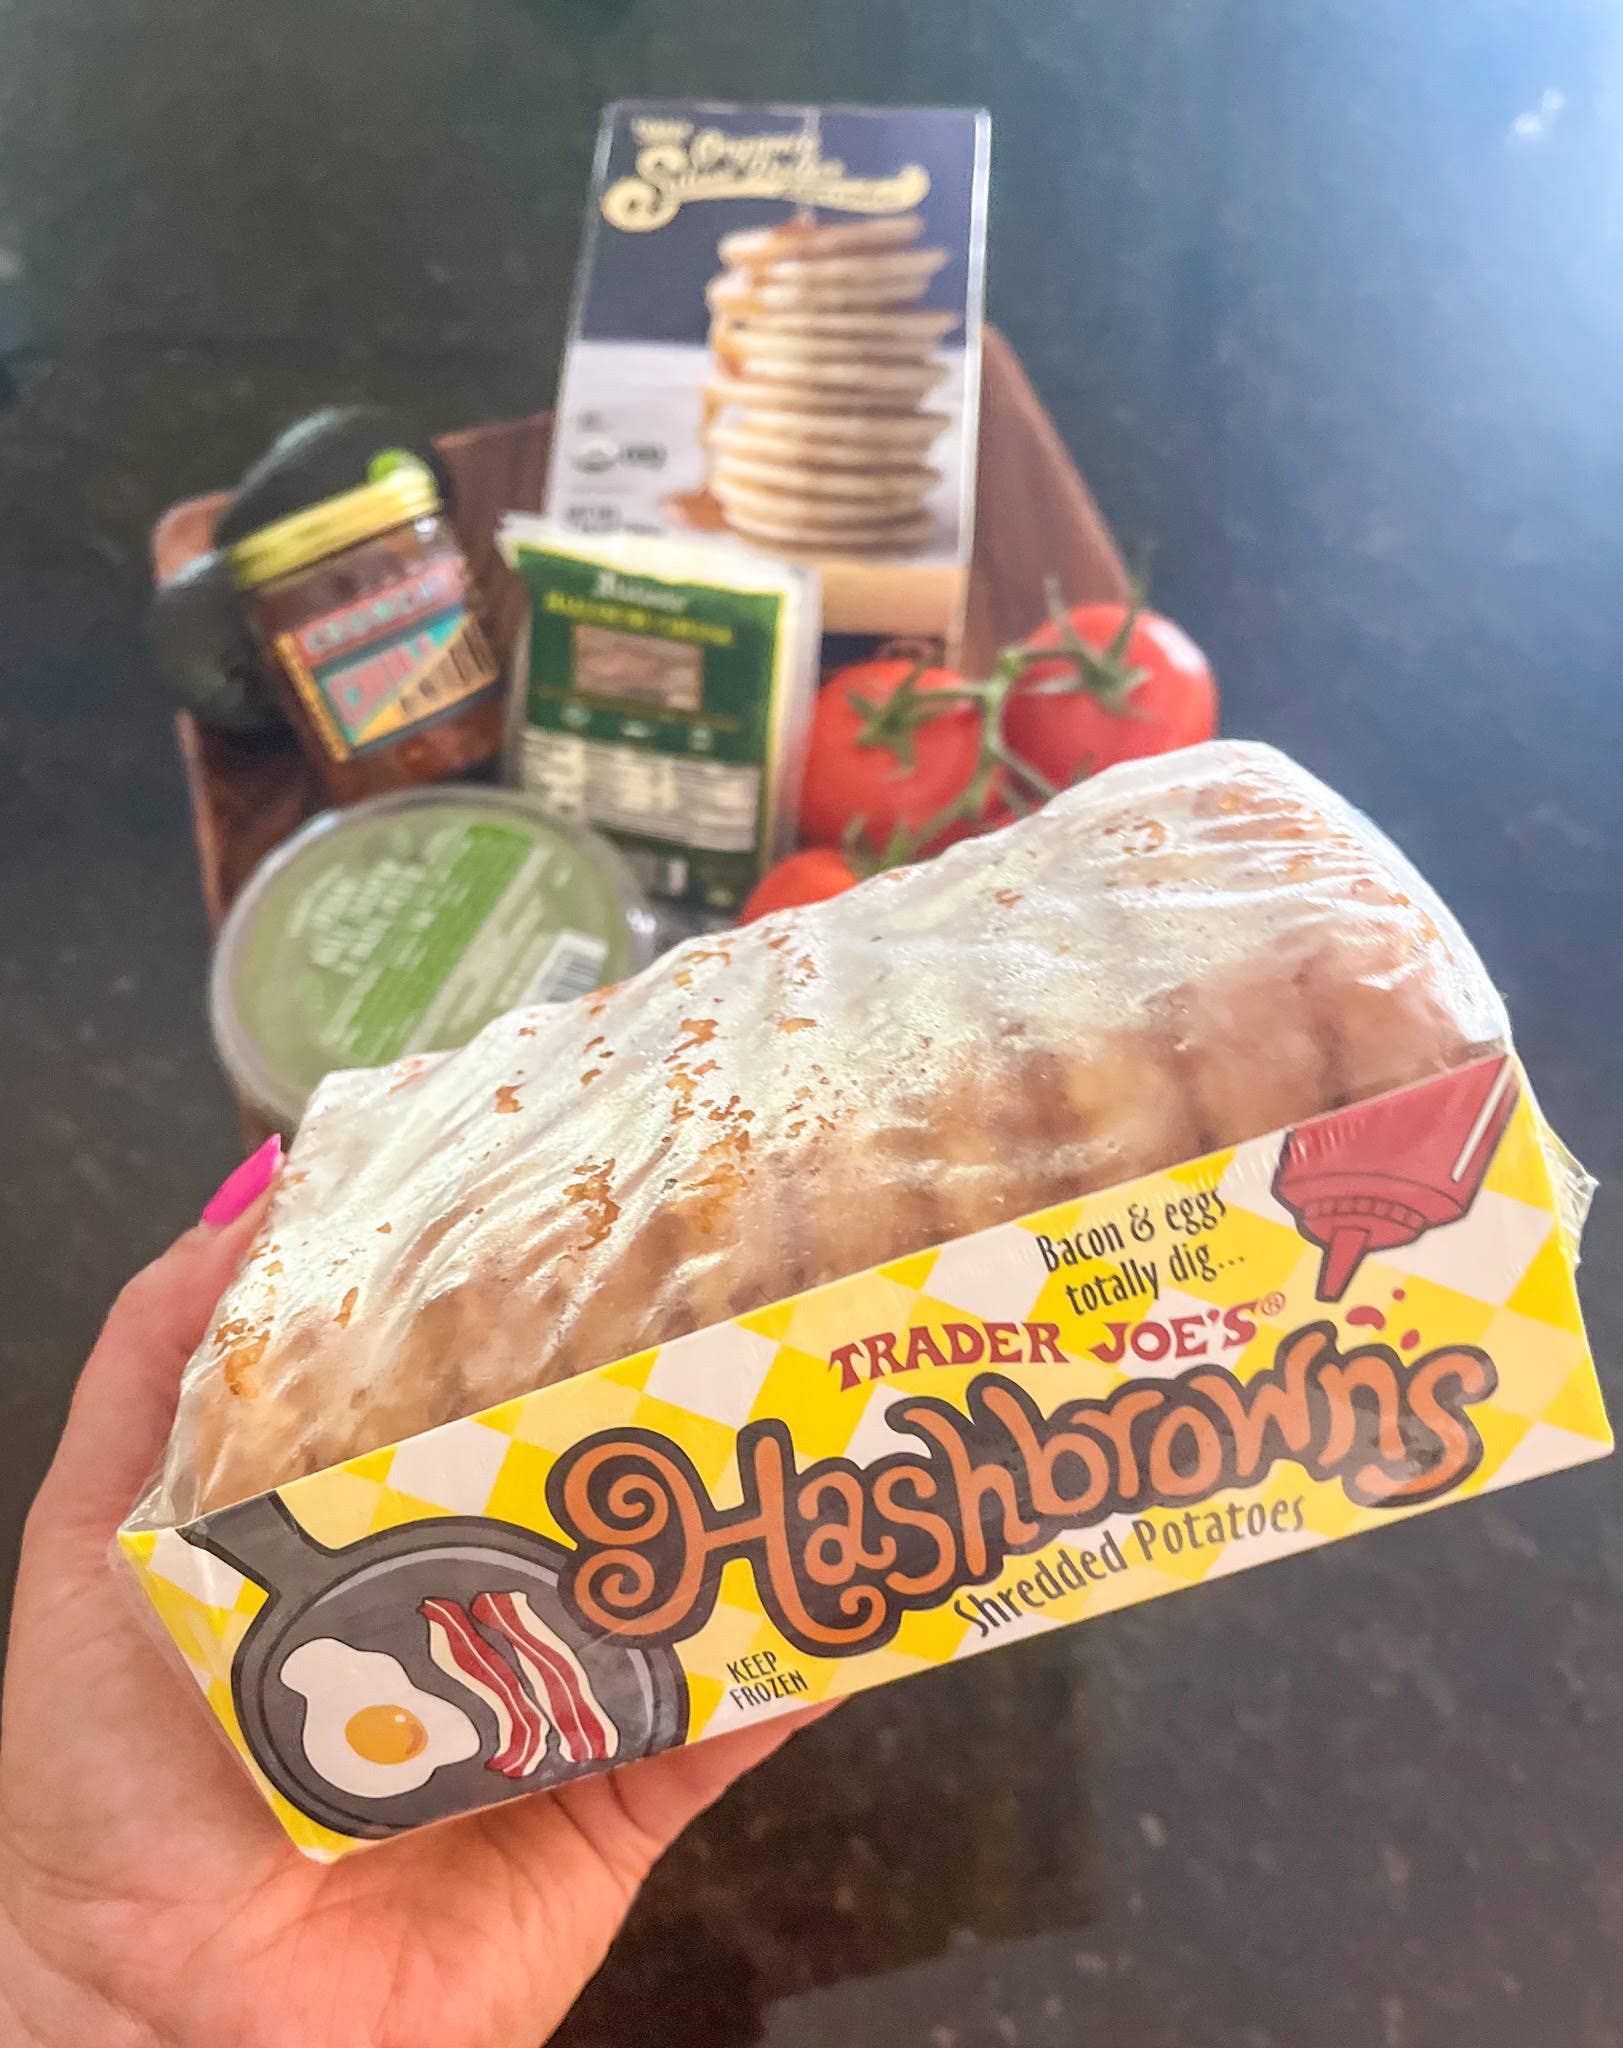
Once the hash browns are plated, serve them immediately while they are still hot and crunchy. They pair well with fried eggs, bacon, or a simple side of ketchup. If you are making a large batch, keep the finished portions warm in a 200°F oven while you cook the next batch, but avoid covering them with foil, as the trapped steam will soften the crust.
Keep the texture right
Getting the texture right comes down to moisture control and heat management. If you skip the drying step, your hash browns steam instead of fry, resulting in a soggy, gray mess. Russet potatoes are the classic choice because their high starch content helps them crisp up better than waxy varieties, but only if you handle them correctly.
1. Squeeze out every drop
Grate the potatoes and immediately rinse them in cold water to remove surface starch. Then, wring them out in a clean kitchen towel or cheesecloth with serious force. The goal is bone-dry shreds. If the towel is wet when you open it, you haven’t squeezed hard enough. This step prevents the potatoes from releasing water into the pan, which lowers the oil temperature and ruins the crust.
2. Use the right fat and heat
Use enough oil to coat the pan generously—butter burns too easily, so stick with neutral oils like vegetable or canola, or use bacon grease for flavor. Heat the pan over medium-high heat until the oil shimmers. If the oil isn’t hot enough when the potatoes hit the pan, they will absorb the fat rather than sear, leading to a greasy, soft texture.
3. Press and don’t touch
Spread the potatoes into an even layer and press down firmly with a spatula. This creates maximum surface contact with the pan. Once you start frying, resist the urge to stir. Let the bottom set and turn golden brown, which usually takes five to seven minutes. Flipping too early tears the structure apart and releases moisture back into the uncooked layers.
4. Flip once and finish
Flip the entire patty or individual portions only once. Cook the second side for another five minutes until equally crisp. If the outside is browning too fast but the inside is still cold, lower the heat slightly and cover the pan for a minute to steam the center through before uncovering to re-crisp.
Swaps that still work
You can tweak the base ingredients without losing that diner-style crunch, but some substitutions break the texture more than others. The goal is to maintain low moisture and high starch. If you change the potato, you must adjust the drying step. If you change the binder, you change the crust.
Potato varieties
Russets are the gold standard because their high starch content creates a shatteringly crisp exterior. Yukon Golds have more moisture and lower starch, leading to a softer, more tender interior. Sweet potatoes are too wet and sugary for this technique; they will steam instead of fry unless you salt and drain them for 30 minutes first.
Binders and starches
Most recipes rely on the potato’s natural starch. Adding cornstarch or flour helps if your potatoes are washed too thoroughly or if you are using a lower-starch variety. Cornstarch creates a lighter, glassier crust, while flour yields a denser, bread-like crunch. Egg whites act as a glue, holding the shreds together into a solid patty, but they can also trap steam. For maximum crispness, skip the egg and rely on aggressive squeezing.
Fats for frying
Neutral oils like canola or vegetable oil provide a clean, consistent heat transfer. Butter adds flavor but burns easily at the high temperatures needed for crisping. Bacon grease is the traditional diner choice, adding smokiness, but its lower smoke point means you must cook on medium heat rather than high, which extends the frying time.
| Ingredient | Original | Result of Swap |
|---|---|---|
| Potato | Russet | Yukon Gold yields softer, less crisp hash browns |
| Binder | None | Adding cornstarch creates a lighter, glassier crust |
| Fat | Vegetable Oil | Butter adds flavor but risks burning at high heat |
The trade-off is always time versus texture. If you swap to a wetter potato or add a heavy binder, you must cook longer to evaporate the extra moisture. Rushing this step is the most common reason for soggy hash browns. Stick to the drying method, and the swaps will hold up.
Serve and store it
Let the hash browns rest for two minutes after frying. This brief pause allows the crust to set, preventing them from collapsing or steaming under their own heat when you move them from the skillet to the plate. Serve immediately while the edges are shatteringly crisp and the centers remain tender.
If you are cooking for a crowd, keep finished batches warm in a 200°F (95°C) oven on a wire rack. Avoid stacking them on a plate, as trapped steam will soften the delicate crust within minutes. For make-ahead convenience, you can par-fry the potatoes until just golden, then spread them on a parchment-lined baking sheet to cool completely.
Once cooled, store the par-fried hash browns in an airtight container in the refrigerator for up to two days. To reheat, skip the microwave, which turns potatoes rubbery. Instead, pan-fry them in a little oil over medium heat for 3–4 minutes per side, or bake at 400°F (200°C) until heated through and crispy again.
No comments yet. Be the first to share your thoughts!